
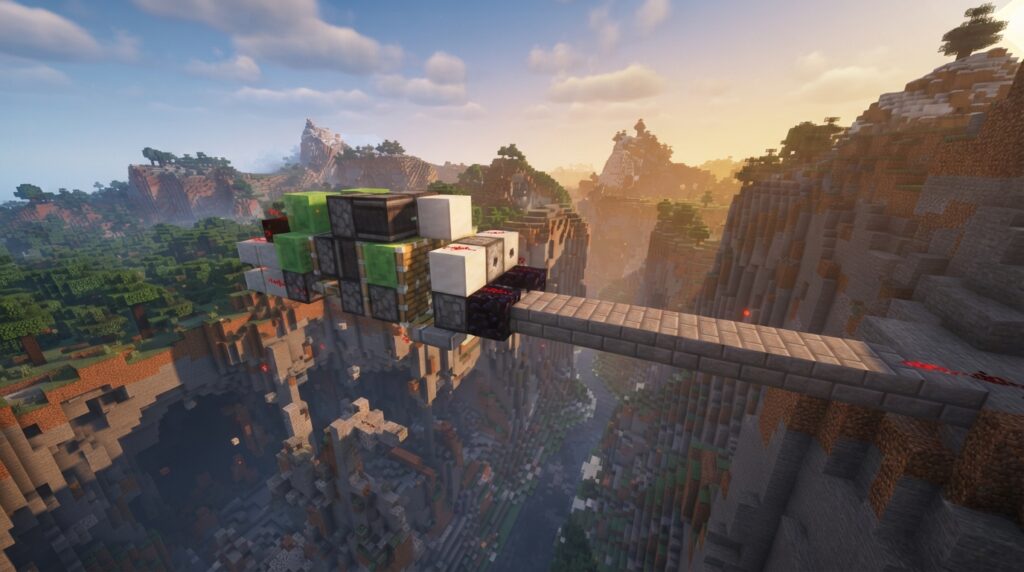
A redstone flying machine uses a few blocks to move on its own. You can use one to cross a gap or move a crop-harvesting setup. Slime and honey blocks carry nearby blocks, while pistons push and pull them forward.
Observers detect block updates and trigger the next piston, keeping the machine moving. With a simple design, you can build a player carrier or a small crop harvester while learning the basics of more advanced flying machines.
Key Takeaways
- Flying machines use pistons to push and pull blocks while observers detect updates and pulse the next piston, keeping the machine moving.
- Slime and honey carry attached blocks but do not stick to each other, allowing separate moving sections; keep each piston’s push within the 12-block limit.
- Java and Bedrock have different piston and redstone rules, so build for your edition and test a compact design before expanding it.
- Reliable flying machines can carry players, form moving bridges, or power tunnel borers; test routes, stoppers, and docking mechanisms in a clear, safe area.
How Observer Piston Engines Move
A redstone flying machine uses pistons to move blocks connected by slime or honey. These sticky blocks carry nearby blocks, so your machine can move without rails. Each piston can push up to 12 blocks at once, which helps you plan a compact bridge or tunnel borer. Slime and honey blocks do not stick to each other, so you can build sections that move separately. You can also use the same basic engine to carry yourself across a gap.
To start the cycle, send a pulse to the first piston and watch it move the connected blocks. An observer detects a block update in front of it and sends a brief pulse from its back, which can activate the next piston. When the observer moves with the machine, its updates help keep the cycle going. Java and Bedrock machines can use different layouts, so choose a design made for your edition before building a long bridge or tunnel borer. Test it in a clear space first, then add a stopper so it does not pass your destination.
Slime Honey and the 12 Block Limit
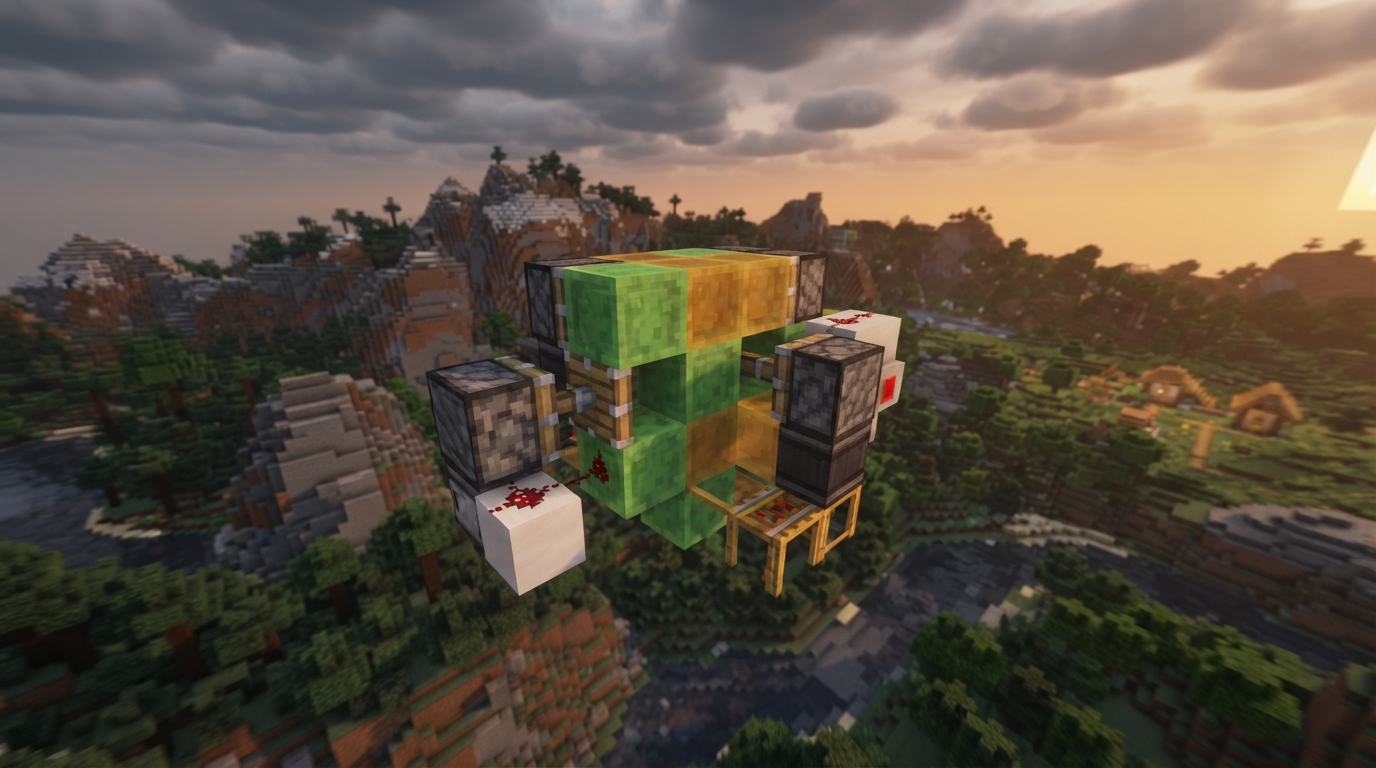
Slime and honey blocks both carry blocks attached to their sides when a piston moves them, but they do not stick to each other. Use this difference to build separate moving sections that can pass beside each other without pulling the whole machine along. For example, a slime-linked frame can move a tunnel borer’s main body while a honey-linked arm carries a separate group of blocks. Connect each group to the right block type so the machine moves the parts you want.
Plan around the piston limit: one push can move up to 12 blocks, including blocks carried by slime or honey. If your moving bridge has 10 attached blocks and the piston needs to move 3 more, remove blocks or split the movement into separate pushes. In Java, test a compact slime frame beside a honey arm for a tunnel borer. In Bedrock, try the same block grouping on a small moving bridge and check its cycle in a safe area. Redstone timing can differ between editions, so keep your first test simple and count every block the piston will move.
Java and Bedrock Machine Differences
Java and Bedrock use the same basic idea for a redstone flying machine, but their piston and redstone rules differ. In Java, some piston designs rely on quasi-connectivity, which can power a piston from nearby blocks above it. Bedrock does not use this rule. As a result, a Java machine may not start or move as expected in Bedrock. Observer pulses and piston updates can also affect whether the machine advances smoothly.
Before building a long bridge or adding a tunnel-boring attachment, try a compact design made for your edition. Use a small slime- or honey-block body with observers and pistons, then check that it starts, moves in the right direction, and carries its attached blocks. If you plan to ride it, test that too before making it larger. This quick check can save you from rebuilding a large machine that only works in the other edition.
Flying Machine Builds for Travel
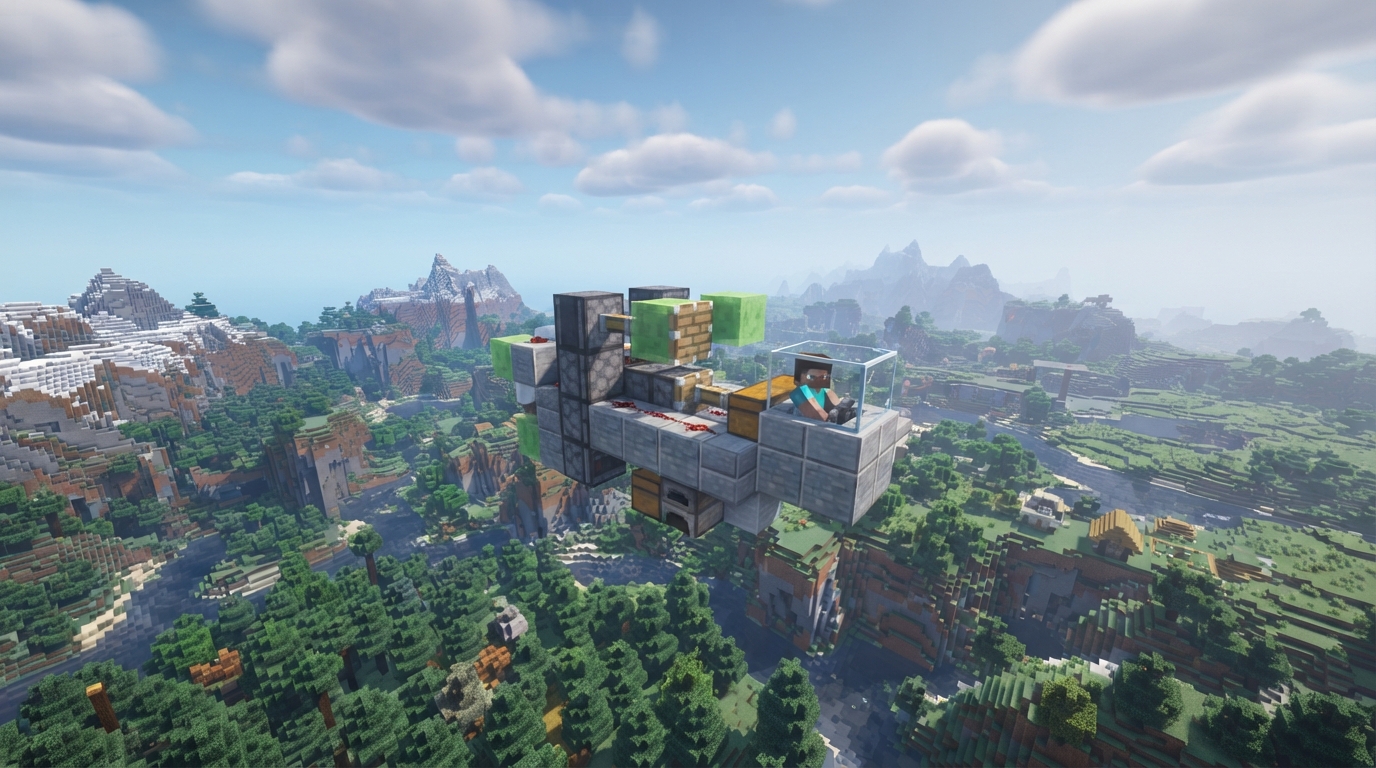
A player carrier lets you ride a small platform across a gap or along a set route. Build a slime- or honey-block carriage with a seat, then start it by activating its observer-and-piston circuit or using the design’s start lever. Stay aboard as it travels, and place a tested stopper at the destination so the platform halts where you can step off. Check that the route is clear of trees, walls, and other blocks that could snag the machine.
For a moving bridge, send a flying machine across a ravine with a walkway attached, then use a matching machine or return mechanism to bring it back. Start it from a safe ledge and keep it on a straight path toward the landing point. A fixed dock at each end helps the bridge stop in the right place instead of sliding past the far side. Test the span without passengers first, since a narrow path or uneven landing can leave you stranded.
A simple tunnel borer can carry a TNT setup toward a marked tunnel face to help clear a straight passage through blocks. Start it from behind the machine, keep the tunnel path free of bends and obstructions, and stop it at a planned endpoint with a tested docking mechanism. Build the TNT and stopper parts for your edition, because Java and Bedrock flying-machine designs do not always work the same way. Keep the route and docking station accessible so you can recover or reset the machine safely.
Build and Test a Redstone Flying Machine
A redstone flying machine moves because pistons push and pull blocks connected by slime or honey. Observers detect block updates and send pulses that can trigger the next piston in the cycle. Slime and honey can carry nearby blocks, but they do not stick to each other, which helps you control what moves. Start with a small horizontal mover so you can see how each part works. Keep each piston’s push within Minecraft’s 12-block limit.
Test your design in the edition you play, since Java and Bedrock machines may need different layouts. Once your mover runs reliably, try adapting it into a player carrier or moving bridge. You can also use the same basics to build a tunnel borer, with extra parts for digging and block collection. Make one change at a time, then test the machine again. A simple working build is a solid first step toward your next redstone project.