
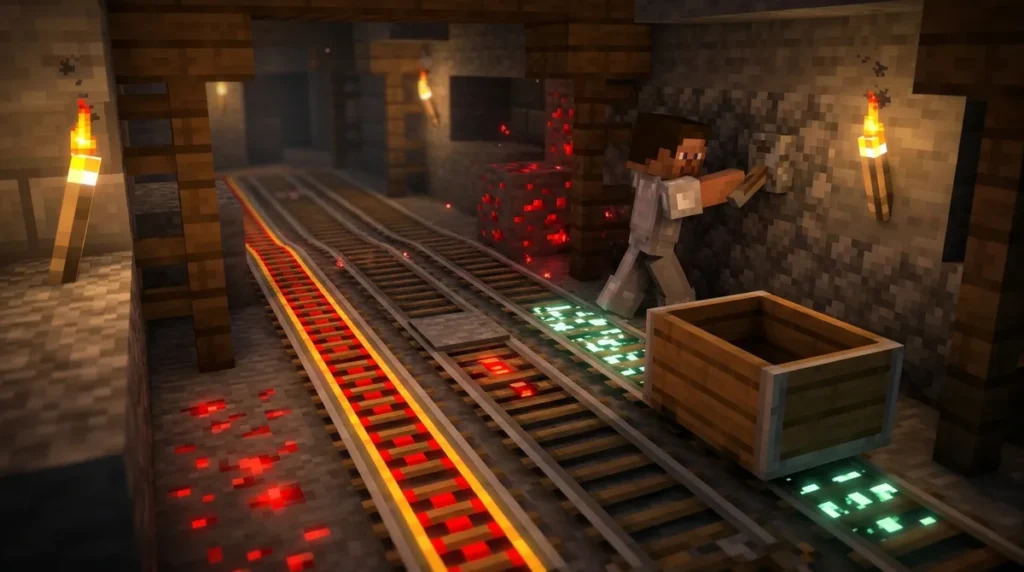
Minecraft rail types come in three specialized forms: powered rails, detector rails, and activator rails. Each one has its own job. Powered rails speed a cart up when they have power and brake it within about one block when they don’t, and the Minecraft Wiki lists a top speed of 8 blocks per second along a straight line. Detector rails sense a passing cart and send out a redstone signal with strength 15. Activator rails trigger effects like ejecting riders, disabling hopper minecarts, or priming TNT minecarts, and a primed TNT minecart explodes four seconds later.
Here’s a quick way to choose. Need speed or a reliable stop? Grab powered rails. Need a cart to switch on a lamp or open a door? Pick detector rails. Need a passenger to hop off or a TNT cart to blow up? Use activator rails. Costs are easy to plan for, too. One powered rail recipe uses six gold ingots and yields six rails, so you can plan your materials before you lay any track.
Key Takeaways
- Powered rails in Minecraft speed a minecart up when they have redstone power and brake it when they don’t, usually stopping the cart within about one block.
- Powered rails in Minecraft cannot push a minecart faster than 8 blocks per second along a straight north-south or east-west track, so you should plan long runs with that limit in mind.
- Detector rails in Minecraft send a redstone signal of strength 15 while a minecart is on them, and that signal holds in multiples of 20 game ticks, about one second per check.
- Activator rails in Minecraft eject riders, disable hopper minecarts, and prime TNT minecarts, and a primed TNT minecart explodes four seconds after the rail sets it off.
What Are the Three Minecraft Rail Types?
Minecraft has three specialized rail types, and each one handles a different job. Powered rails control minecart speed, detector rails sense passing carts, and activator rails trigger effects on the cart or its rider. Choose by what you want the cart to do, not by how the rail looks, because all three look like ordinary track from a distance.
- Powered rails speed a cart up when they have power. Without power, they act as a brake, which makes them a good choice for a station stop.
- Detector rails switch on when a cart rolls over them. Wire one to a lamp or a door at the end of a line, and the lamp lights or the door opens as soon as the cart passes.
- Activator rails act on the cart itself. When powered, they can kick riders out at a platform, disable hopper minecarts, or set off a TNT minecart.
Think about your goal first. If you want a cart to move faster or stop at a platform, you need powered rails. If you want a passing cart to flip a switch somewhere else, grab detector rails. If a passenger needs to hop off or a TNT cart needs to go off on cue, activator rails are the tool for the job.
How Do Powered Rails Speed Up and Slow Down Carts?
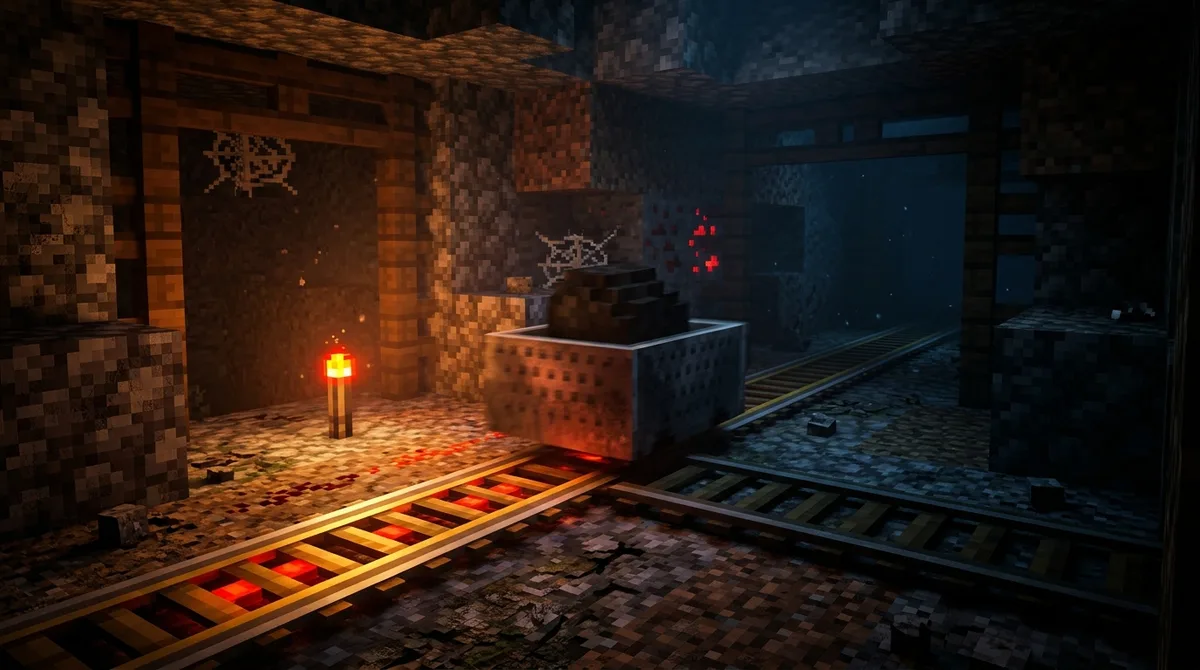
Powered rails speed a cart up when they have power and slow it down when they don’t. A powered rail pushes a moving minecart forward in the direction it is already traveling. An unpowered one brakes the cart, usually stopping it within about one block. The same rail can do both jobs, depending on whether redstone power reaches it.
Let’s build a simple station so you can see this in action. Run your normal track to the platform, then lay a short stretch of powered rails right where you want the cart to stop, and leave that stretch unpowered. The cart brakes and comes to rest beside the platform, so riders can step off. Past the platform, extend the track with more powered rails and run redstone wire from a lever you can reach from the platform. Flip the lever, and the cart leaves the station at speed.
You can also get a parked cart rolling. Place a powered rail with a solid block, such as a stone wall, at one end, then power the rail. A stopped minecart gets pushed away from that wall, so the rail works as a launcher from a standstill.
Powered rails have a speed ceiling. Under standard behavior, they cannot raise a cart’s speed above 8 blocks per second along the north-south or east-west axis. Plan your long straight runs with that number in mind, because powered rails alone will not push a cart any faster there.
Mojang’s optional Minecart Improvements in Java Edition 1.21.2 include an experimental speed setting called minecartMaxSpeed. That setting is a separate feature, and it does not change the ordinary behavior described here. A standard powered rail still follows the 8 blocks per second cap, plus the braking and launching rules covered above.
How Can Powered Rails Launch a Stopped Minecart?
Powered rails can launch a stopped minecart when the rail faces a solid, opaque block. Once the rail gets power, it pushes the cart away from that block, so you can use it as a simple launcher at the start of a ride.
Stone and other solid blocks work well as the anchor, because the rail needs a wall to push against. Make sure the track in front of the launcher is straight and clear, so the cart has room to pick up speed. Here is how to build one.
- Place a solid block, such as a stone block, at the end of your starting platform, directly in line with the track.
- Place a powered rail on the track right in front of that block, so the rail points toward it.
- Set a minecart on the powered rail, with the cart sitting between the block and the rest of the track.
- Run redstone dust from a lever to the powered rail, so flipping the lever sends power to the rail.
- Flip the lever and watch the cart shoot away from the block and down the line.
Keep the lever within reach of the platform. That way, the person running the ride can launch the cart on cue, and riders can board while the cart waits on the rail.
Where Do Detector Rails Fit in a Cart Build?
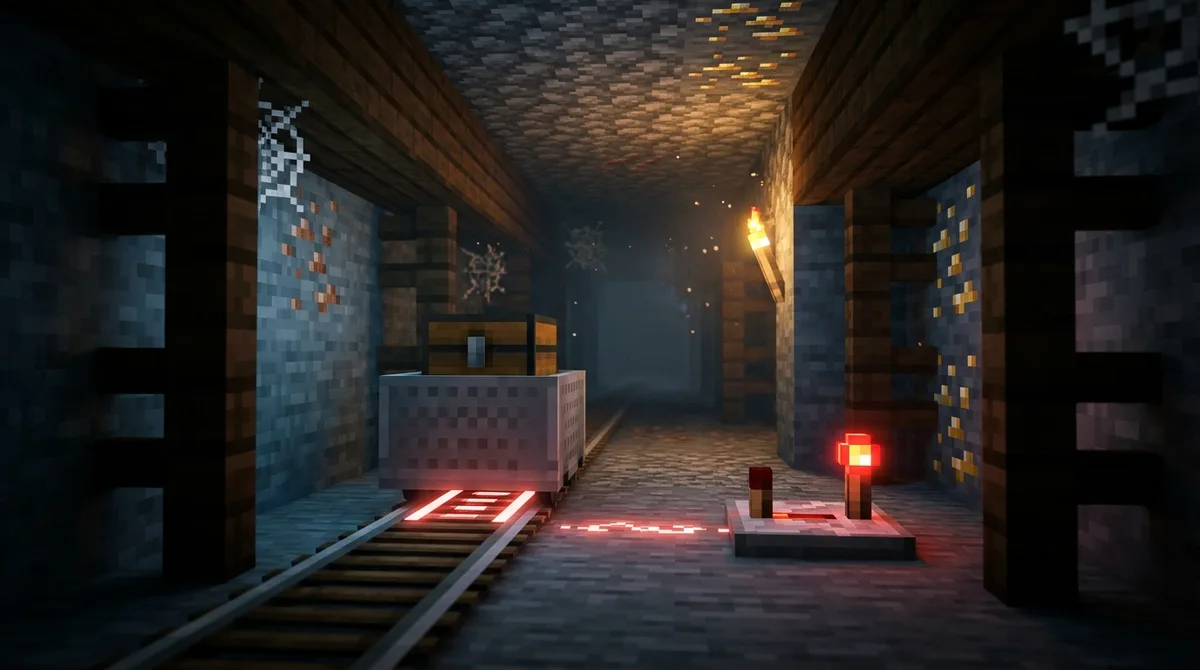
A detector rail fits anywhere you want a passing cart to trigger something else, such as a lamp, a door, or a powered rail further down the line. You lay it on your track like any other rail, then run redstone dust from it to the device you want to control.
The rail reacts as soon as any part of a minecart’s bounding box touches it, so the cart doesn’t need to be centered on the rail. While it’s powered, the rail sends a signal strength of 15 to the redstone dust next to it. That’s the full strength redstone can carry.
The signal doesn’t shut off the moment the cart leaves. After activation, the rail checks for a minecart every 20 game ticks, so the signal lasts in multiples of 20 ticks. Since Minecraft runs at 20 ticks per second, each check window is about one second. Plan for that when you wire your device.
Here’s a simple lamp build. Place a detector rail on the track just before the platform, then lay redstone dust from the rail to a redstone lamp beside the track. Each time a cart rolls over the detector, the lamp lights up and stays lit for about a second.
For a door, put the detector rail a few blocks before a small room. Run redstone dust from it to a piston tucked behind a block door. When a cart passes, the piston pushes the door open, and it closes again once the signal ends.
You can also use a detector rail to power a boost. Place it on the track just before a powered rail section, and wire the dust to that section. The powered rails then speed up only when a cart is on the detector, which keeps your track quiet the rest of the time.
Detector rails are cheap to make. One recipe uses six iron ingots, one stone pressure plate, and one redstone dust, and produces six detector rails.
What Does an Activator Rail Do to Your Cart?
When powered, an activator rail does three things to a cart: it ejects riders, disables hopper minecarts, and primes TNT minecarts. Which effect you get depends on what kind of cart rolls over the rail. Here is how each one plays out in a build:
- Riders: the passenger is thrown out of the minecart while the cart keeps moving on the track.
- Hopper minecarts: the hopper stops moving and stops collecting or passing along items.
- TNT minecarts: the TNT is primed and will explode on a timer.
Riders are the easiest effect to picture. Imagine a ride that ends at a village square. Your passengers stay seated for the whole trip, and then a powered activator rail sits right beside the platform. As soon as it gets power, the rider pops out onto the platform, and the empty cart rolls on along the track.
TNT carts are where things get explosive. A primed TNT minecart goes off four seconds after the activator rail sets it off. The blast power depends on the cart’s speed over the rail, so a fast cart makes a much bigger bang than a slow one. If you want a small, controlled blast, keep the cart slow by running it onto the rail without a powered boost.
A passenger drop-off and a TNT setup can share a line, but be careful. TNT carts explode on a timer, not when they hit something, so a primed cart can blow up before anyone notices. Keep TNT carts on their own branch, or make sure they never reach the platform where people stand.
You don’t need a rail for every spot. A powered activator rail can activate connected activator rails up to eight blocks away on each side, so one source can reach up to 17 connected rails. Lay a row of activator rails along the platform, power the first one from a lever, and the whole row reacts together.
Choosing the Right Rail for Your Build
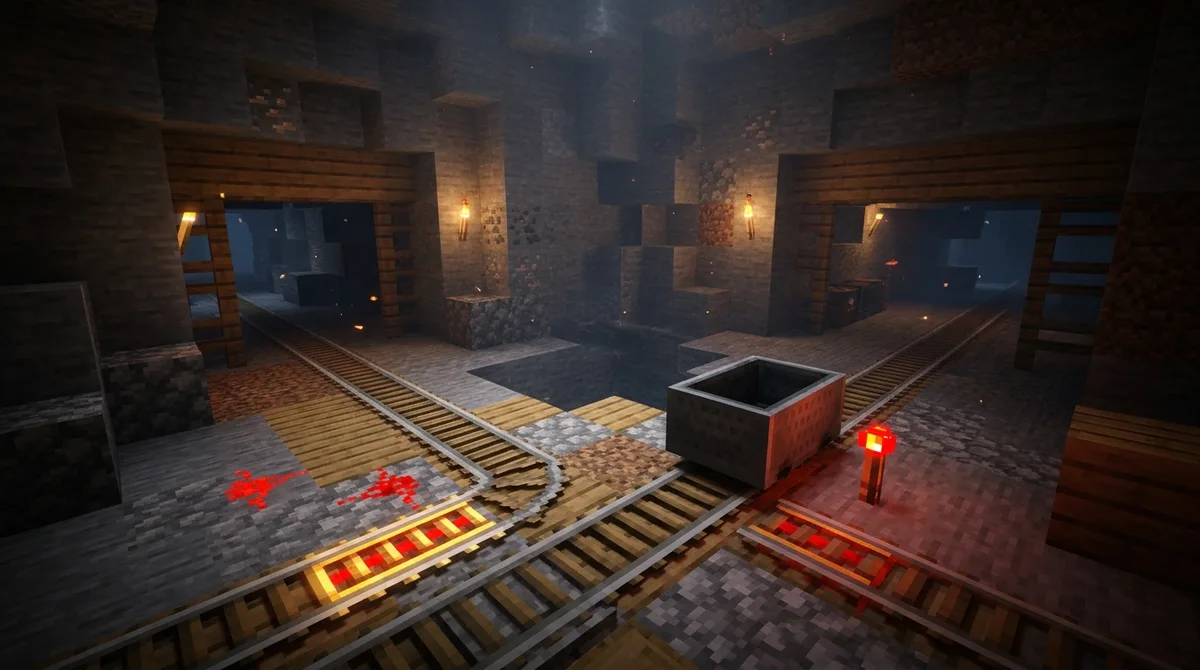
Not sure which rail fits your build? Match your goal to the rail in this table.
| Your goal | Rail to use | What it does |
|---|---|---|
| Speed up a cart | Powered rail, powered | Pushes a moving cart forward in its direction of travel, up to 8 blocks per second on straight north-south or east-west track |
| Stop or station a cart | Powered rail, unpowered | Brakes the cart and usually stops it within about one block |
| Know when a cart passes | Detector rail | Sends a redstone signal of strength 15 while a cart is on it, held for multiples of 20 game ticks |
| Eject a rider at a platform | Activator rail, powered | Throws the rider out of the minecart while the empty cart keeps rolling |
| Set off a TNT minecart | Activator rail, powered | Primes the TNT minecart, which explodes four seconds later |
Most builds mix two or three rail types. A village ride might use an unpowered powered rail to bring the cart to a stop, then an activator rail beside the platform to eject the rider. Start with the goal that matters most, and add the other rails only where you need them.
Crafting Recipes for Each Rail Type
Every rail recipe below yields six rails, so you can work out your materials before you open a crafting table. Count your rails first, then gather the ingots.
A powered rail craft uses six gold ingots, one stick, and one redstone dust. Gold ingots are the biggest cost in a powered rail build, so check your supply before you start.
A detector rail craft uses six iron ingots, one stone pressure plate, and one redstone dust.
An activator rail craft uses six iron ingots, two sticks, and one redstone torch. Iron ingots are the main cost here, so plan for them the same way you would for detector rails.
Here’s a quick example. A station with a stopping stretch and a launcher might need 12 powered rails. That’s two crafts, which means 12 gold ingots, 2 sticks, and 2 redstone dust. A 7-rail run needs two crafts too, leaving you five spare rails for later repairs.
Planning Your First Rail Line
Start small. Pick one goal from the table above, such as a station that stops a cart beside a platform. Then sketch the track on paper, marking where the braking rail, the launcher, and any detector rail will go.
Next, open a creative world and build a straight test track. Place a powered rail in the middle, send a minecart down the line, and watch it brake within about one block. Then wire a lever to that rail and see the cart speed up. Testing in creative mode keeps your gold and iron safe while you learn how the rails behave.
Once the test works, count your materials. Each craft of six powered rails needs six gold ingots, one stick, and one redstone dust. Build the real line only after you have enough of each, and keep a few spare rails in your chest for repairs.
Last, ride the test track yourself. Sit in a minecart, then add an activator rail beside your landing spot and check that you get thrown onto the platform. If that works, you have a tested plan for your first real rail line.