

A Minecraft advancements guide helps you turn scattered goals into a clear path from your first crafting table to the Ender Dragon. You will learn how to complete milestones such as “Suit Up” by crafting iron armor, enter the Nether, and tackle challenging objectives such as “A Furious Cocktail.” Advancements are available in Java Edition and can track progress in any game mode.
Whether you want to unlock every tab, find hidden challenges, or use commands to check your progress, the right tips make each objective easier to understand. You will get practical advice for exploration, combat, farming, Nether survival, and end-game tasks without having to guess what to do next.
Key Takeaways
- Minecraft advancements in Java Edition are organized into five tabs—Minecraft, Nether, The End, Adventure, and Husbandry—and can be completed in any order across all game modes. Progress is tracked separately for each world, and hidden objectives require checking every tab regularly.
- Use advancements as a flexible checklist rather than a strict quest line. Mark missed goals involving rare biomes, structures, mobs, breeding conditions, and special combat setups so you can return to them later.
- Prepare systematically for progression: gather iron gear, food, torches, blocks, and tools early; record coordinates for important locations; and stock supplies before entering the Nether, strongholds, or the End.
- Approach difficult objectives with specialized tactics and safety measures, including gold armor and fire resistance in the Nether, controlled arenas for the Wither, and slow-falling potions and careful bridging when exploring End cities.
Java Advancement Tabs And Rules
Java Edition organizes its 127 visible gameplay advancements into five tabs: Minecraft, Nether, The End, Adventure, and Husbandry. The Minecraft tab covers basic progress, such as crafting tools and obtaining diamonds. The Nether and The End guide you through portal travel, fortress challenges, and boss fights. Adventure focuses on exploration and combat, with goals such as trading with villagers or defeating different mobs. Husbandry covers food, animals, farming, and unusual tasks such as breeding specific creatures.
Advancements track progress separately in each world, so completed goals do not automatically carry into a new save. You can complete them in any order, and you do not need to finish a parent advancement first. This lets you pursue a difficult objective early if you know how to meet its conditions. Some advancements stay hidden until you trigger them, making unusual goals easy to miss, such as surviving dangerous status effects or finding rare structures. Check every tab regularly and look for objectives that require special setups instead of following only the visible path from left to right.
You can earn advancements in Survival, Creative, Adventure, or Spectator mode, which makes the system useful for testing builds and custom challenges. If you want to manage progress directly, use commands such as /advancement grant @s only minecraft:story/mine_stone or /advancement revoke @s only minecraft:story/mine_stone. These commands can grant or remove one advancement, an entire branch, or every advancement, which is useful for map testing and troubleshooting. For a fair completion run, use commands only to check mechanics or reset a mistake, then record difficult hidden objectives in your own checklist.
Early Minecraft Advancements
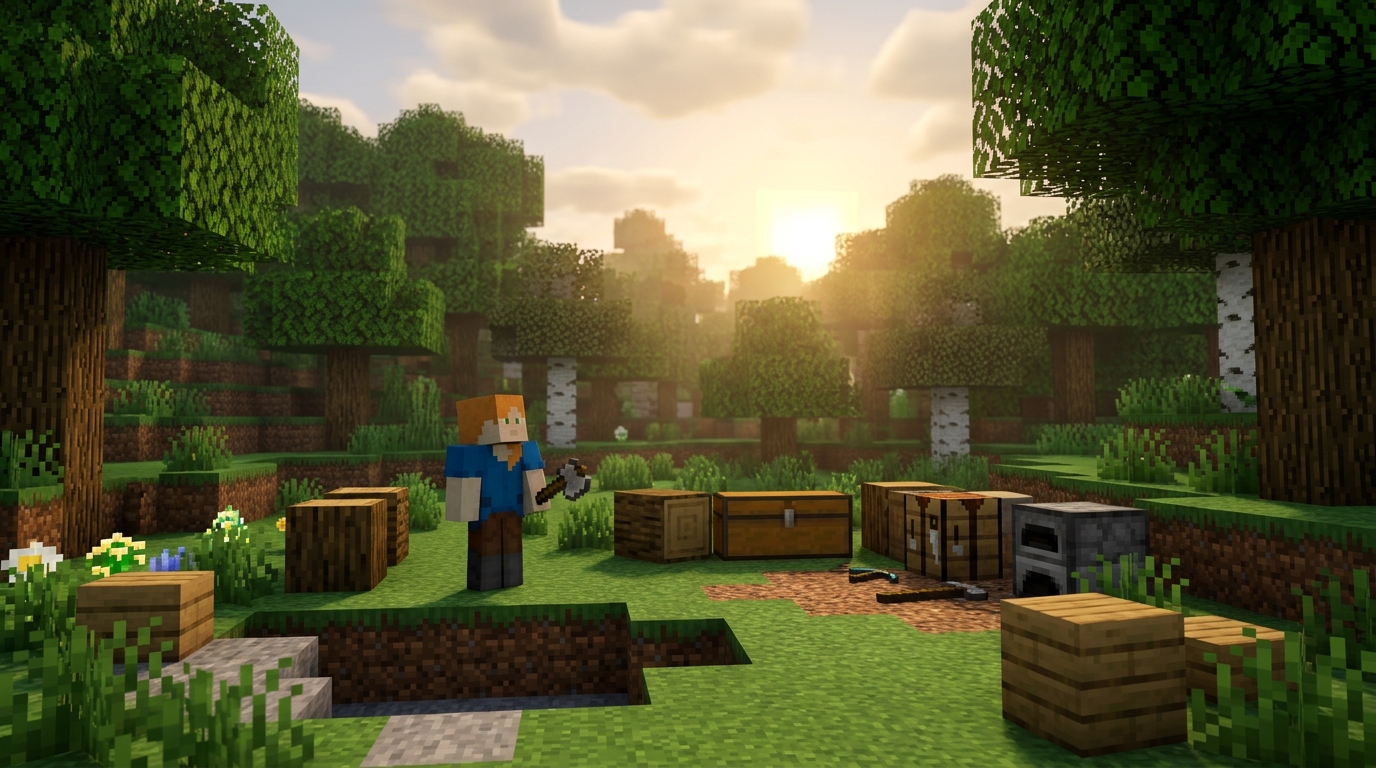
Begin by gathering wood and crafting a crafting table. Then make a wooden pickaxe and collect stone for the “Getting an Upgrade” goal. Use your stone tools to gather coal, iron, and food before exploring too far. Turn iron into a pickaxe, shield, bucket, and armor. Keep spare torches, logs, and blocks in your inventory so caves do not stop your progress. When you find a village, ruined portal, or shipwreck, note its coordinates and check every chest for useful items. These simple habits help you complete basic goals while protecting your resources and marking important locations.
Once you have iron gear, explore deep caves for diamonds and bring water, food, torches, and extra pickaxes. Mine at lower cave levels, watch for lava, and use your water bucket to turn lava into obsidian for a Nether portal. Before entering the Nether, store valuable items in a chest and write down your portal coordinates. Collect Nether quartz, blaze rods, and other unusual materials instead of rushing past them. Blaze rods become blaze powder, while ender pearls from Endermen help you craft Eyes of Ender. Keep a few spare eyes because some can break while you search for the stronghold.
Your early-game route eventually leads from the stronghold to the End, so follow your Eyes of Ender carefully and mark the path back to your base. Bring strong armor, a bow with arrows, building blocks, food, a water bucket, and spare tools before activating the End portal. In the End, destroy the crystals on the towers first. Then attack the dragon when it lands near the portal. Check the advancement tabs as you play because some objectives can be completed out of order. Other tasks require specific actions, such as using a shield against a projectile or exploring a structure you nearly skipped. Keep a written list of visited villages, portals, temples, and strongholds to make cleanup easier.
Nether And End Advancements
Start your Nether route by finding a fortress and defeating blazes until you obtain a blaze rod, which completes “Into Fire.” Carry gold ingots while exploring so you can barter with piglins for “Oh Shiny!” Keep at least one piece of gold armor equipped to prevent ordinary piglins from becoming hostile. Finding and entering a bastion remnant unlocks “Those Were the Days,” but these structures are dangerous because piglin brutes attack even when you wear gold. Place blocks to create cover, light up paths, and avoid opening treasure rooms until you have an escape route. Bring fire resistance potions, a shield, food, and spare blocks before entering either structure.
The Wither is one of the Nether-focused challenges, and defeating it earns “Withering Heights.” Fight it in a controlled area, such as a long underground tunnel during the first half of the battle, while keeping milk, healing food, and strong armor ready. Beds explode in the Nether and can damage the Wither, but you should place one behind solid blocks and trigger it from a safe distance instead of standing beside it. This tactic works only when you have room to retreat because a mistimed click can kill you instantly. After the Wither falls, collect the Nether Star and use it to prepare for your End journey.
In the End, locate an End city and enter it to complete “The City at the End of the Game.” Then search nearby towers for valuable loot and an elytra ship. Use slow falling potions, ender pearls, and careful bridging because shulkers can make you float over the void. Defeating the Ender Dragon unlocks “Free the End,” so destroy the healing crystals first and stay near the central island when possible. End crystals can hurt you with explosions, so shoot them from a distance or pillar up with blocks while wearing strong armor. Once the dragon is defeated, use the exit portal and return later through the End gateway for safer city exploration.
Adventure And Husbandry Challenges
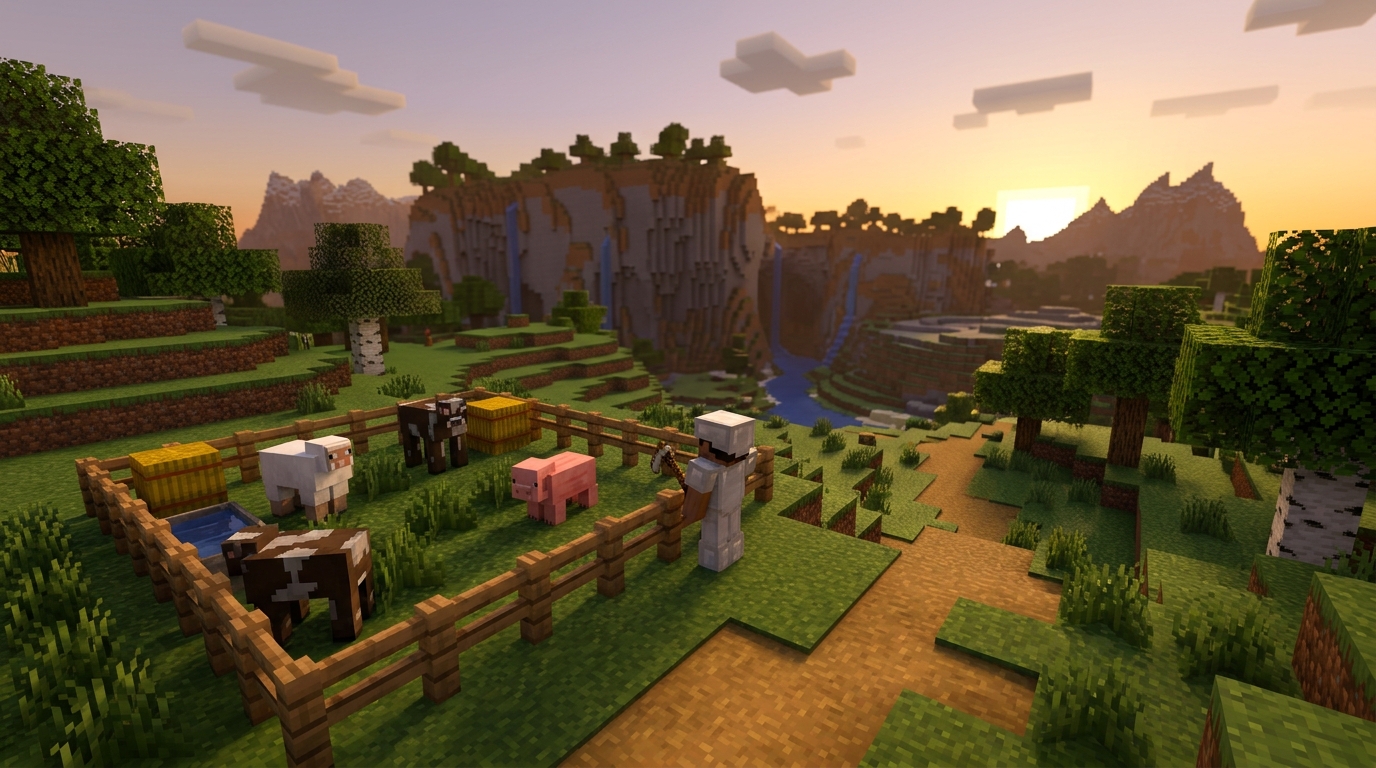
Adventure and Husbandry contain some of Minecraft’s largest and most varied advancement groups, so a checklist helps you spot goals that are easy to miss. Start with exploration objectives such as visiting every Overworld biome. Then move on to combat tasks that require specific mobs, weapons, or conditions. For the skeleton challenge, weaken a creeper first and position yourself so a skeleton’s arrow delivers the final hit. This makes the creeper drop its music disc. Rare events and unusual biomes are often easier when you prepare supplies, mark coordinates, and wait for the right situation instead of forcing the attempt.
Husbandry goals reward careful planning as much as exploration. Gather crops for food objectives, trade with villagers, and place a book on a lectern for the advancement involving a lectern and a comparator. Breeding every available animal takes time, so build pens, grow wheat, seeds, carrots, and other foods, then keep a record of the species you have completed. Watch for less obvious animals and special conditions, such as breeding horses, llamas, frogs, or axolotls. Missing one can leave the final objective incomplete. Completing these challenges alongside your normal base building turns routine farming, trading, and travel into steady advancement progress.
Use Advancements as Your Checklist
Minecraft advancements work best as a flexible checklist, not a strict quest line. You can open each tab to see goals for crafting, exploration, combat, the Nether, and the End, then choose the challenge that fits your current world. You do not need to complete every parent advancement first, so feel free to skip difficult objectives and return when you have better gear. Mark missed challenges as you explore, especially when an advancement requires a rare structure, mob, or location.
Preparation makes unusual objectives much easier to finish later. Keep items such as a boat, water bucket, fire resistance potions, an ender chest, and spare armor ready for tasks that involve dangerous travel or precise timing. When you revisit an older world, check the advancement tabs again because you may have overlooked goals such as finding a rare biome, breeding specific animals, or completing a difficult combat challenge. With a little planning, every tab becomes a useful guide for discovering more of Minecraft at your own pace.