
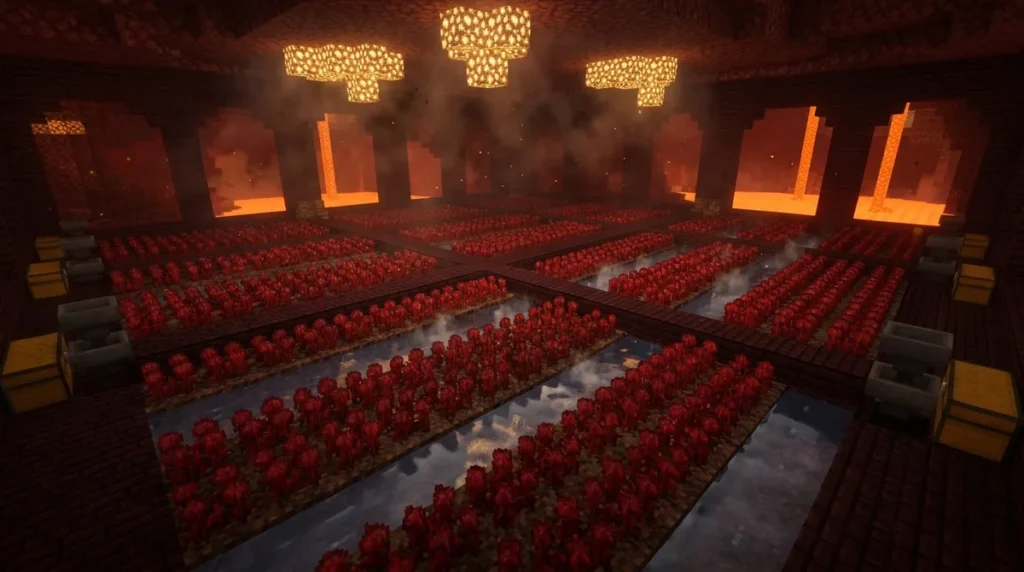
A Nether wart farm grows the Nether wart crop on soul sand, and each fully mature plant drops 2 to 4 wart when you harvest it. Each plant goes through four visible stages and takes about 34.13 minutes to ripen at default random tick speed, so give the Nether Wart page on the Minecraft Wiki a read. Because the crop needs no particular dimension or light level, you can build one in the Overworld or the Nether.
Growth is slow, so the real trick is scale. Bone meal won’t speed plants up, so you add planting sites instead, one soul-sand block for each. This guide shows you where wart grows naturally, which grid layout to pick, how to build a semi-automatic harvester, and how Fortune changes your haul.
Key Takeaways
- Each Nether Fortress chest has a 17.9% chance to contain 3 to 7 Nether wart, so open every chest you pass.
- Soul sand, not soul soil, is the block that lets Nether wart take root in your Overworld farm.
- Each random tick gives a Nether wart plant a 10% chance to grow one stage, so ripening times vary.
- Fortune III can raise a single mature Nether wart plant’s harvest to as many as seven wart.
Where Can You Find Nether Wart in Minecraft?
You can find Nether wart growing naturally in the Nether, in soul-sand gardens near Nether Fortress stairwells. Look along the stairs for soul sand with wart sprouting from it, and harvest what you find.
Bastion Remnants are another place to look. Their housing-unit courtyards generate exactly 1, 5, or 6 plants each. Count the plants before you move on, because a courtyard with six is worth a much bigger detour than one with a single plant.
Nether Fortress chests can also hold wart. Each Nether Fortress chest has a 17.9% chance to contain 3 to 7 Nether wart. That’s not a sure thing, so open every chest you pass, even the ones that look empty.
Think of fortresses and bastions as your starting sources. Gather enough wart from them to plant your first rows, then turn your haul into a farm. Once your planting sites are running, you won’t need to rely on loot runs alone.
Can You Grow Nether Wart in the Overworld?
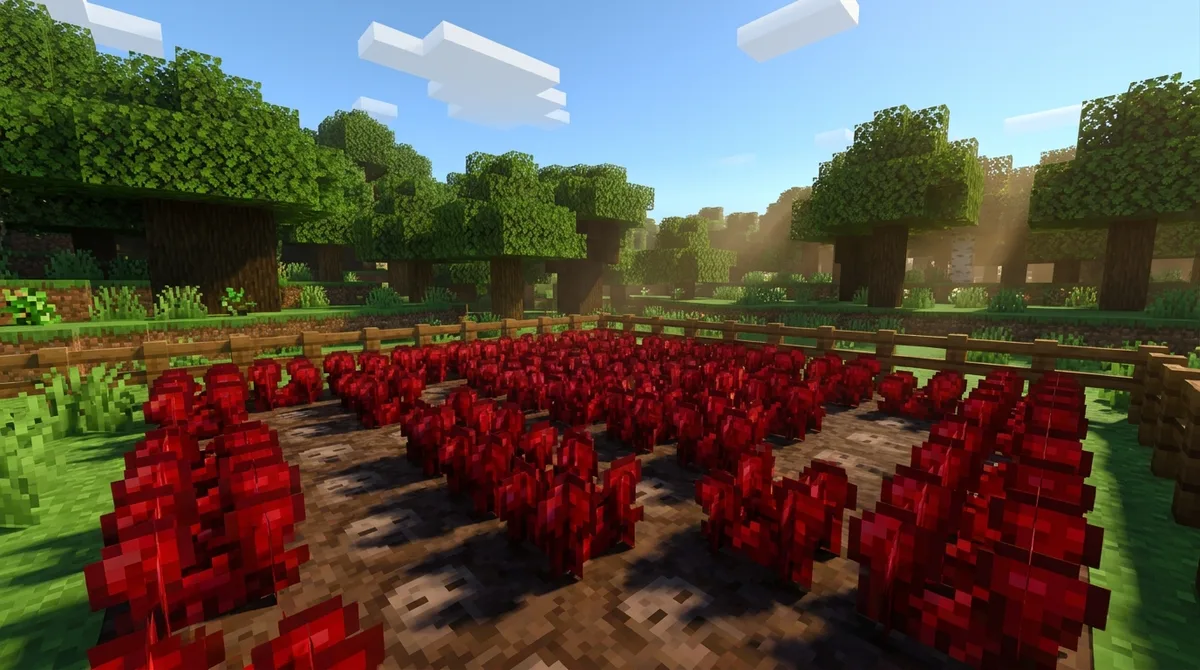
Yes, you can grow Nether wart in the Overworld. The crop doesn’t care which dimension it’s in, so a farm built in a grassy field or a stone cellar works just as well as one in the Nether. The only thing it needs underneath is the right block.
That block is soul sand, not soul soil. The two look similar, and plenty of new players mix them up. You can check the difference yourself: place a soul soil block next to a soul sand block, then try to plant a Nether wart on each one. The wart takes root on the soul sand, while the soul soil refuses it. Read the Soul Sand page on the Minecraft Wiki if you want the full list of what the block does.
Light is the other good news. Nether wart has no light-level requirement, so you don’t need to line your rows with torches or lamps just to keep the crop alive. A dim basement and an open meadow give it the same start.
Soul sand is also the only block a planting site needs. Each planting site uses one soul-sand block, so a simple 4 by 4 grid needs 16 blocks of soul sand, and a 10 by 10 grid needs 100. Mine a stack of soul sand in the Nether before you start, since it’s easy to gather there in bulk. Then build your rows wherever you like, because the block is the only thing that matters.
How Long Does Nether Wart Take to Grow?
Nether wart goes through four visible growth stages, and it’s ready to harvest once it reaches the last one. In Java Edition, those stages match ages 0 through 3. A freshly planted seed starts at age 0, and a plant at age 3 is fully grown and ready to pick. Check each plant as you walk your rows, and harvest only the ones that have reached the final stage.
Growth happens through random ticks, which are small updates the game gives to blocks and plants as time passes. Each random tick gives a Nether wart plant a 10% chance to advance one stage. That means progress is partly luck, so two plants planted at the same moment can finish at different times. At default random tick speed, the average trip from planting to harvest is about 34.13 minutes.
You might be tempted to grab bone meal and speed things up. Don’t bother. Bone meal can’t accelerate Nether wart, so it won’t help this crop at all. Save your bone meal for crops that respond to it.
That leaves one real lever: the number of plants you have growing. Each planting site works on its own random ticks, so ten sites give you ten plants moving toward harvest at once. A single plant still takes the same average time to ripen, but your total output rises with every site you add. Build your sites in one go, and you’ll have a steady stream of wart ready to collect.
Which Nether Wart Farm Layout Should You Build?
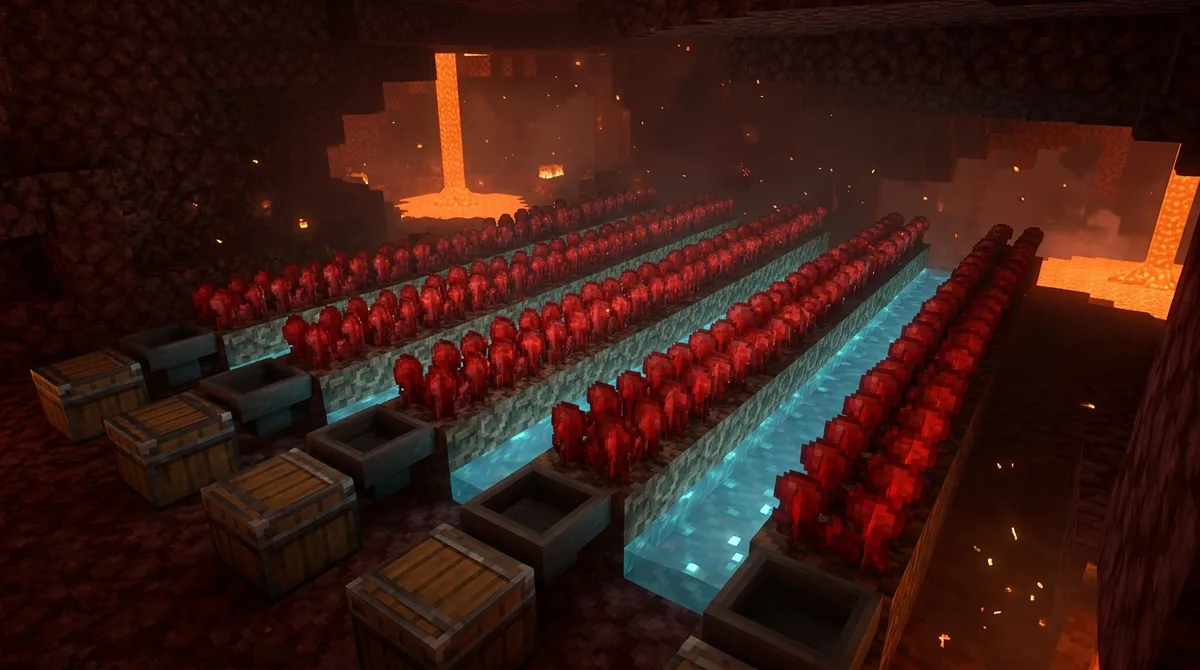
Three grid sizes make good starting points: 8 by 8, 9 by 9, and 11 by 11. Pick one by counting how many planting sites you need and how much room you have.
An 8 by 8 grid gives you 64 planting sites. It fits in a small room and makes a good first farm when you’re still gathering wart by hand. A 9 by 9 grid gives you 81 sites, a comfortable middle step. An 11 by 11 grid gives you 121 sites, so it’s the one to choose if you plan to brew often and want a steady supply.
Whatever size you pick, each planting site needs exactly one soul-sand block. The Minecraft Wiki farming tutorial covers this rule, so check it before you lay out your rows.
Expanding is simple. Don’t rebuild the whole farm when you need more output. Add a new row of soul-sand blocks along the edge, plant one wart on each, and your count goes up right away. Leave a walking path between rows so you can reach every plant at harvest time.
Light the area as you build. Hostile mobs can spawn in dark patches of ground, and a monster appearing among your plants can ruin a harvest run. Place torches or lanterns along the walls and between rows, then walk the farm after dark to check for any spot that stays unlit.
Keep in mind that this lighting protects the farm. It doesn’t make the wart grow any faster. Nether wart has no light-level requirement, so the torches are there to keep mobs away while your plants do their slow work.
Building a Semi-Automatic Nether Wart Harvester
A semi-automatic harvester does the checking for you, so you don’t have to inspect every plant. An observer watches the wart and fires a piston when the plant changes. Here’s how to set up one row:
- Lay a line of soul-sand blocks, one for each planting site, and plant a Nether wart on every block.
- Place an observer at the end of each row, facing the plant it watches.
- Put a piston on the back of the observer so the observer’s signal reaches it.
- Set the piston so it pushes the plant toward a collection line, where the wart drops as items.
- Replant each empty soul-sand block once you’ve picked up the drops.
An observer reacts to every growth stage, not only the final one. That means the piston can push a young plant too. Young plants still drop one wart each, so expect a mixed haul and sort it when you collect.
Keep a clear harvest path across your soul-sand rows. Walking straight down a row is quicker than taking a long detour around walls, pistons, and wiring. If a row is blocked, you’ll spend more time walking than picking.
Soul Speed boots make the walk easier. The enchantment lets you move quickly over soul sand, so you can cover your rows fast while you collect. Enchant a pair before you start a harvest run.
Remember that the harvester doesn’t pick up the wart for you. The piston only knocks mature plants loose, so you still have to walk the collection line and gather every drop.
Does Fortune Increase Nether Wart Drops?

Yes, Fortune increases your Nether wart haul, but only on mature plants. A fully mature plant drops 2 to 4 wart before any enchantment, so a plant at the final stage already gives you more than the single wart an immature plant drops.
Fortune adds up to one extra Nether wart for each enchantment level. Fortune I can add one wart, Fortune II can add up to two, and Fortune III can add up to three. With Fortune III, one mature plant can yield up to seven Nether wart. Multiply that across an 8 by 8 grid of 64 planting sites, and the gap between an unenchanted harvest and a Fortune III harvest becomes easy to see.
Fortune matters most when you harvest in bulk. Your semi-automatic row will still hand you mixed results, because the observer reacts to young and old plants alike. Enchanting your harvesting tool before a big run helps you collect the most from the plants that are ready.
Bedrock players should check one detail. A 2024 Bedrock Edition preview adjusted the Fortune drop distributions for Nether wart to better match Java Edition. If you’ve been planning yields from older Bedrock numbers, recheck them against your current game version before you size your farm.
Why Is Nether Wart Essential for Brewing?
Nether wart is a core brewing ingredient, so your farm is what keeps your brewing setup running. Without a steady supply, your brewing stand sits empty while you wait for new plants to ripen.
Start by estimating how many brews you expect to make in a typical play session. Write that number down, then work backward to the number of planting sites you need. If you brew a big batch every few days, a small grid won’t cover it, but a farm sized to your real demand will.
Treat each harvest as a supply, not a one-time payout. Move the wart you pick into a chest near your brewing area, and keep it sorted so you can grab what you need when your stand runs low. Store extra wart as well, so a bad harvest run or a busy week doesn’t leave you short.
Replant every site as soon as you clear it. The plants keep growing on their own timer, so a row that stays empty for days is a batch you never get back. Keeping every site planted means the next harvest is already on its way before the current stock runs out.
Planning Your Nether Wart Farm Supply
Start small and finish something this session. Pick the grid that fits your brewing, then count the soul-sand blocks you need. An 8 by 8 grid needs 64 blocks, which makes a good first farm if you’re still gathering wart by hand.
Next, collect your starter wart. Head to the nearest Nether Fortress, open every chest you pass, and look for soul-sand gardens along the stairwells. Plant your first row as soon as you get back. Each plant runs on its own timer, so an empty site is a harvest you never get back.
Once that first row is growing, decide when you’ll expand. Write down how many brews you make in a typical week. Then compare that number with what your 64 sites can produce. Every mature plant gives you 2 to 4 wart before Fortune, so you can estimate a full cycle before you plant the rest of the grid.
When your numbers show you’re falling short, add a row of soul-sand blocks along the edge and plant each new site right away. If you want to automate harvesting later, build the semi-automatic harvester on one row first and check that it works before you copy it across the farm.
Before your first big harvest, enchant your tool with Fortune III so each mature plant has the best chance of yielding up to seven wart. Then keep a chest of wart near your brewing stand and get planting.