
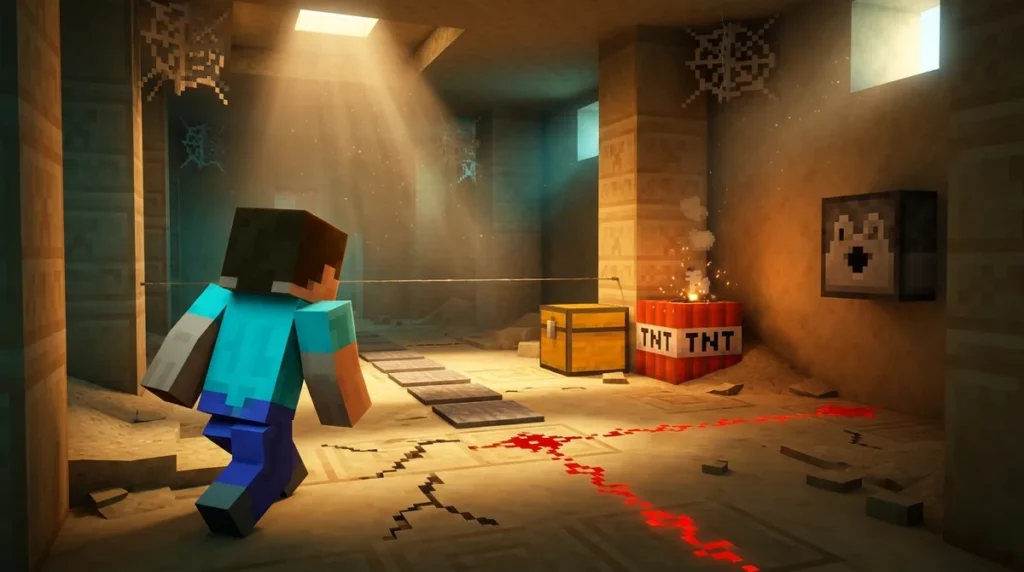
Minecraft desert temples hide a stone pressure plate under the center of the pyramid’s patterned floor. That plate is linked to nine TNT blocks arranged in a 3-by-3 grid, and stepping onto it can blow up the four chests holding your loot. The plate sits beneath a blue terracotta block at the heart of a 21-by-21-block floor, so it’s easy to miss if you only look at the towers and orange terracotta walls.
The good news is that you can reach the treasure without setting it off. Don’t dig straight down onto the chamber. Instead, dig out a block right beside the center so you approach from the side and stay clear of the plate. Take it slow, check the floor pattern before each step, and your chests and the TNT can both stay in place.
Key Takeaways
- Minecraft desert temples hide a stone pressure plate under the blue terracotta block at the center of the 21-by-21 floor, and that plate is wired to nine TNT blocks arranged in a 3-by-3 grid.
- Desert temple players should never dig straight down onto the central shaft, because the pressure plate sits directly under the blue terracotta center, so dig out a block directly beside the center or diagonal to it instead.
- Each of the four central chests in a Minecraft desert temple has a 2.4% chance to contain an enchanted golden apple, and those chests can also hold the Dune Armor Trim template.
- The buried rear room in a Minecraft desert temple contains six to eight suspicious sand blocks, which players should brush with a Brush rather than break, because brushing uncovers the buried objects.
What Does a Desert Temple Trap Look Like?
A desert pyramid, often called a desert temple, is easy to spot from a distance. Its stepped stone walls rise above the sand, and its towers stand out on the outside. Look for the orange terracotta decoration on the walls, too. Those bright patterns are your cue that the structure may hold a trap.
Step inside and you’ll find the main room’s ground floor laid out in a patterned square. Every block in that pattern matters. Near the center, a single blue terracotta block stands out against the warmer tones around it. Under that patterned floor, the main treasure waits in a hidden chamber. A central shaft drops down from the middle of the room, and at the bottom, four chests hold the loot.
Don’t confuse this with the buried rear room. It’s a separate area, a 5-by-5 room that generates with six to eight blocks of suspicious sand. Suspicious sand is fragile, so brush it with a Brush instead of breaking it. The Java Edition 1.20 changelog describes it as easy to destroy, and brushing it can uncover buried objects.
How Do You Spot the Pressure Plate Before It Goes Off?
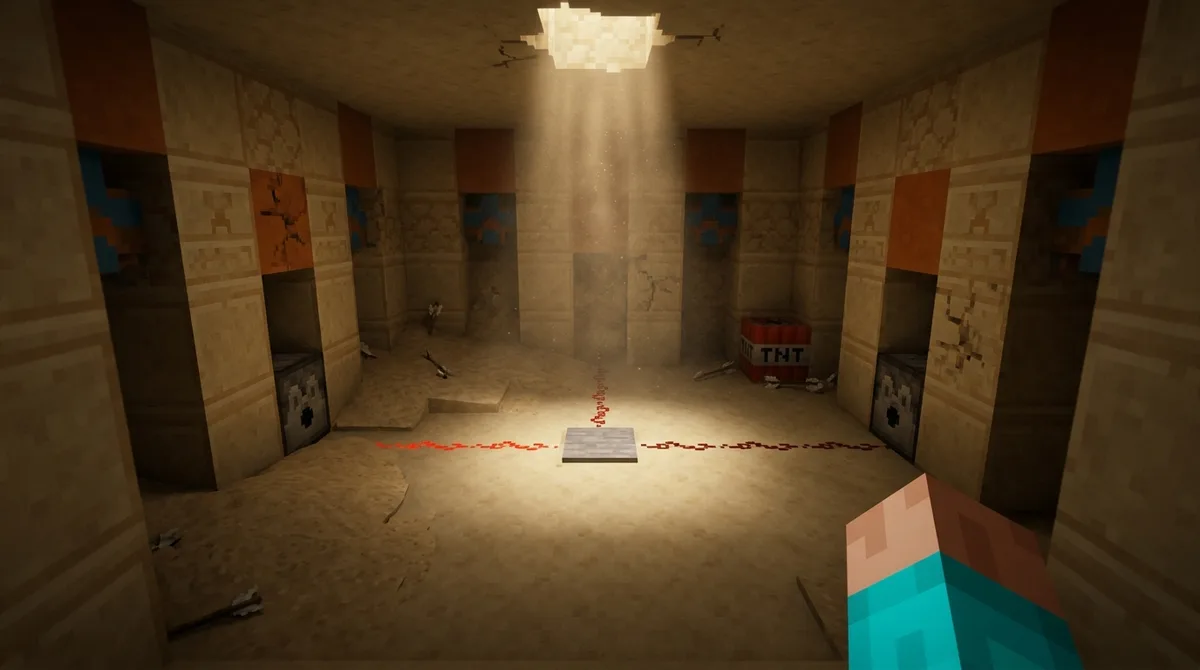
Look for a single blue terracotta block at the exact center of the ground floor. A stone pressure plate sits directly beneath it, and that plate is wired to nine TNT blocks arranged in a 3-by-3 grid. The center is the danger zone of the whole room, since stepping onto the plate or breaking the blue block is the main way the trap goes off.
Blue terracotta stands out from the warm orange and tan tiles around it, but only if you look closely. Don’t rush past the floor pattern to reach the shaft. Stop at the edge of the room and find the middle first.
Before you dig or walk anywhere, run through the room in this order:
- Stand at the entrance and locate the center of the patterned floor.
- Confirm that the center block is blue terracotta. If it is, treat it as a live trigger and keep it off-limits.
- Look at the blocks around the center so you know exactly which tiles to avoid.
- Choose a block directly beside the center, or one diagonal to it, as your entry point.
- Plan your digging line so it runs from that side toward the shaft and never crosses the center.
- Check the floor pattern before each step, and stop if any block looks out of place.
Choosing a side-entry route is the key habit here. Digging straight down onto the chamber puts you right over the plate, while a block next to the center keeps you clear of it. The route also gives you a clear line back out if you need to retreat.
Keep the blue block in view as you work. If you lose track of where the center is, stop moving and look at the floor pattern again before you take another step.
Which Blocks Should You Dig Instead of the Center?
Dig out a block directly beside the blue terracotta center, or one diagonal to it, instead of the center itself. That keeps your tunnel clear of the trigger.
Digging straight down onto the chamber is the riskiest move you can make. The stone pressure plate sits directly under the center block, so a shaft dropped from above puts you right on top of the trigger. Breaking the blue terracotta is just as dangerous, because the whole trap is built around that block.
Approaching from the side keeps you clear of the plate and the TNT grid. Your feet and your tools stay on the outer tiles while the center stays intact. You also never have to stand over the spot that matters most.
This approach is the standard way to loot the room safely. Avoid the center by digging out a block that touches it orthogonally or diagonally. Follow these steps once you’ve found the middle of the floor:
- Stand at the room’s entrance and locate the blue terracotta block at the center of the patterned floor.
- Walk to the tile directly beside it, or the one diagonal to it, and mine that floor block.
- Look at the block you just uncovered before you mine anything below it.
- Dig down one block at a time along the edge of the shaft, never across the center line.
- Check the floor pattern before each new block, and stop if any tile looks out of place.
- If something seems wrong, back up the way you came and reassess before you continue.
Keep a stack of cobblestone or dirt in your hotbar. If you dig a little too far, you can place a block back to rebuild the floor and keep your route tidy.
How Can You Keep the TNT Trap From Going Off?
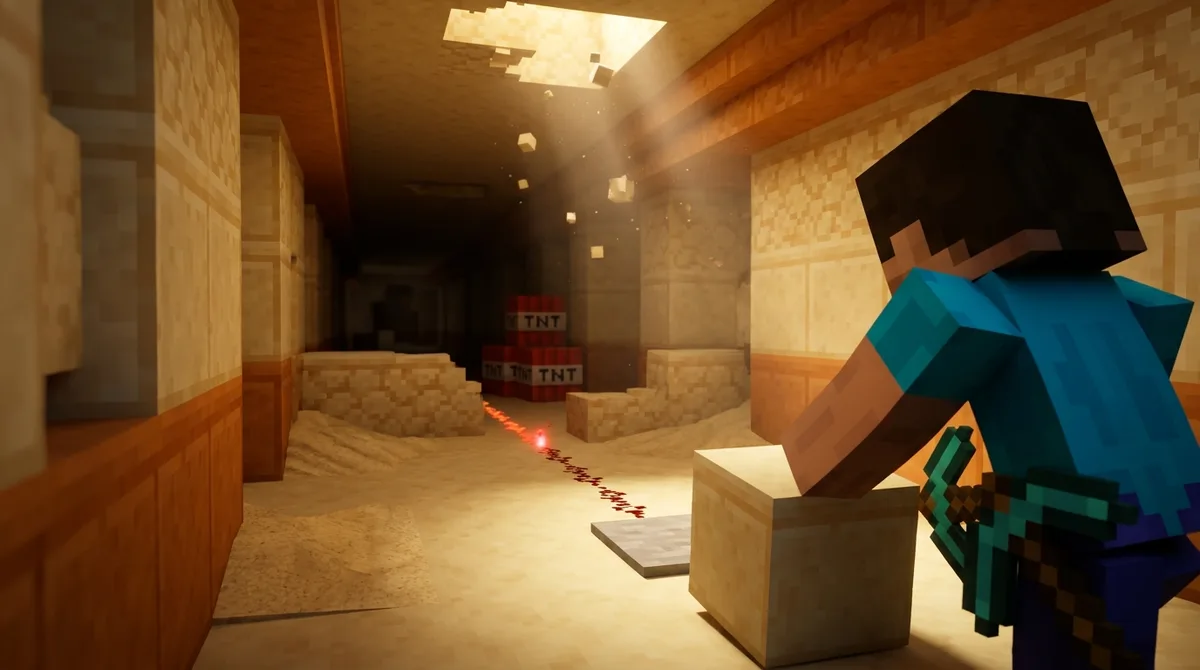
Once you’re inside, the most important rule is to leave the center alone. The stone pressure plate sits under the blue terracotta block, and that plate is wired to the nine TNT blocks in their 3-by-3 grid. Don’t mine the blue terracotta, don’t replace it, and don’t stand on it. Treat the whole middle of the floor as off-limits.
The tiles around the center matter too. Stepping onto the plate area is the obvious mistake, but placing extra weight near the middle is just as risky. Keep your gear, your chests, and your feet on the outer edge of the floor pattern while you work.
Here are the habits that protect both the TNT and your loot:
- Never step onto the stone plate or stand directly over the blue terracotta.
- Don’t set blocks, chests, or other heavy items down near the center.
- Keep your tunnel on one side of the center, never across it.
- Don’t open a new shaft from the room’s surface straight down onto the central shaft.
Before you open a single chest, plan your exit. Trace the route you dug, and make sure it runs along the outer edge of the floor and away from the blue block. Loot makes it tempting to rush, and that’s when players wander off the safe line and start improvising. Pick a spot to stand while you collect items, and keep that spot on the outer edge too.
Take one chest at a time, and check your route again after each one. When you’re done, walk straight back along the path you already cleared. Don’t dig a new way out, because a fresh tunnel is one more chance to clip the center by accident. With the exit mapped out, you can focus on the treasure instead of worrying about where you’re going next.
What Loot Can You Get From the Chests and Rear Room?
The four chests at the bottom of the central shaft can hold the Dune Armor Trim template and enchanted golden apples, and the buried rear room adds pottery sherds on top of that. Each part of the pyramid rewards you in a different way, so it helps to know what to expect from each.
Each chest has a 2.4% chance to contain an enchanted golden apple. That’s a small number, so don’t be surprised if you open all four chests and find nothing special. Across a pyramid’s four chests, the chance of at least one enchanted golden apple is roughly 9%, which means most runs will end without one.
The Dune Armor Trim is the reward many players hunt for. It’s one of the armor-trim templates you can find in the central chests, and you can apply it at a smithing table to give your armor a new pattern. Keep the template safe once you have it, because it’s worth more than the chest it came from.
Pyramid chest loot has also changed over time. In Java Edition 1.21.6, pyramid chests replaced saddles with leather, so expect to find leather where saddles used to show up.
The buried rear room is a different kind of reward. It’s a separate 5-by-5 block archaeology room with six to eight suspicious sand blocks. Stand beside each block and use your Brush on it, one at a time, rather than mining it with a pickaxe. Brushing is what turns the sand into loot.
Pottery sherds come from the same brushing process. You can find them by brushing suspicious sand or suspicious gravel. Twenty sherds are spread across five archaeology sites, and desert temples are one of those sites, so the rear room is a good place to look for them.
Here’s a quick look at where each reward comes from:
- Central chests: Dune Armor Trim template, plus a 2.4% chance per chest of an enchanted golden apple
- Rear archaeology room: six to eight suspicious sand blocks that you brush to uncover buried objects
- Other archaeology sites: the rest of the 20 pottery sherds, found by brushing suspicious sand or gravel
Take your time with the rear room. Brushing is slower than mining, but it keeps the buried objects intact, and you’ll get the chance to pick up every item the sand is hiding.
Ready for Your Next Desert Temple Run?
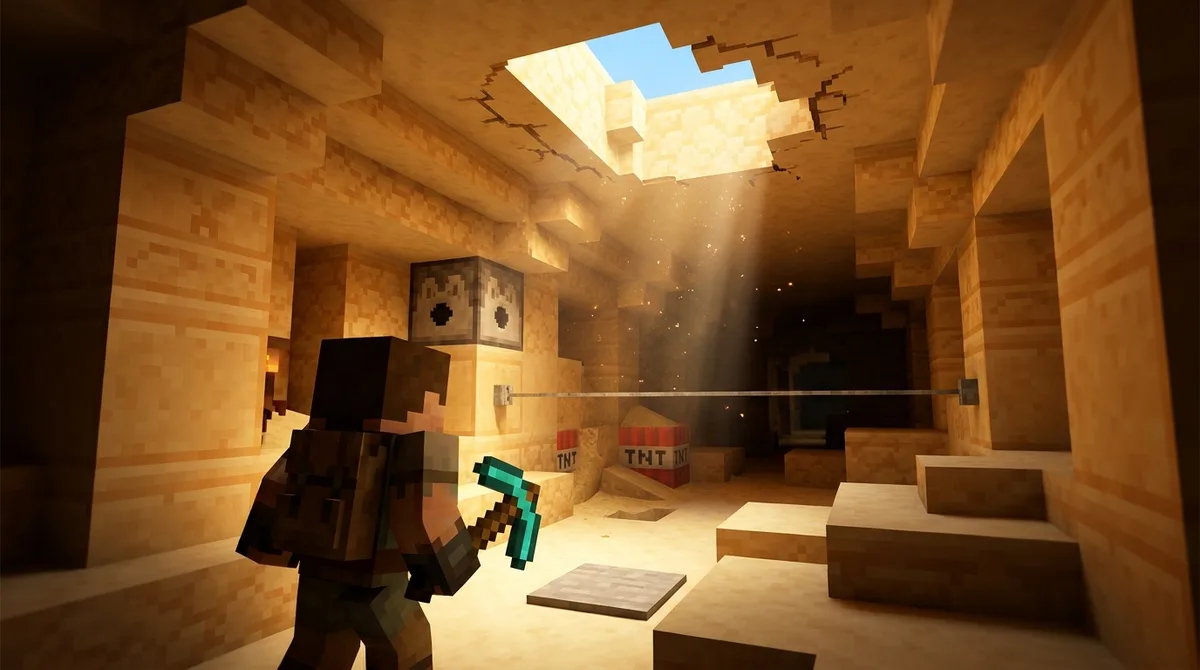
You’re ready once you can find the blue terracotta center, dig in from its side, and leave the nine TNT blocks alone. Run through this checklist before each trip:
– Spot the plate: find the blue terracotta block at the center of the 21-by-21 floor, and treat it as off-limits. – Dig beside the center: mine a block directly beside it or diagonal to it, then work downward along the edge of the shaft. – Loot the chests: open the four chests one at a time, standing on the outer edge of the floor. – Brush the rear room: use your Brush on each suspicious sand block slowly, one block at a time, instead of breaking it.
Brushing takes longer than mining, so keep a steady pace and don’t hurry through the room. Rushing is how suspicious sand gets destroyed.
Before you head out, check your game version on the title screen. Chest loot can change between updates, so the rewards you found last time may not match what’s in your world now.
Your Safe Route Through the Sand
Your next step is to pick one desert temple and make a practice run. Pack a pickaxe, a stack of cobblestone or dirt for patching the floor, and a Brush before you walk into the sand. When you reach the entrance, find the single blue terracotta block at the center of the 21-by-21 floor, then choose the tile beside it where you’ll start digging.
Mine that side tile first, then dig down one block at a time along the edge of the shaft. Look at every block before you break it. If you slip and touch the center, stop, back out the way you came, and place a block from your hotbar to fix the floor before you try again.
When you reach the four chests, open them one at a time and write down what each one holds. Loot changes between versions, so your notes will show you what your world gives you and help you compare future runs.
Last, head to the buried rear room. Choose one suspicious sand block, brush it slowly, and collect whatever comes out before you move to the next one. Take a break if your hands get tired, and don’t rush. The slower you work, the more buried objects you keep.