
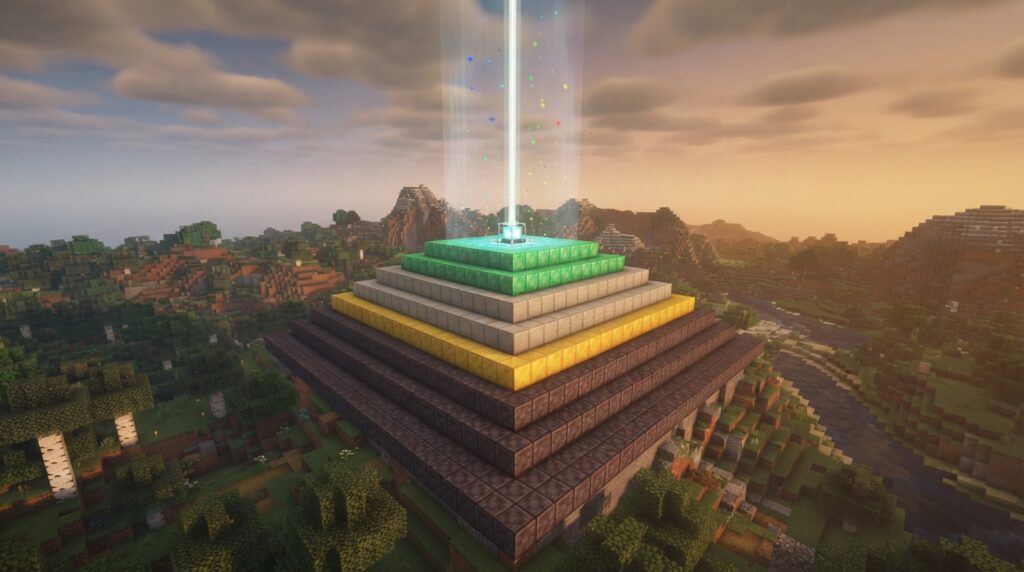
Beacon power levels depend on the size of the mineral-block pyramid beneath the beacon. One 3×3 layer gives you tier 1, while a full pyramid with a 9×9 bottom layer reaches tier 4. Tier 1 costs 9 blocks and has a range of 20 blocks. Tier 4 costs 164 blocks and has a range of 50 blocks. Iron, gold, diamond, emerald, and netherite blocks all count toward the pyramid, and mixing them does not change its effects. Minecraft Wiki’s beacon overview lists the tier costs and ranges.
As you add layers, you unlock more choices. Tier 1 offers Speed or Haste; tier 2 adds Resistance and Jump Boost; tier 3 adds Strength. A complete four-layer pyramid is the main milestone: it lets you choose Regeneration as a secondary effect or upgrade a primary effect to level II. If you are gathering materials over time, start with the 3×3 base, then expand it to a 5×5 bottom layer when you have enough for tier 2. Add the 7×7 and 9×9 layers as your supply grows. Each step increases the beacon’s range and duration, but you do not need a full pyramid to use its lower-tier powers. The tier-by-tier effect rules can help you weigh each upgrade against its block cost.
Key Takeaways
- Beacon pyramids use 9, 34, 83, or 164 mineral blocks for tiers 1–4, with ranges of 20, 30, 40, or 50 blocks and durations of 11, 13, 15, or 17 seconds, respectively; a tier-4 pyramid has a 9×9 bottom layer.
- Beacon tiers add choices without selecting them for you: tier 1 offers Speed or Haste, tier 2 adds Resistance and Jump Boost, tier 3 adds Strength, and tier 4 lets you choose Regeneration as a secondary power or upgrade a primary power to level II.
- Iron, gold, diamond, emerald, and netherite blocks all count toward a beacon pyramid, and mixing them does not change its tier or effects; choose your power at the beacon using an accepted payment item.
- You can build in stages: add 25 blocks to move from tier 1 to tier 2, 49 more for tier 3, and 81 more for tier 4, so complete the next layer when you have enough instead of waiting for all 164 blocks.
What Do Beacon Power Levels Unlock?
Beacon power depends on the pyramid’s tier, not on whether you build it from iron, gold, diamond, emerald, or netherite blocks. You can mix these valid block types in one pyramid without changing the beacon’s power, as explained in Minecraft Wiki’s beacon entry. Each tier adds effects to the beacon’s available choices. A higher tier expands the menu, but does not automatically select a new effect for you. Choose the power you want at the beacon: the pyramid determines which options are available, and your selection determines which power the beacon provides. At tier 1, you can choose Speed I or Haste I. For example, if you want Speed, select it at the beacon rather than expecting the pyramid to activate it on its own. Minecraft Wiki’s beacon entry lists the effects available at each tier.
Tier 2 keeps the tier-1 options and adds Resistance I and Jump Boost I. This gives you more choices when you use the beacon, but the added effects do not replace Speed or Haste. You still select the effect that suits your needs. Tier 3 adds Strength I to the available primary powers. The progression is cumulative: each new tier opens more options while keeping the effects available at lower tiers. A tier-3 pyramid therefore gives you more primary-effect choices than a tier-1 pyramid, but you do not have to use the newest option.
The full tier-4 pyramid is the main milestone if you want more than another primary-power option. Tier 4 lets you choose Regeneration I as a secondary power or upgrade a primary power to level II. Minecraft Wiki’s beacon entry describes these tier-4 choices. Regeneration is the secondary-power option, while level II strengthens a primary effect. Choose between these options at the beacon. The pyramid unlocks them, but does not determine which one you use. A tier-4 beacon can therefore offer a stronger primary power or add Regeneration as its secondary power.
To choose an effect, interact with the beacon and place an accepted payment item in its slot. Accepted items include an iron ingot, gold ingot, emerald, diamond, or netherite ingot. Then select one of the effects unlocked by your pyramid tier. Minecraft Wiki’s iron ingot entry describes the beacon payment step. This selection matters when you are gathering materials for a stronger beacon. A larger pyramid expands the effect menu, but the beacon will not switch to Resistance, Strength, Regeneration, or a level-II power unless you select it. If you want a particular effect, check which tier unlocks it, then select it at the beacon.
How Big Is Each Beacon Pyramid?
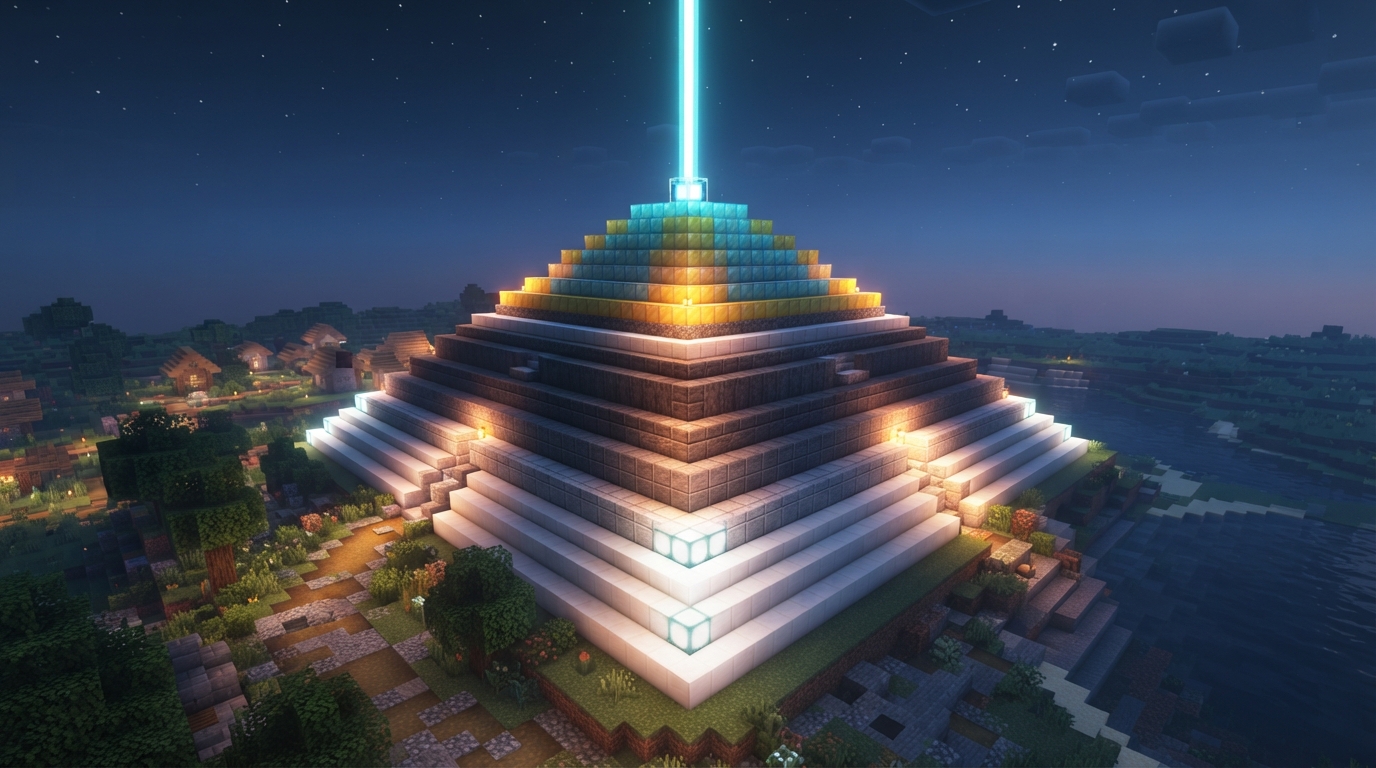
Beacon pyramids range from one 3×3 layer at tier 1 to four layers with a 9×9 base at tier 4. The table shows each tier’s layer sizes, total material cost, equivalent ingots or gems when you use one material, effect range, and duration. The beacon tier details list these costs and ranges.
| Tier | Layers, largest to smallest | Total mineral blocks | One-material equivalent | Effect range | Duration |
|---|---|---|---|---|---|
| 1 | 3×3 | 9 | 81 ingots or gems | 20 blocks | 11 seconds |
| 2 | 5×5, 3×3 | 34 | 306 ingots or gems | 30 blocks | 13 seconds |
| 3 | 7×7, 5×5, 3×3 | 83 | 747 ingots or gems | 40 blocks | 15 seconds |
| 4 | 9×9, 7×7, 5×5, 3×3 | 164 | 1,476 ingots or gems | 50 blocks | 17 seconds |
Read each layer list from the bottom of the pyramid upward. The largest square forms the base, and each smaller square sits above it. The 9×9 layer is the base of a four-layer tier-4 pyramid, not the entire structure. The 7×7, 5×5, and 3×3 layers complete it. The total material cost includes every block in the pyramid.
The ingot or gem figure is the amount needed to craft all the mineral blocks from a single material. For example, a tier-2 pyramid made entirely from iron uses 306 iron ingots, while one made entirely from emerald blocks uses 306 emeralds. You can also combine iron, gold, diamond, emerald, and netherite blocks. The material mix does not change the tier.
Compare the totals to see how much material each upgrade takes. Moving from tier 1 to tier 2 requires 25 more mineral blocks, while moving from tier 2 to tier 3 requires 49 more. The jump from tier 3 to tier 4 is the largest, at 81 additional blocks. That final upgrade nearly doubles the pyramid’s total, from 83 to 164 blocks.
Each tier adds 10 blocks of effect range and 2 seconds of duration. For example, tier 2 reaches 30 blocks for 13 seconds, while tier 3 reaches 40 blocks for 15 seconds. This steady increase makes it easy to compare the benefits with the extra blocks each upgrade requires.
Which Beacon Power Is Best?
The best beacon power depends on what you plan to do nearby, and your pyramid tier determines which powers you can choose. Speed and Haste are the first options. Higher tiers add defense, jumping, combat, and stronger or additional effects.
At tier 1, choose Speed I when you want to move around your base, travel between nearby builds, or cross an area more quickly. Choose Haste I when you plan to mine near the beacon, such as when clearing blocks for a tunnel or digging out a room. Haste suits a mining area, while Speed suits a route you use often. Minecraft Wiki’s beacon entry lists Speed I and Haste I as the tier-1 choices.
Tier 2 keeps Speed I and Haste I available and adds Resistance I and Jump Boost I. Resistance I can be useful when you expect to take damage near the beacon, such as while working in a hazardous area. Jump Boost I suits a worksite with uneven ground or obstacles to get over. If neither situation applies, keep using Speed for movement or Haste for mining.
Choose an effect based on what you will do in the beacon’s range, not just because the pyramid unlocked it. For example, a beacon beside a mine entrance may be more useful with Haste while you dig, then with Resistance if you move to a dangerous area. A beacon near a build site with awkward terrain may make Jump Boost the practical choice. Tier 2 expands your options, but no single effect is best for every activity.
Tier 3 adds Strength I as another primary choice, alongside Speed, Haste, Resistance, and Jump Boost. Strength I suits combat in an area where you expect to fight, such as when defending a build from hostile mobs. If you are mainly gathering blocks, Haste may be more helpful. If you are crossing the area or avoiding danger, Speed or Resistance may suit the task better. Minecraft Wiki’s beacon information lists the tier-3 options.
At tier 4, you can choose Regeneration I as a secondary power or a level-II primary power. Regeneration I adds a secondary effect, while a level-II primary power strengthens the primary effect you select. Choose Regeneration when you want that additional power near the beacon. Choose level II when strengthening a primary effect, such as Haste for mining or Strength for combat, better suits your plans. Tier 4 unlocks both options, but you must decide which one fits the nearby activity.
The pyramid’s block material does not make one effect stronger or more suitable than another. Iron, gold, diamond, emerald, and netherite blocks can all form a beacon pyramid, and the material choice does not change its powers. Choose an available effect based on your plans near the beacon, then build to the tier that unlocks it. Minecraft Wiki explains that beacon-base materials do not affect beacon power.
Build Toward a Stronger Beacon
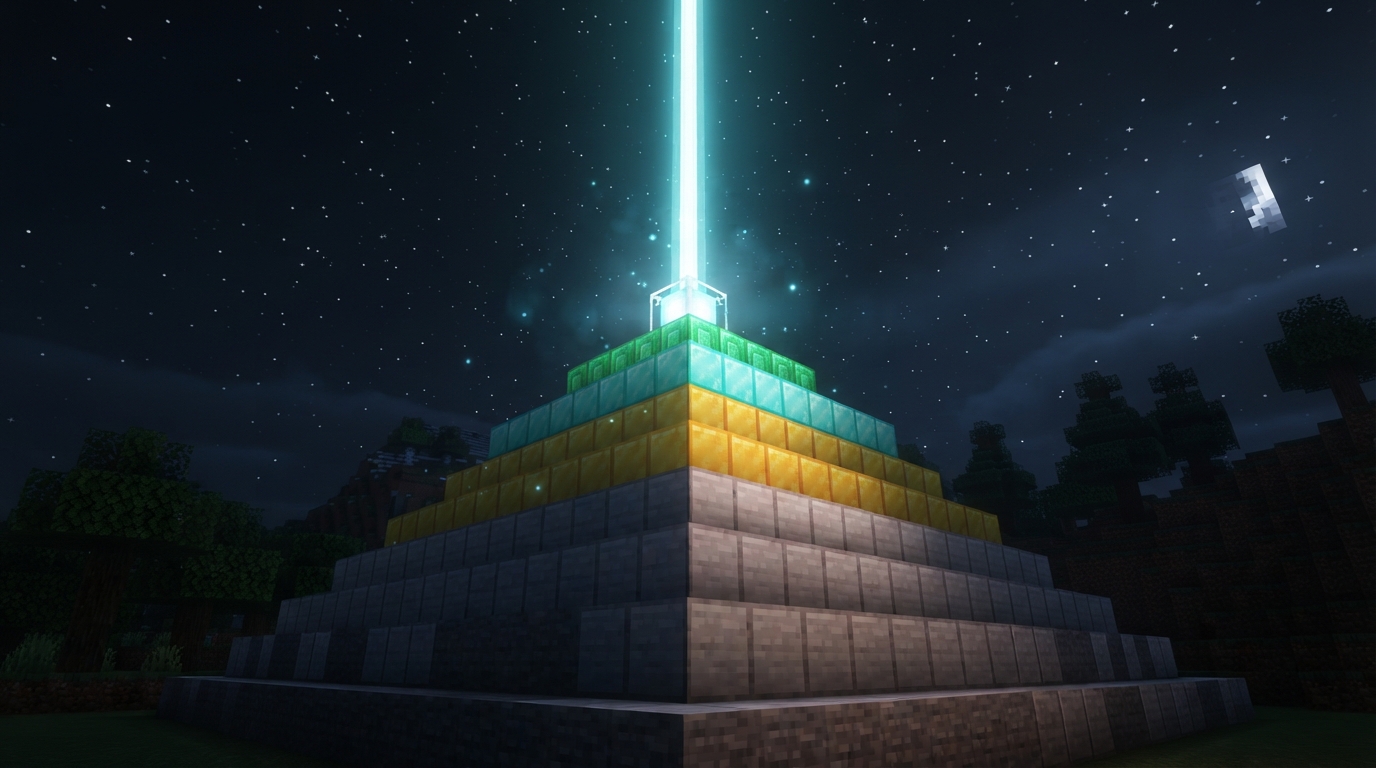
Build the pyramid in complete layers, adding each larger square beneath the existing structure as your supply grows.
- Build the 3×3 layer with 9 mineral blocks to reach tier 1. The tier-1 base gives you the first beacon options, Speed I or Haste I, so you can start with a modest supply instead of waiting until you have enough blocks for a larger pyramid. Minecraft Wiki’s beacon guide lists the layer sizes, block totals, and effects.
- Add a complete 5×5 layer to reach tier 2. The 3×3 and 5×5 layers together use 34 blocks, so this step adds 25 blocks to your tier-1 base. Tier 2 keeps the first-tier choices and unlocks Resistance I and Jump Boost I. Minecraft Wiki’s beacon guide lists the tier-2 cost and powers.
- Add a complete 7×7 layer to reach tier 3. With the 7×7, 5×5, and 3×3 layers in place, the pyramid uses 83 blocks total, which is 49 more than tier 2. Minecraft Wiki’s beacon guide lists the tier-3 total and effect.
- Add a complete 9×9 layer to finish the tier-4 pyramid. The four layers together require 164 blocks, so the final expansion adds 81 blocks to the tier-3 structure. Tier 4 unlocks the option to choose Regeneration I as a secondary power or a level-II primary power. Minecraft Wiki’s beacon guide lists the full-pyramid cost and tier-4 options.
Use the totals as milestones while gathering materials. For example, if you have enough valid blocks for tier 2 but not tier 3, complete the 5×5 layer now. Your pyramid will have 34 blocks and unlock the tier-2 powers. You can collect the 49 additional blocks needed for the 7×7 layer later. This lets you use the tier-2 upgrade while you gather materials for the next one.
You do not need to build every layer from the same mineral. Iron, gold, diamond, emerald, and netherite blocks can all count toward one pyramid, and mixing them does not change its tier or effects. You can use blocks you already have, then fill the next complete layer with a different valid block type instead of waiting to collect enough of one rare material. Minecraft Wiki’s beacon guide confirms that you can combine these block types.
Keep track of the total pyramid count, not just the newest layer. The 5×5 layer adds 25 blocks to the original 9, the 7×7 layer adds 49 to the tier-2 total, and the 9×9 layer adds 81 to the tier-3 total. This makes it easier to tell whether your stash can complete the next milestone or whether you need to gather more before expanding.
What Does a Beacon Need to Work?
A beacon works when you craft it, place it on a valid mineral-block pyramid, give it an unobstructed view of the sky, and select a power using an accepted payment item. If you miss any of these steps, the beacon may not activate or provide the effect you want. To craft a beacon, you need 5 glass, 1 Nether Star, and 3 obsidian. You get the Nether Star by defeating the Wither. The beacon crafting recipe shows how to arrange the ingredients.
Place the beacon on a pyramid made from iron, gold, diamond, emerald, and/or netherite blocks. You can mix these block types in the same pyramid. The pyramid must use blocks, such as iron blocks, rather than loose ingots or gems. The beacon also needs an unobstructed view of the sky. Transparent blocks and bedrock above the beacon are allowed, but other obstructions can stop it from activating. Check the beacon activation details if the beacon does not activate even though its pyramid is built.
Activation and effect selection are separate steps. Once the beacon is active, open its menu and place an iron ingot, gold ingot, emerald, diamond, or netherite ingot in the payment slot. Then choose an available power. The pyramid tier controls which powers appear in the menu, while the payment item lets you make a selection. Do not use the Nether Star as payment. You need it to craft the beacon, but it is not one of the listed items for selecting a power. For example, after crafting a beacon with a Nether Star, you can pay for an effect with an iron ingot or an emerald.
If your beacon is built but provides no effect, check each requirement. Confirm that it sits on a valid pyramid, make sure the sky above it is clear except for allowed transparent blocks or bedrock, and select a power using an accepted payment item. A beacon without a selected power will not provide the effect you want, even if its pyramid is complete.
Is a Maxed-Out Beacon 9×9?
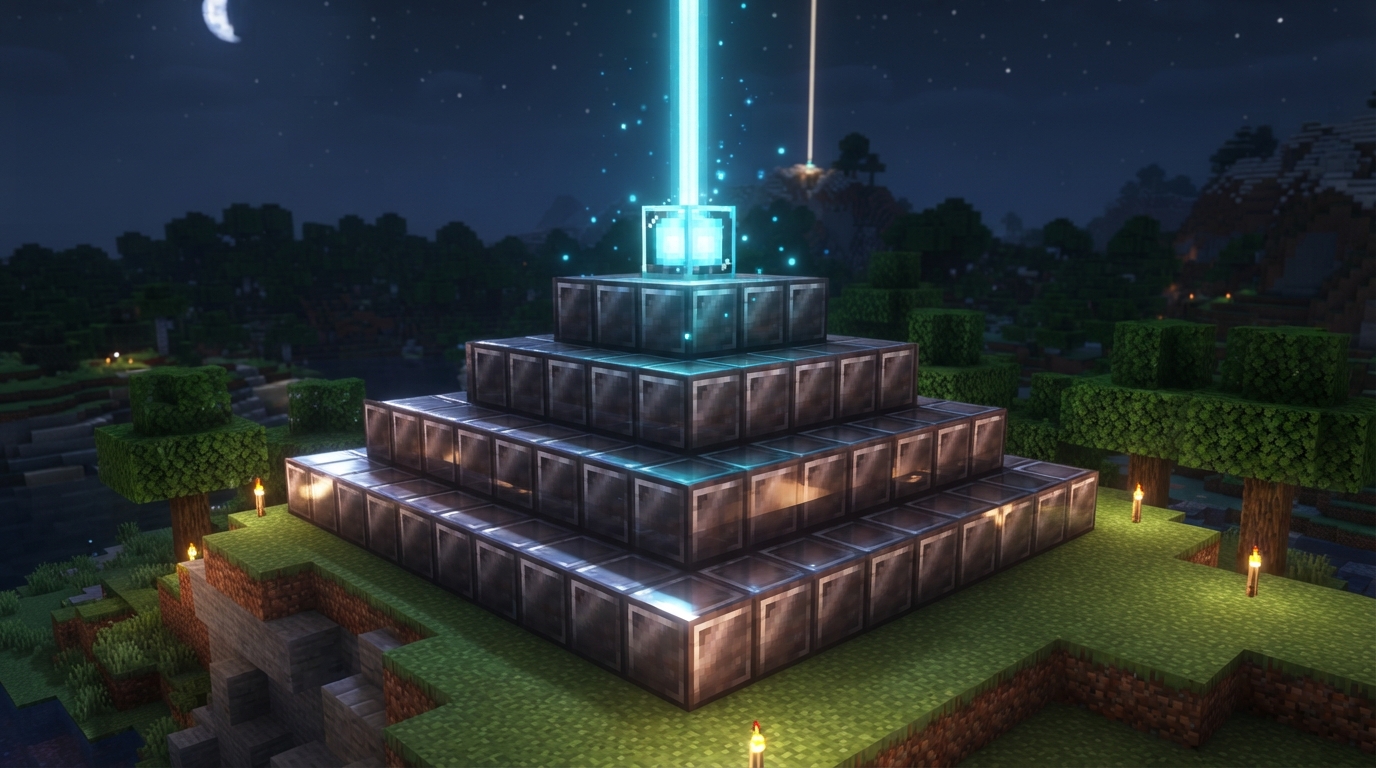
Yes. A maxed-out beacon uses a tier-4 pyramid with a 9×9 bottom layer, followed by 7×7, 5×5, and 3×3 layers above it. The four layers contain 164 mineral blocks altogether. The 9×9 measurement describes the bottom layer’s footprint, not the total number of blocks or the beacon’s effect range. Minecraft Wiki’s beacon guide lists the layer sizes and total.
A full pyramid gives the beacon an effect range of 50 blocks and a duration of 17 seconds. These numbers describe how far the effect reaches and how long it lasts, while 9×9 describes the width and depth of the pyramid’s bottom layer. The pyramid has a large footprint, but that footprint does not measure the area affected. The beacon tier details give the range and duration for a tier-4 pyramid.
You do not have to wait until you have all 164 blocks to use a beacon. A tier-1 pyramid costs 9 blocks and already lets you choose Speed I or Haste I. This smaller tier can be useful while you gather materials for another layer, especially if you want movement or mining help near the beacon. Minecraft Wiki’s beacon entry lists the tier-1 cost and powers.
Decide whether to keep building by comparing the extra block cost with the range and effects you want. If the current range covers your work area and Speed or Haste meets your needs, you can leave the pyramid at its current tier. If you want the beacon to reach farther or want effects unlocked at higher tiers, add the next complete layer when you have enough blocks. A larger pyramid increases the range and expands the available powers, but it does not force you to use a newly unlocked effect.
You can build the pyramid from iron, gold, diamond, emerald, or netherite blocks, including a mix of these materials. Replacing iron blocks with diamond, emerald, gold, or netherite does not increase beacon power. Only adding pyramid layers raises the tier. This can help you save rare blocks for other builds instead of using them in the beacon base. Minecraft Wiki explains that beacon-block material does not affect power.
Choose Your Next Beacon Tier
Before gathering more blocks, decide which effect you want near your work area. Stay at your current tier if Speed or Haste meets your needs. Aim for tier 2 for Resistance or Jump Boost, tier 3 for Strength, or tier 4 for Regeneration or a level-II primary power. The Minecraft Wiki beacon entry lists the effects each tier unlocks.
Next, count the mineral blocks already in your pyramid and set a target for the next effect you want. For example, if your beacon is at tier 2 and you want a tier-4 option, you need 130 more blocks to reach the full 164-block pyramid. Gather enough for the next complete layer first instead of waiting to collect everything for tier 4 before upgrading. Iron, gold, diamond, emerald, and netherite blocks all count toward the total, so use a mix of materials you have available.
When you finish a layer, select the effect you wanted at the beacon and check that it suits the area around your base, mine, or build site. If the effect or range still falls short of what you need, make the next layer your material goal. If the beacon works for the task, pause the upgrade and save rare blocks for another build.