
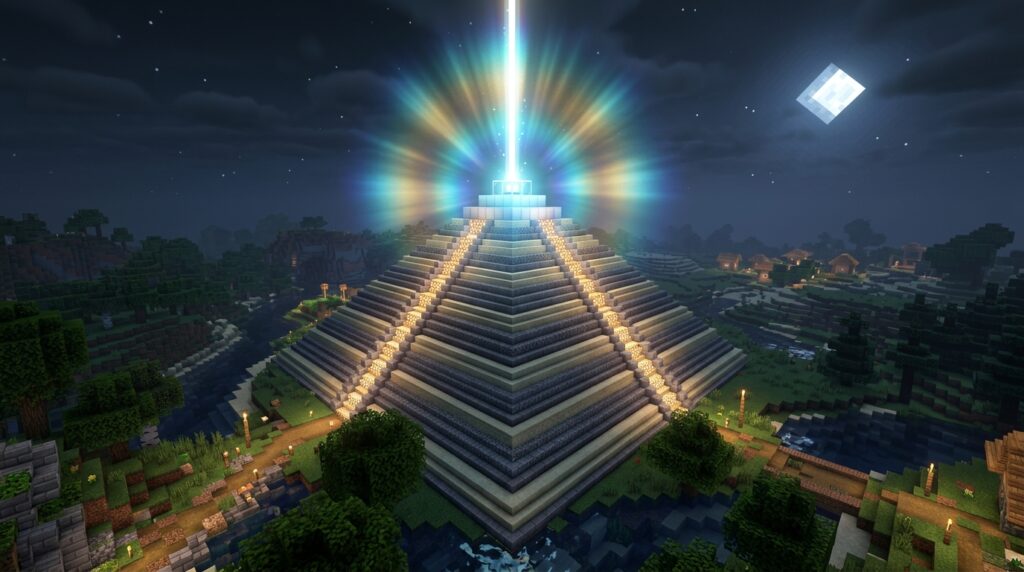
A beacon can turn your Minecraft base into a powerful home, but you need to build and use it correctly. This Minecraft beacon guide explains how to build the pyramid, activate the beam, and choose effects such as Speed, Haste, and Regeneration. You will also learn how far the effects reach and which blocks can support the beacon.
Whether you want to mine faster at a quarry or create a visible landmark for your base, a well-placed beacon saves time and supports your projects. You will find practical tips for Java and Bedrock Edition, including the latest beam-rendering changes in Java Edition 1.21.5.
Key Takeaways
- Craft a beacon with five glass, three obsidian, and one Nether Star, then place it on a pyramid made from iron, gold, emerald, diamond, or netherite blocks. These materials can be mixed freely and do not change the beacon’s power or range.
- Pyramid size determines beacon coverage and available effects: one layer reaches 20 blocks, while the four-layer, 164-block pyramid reaches 50 blocks and unlocks level II upgrades or Regeneration.
- Match the beacon effect to the task: choose Haste for mining, Speed for travel, Strength or Resistance for combat, and Jump Boost or Regeneration for difficult work areas and sustained projects.
- Place the beacon where you use it most and keep a clear path to the sky; glass, stained glass, water, and ice are allowed, but solid or light-blocking materials stop the beam and deactivate the beacon.
Minecraft Beacon Guide Introduction
After defeating the Wither, you can use its Nether Star to craft a beacon and make your base easier to use. A working beacon projects a bright beam into the sky, creating a visible landmark for your base, mine, or building site. It also gives helpful status effects to players within its range. Place the beacon where you spend time, such as beside a central storage room, a quarry entrance, or a large construction project.
Your beacon must sit on a pyramid made from iron, gold, emerald, diamond, or netherite blocks, and it needs a clear path to the sky. The pyramid can have one to four layers. Larger pyramids unlock more effects and provide a wider range. A one-layer pyramid reaches 20 blocks, while a full four-layer pyramid reaches 50 blocks and allows the strongest options. You can mix approved block types in the same pyramid, so use iron for an affordable build or rarer blocks when you want a more impressive design.
Choose the effect that matches your current task. Haste helps you mine faster, Speed helps you travel, and Strength helps you defend your base. Resistance and Jump Boost can help you survive and move through dangerous work areas. A fully powered beacon can also provide Regeneration or raise its primary effect to level II. For the best results, place it near the center of the area you use most and keep the beam clear, although glass and water can remain above it. A stained glass block above the beacon can tint the beam and help it stand out as a landmark.
Beacon Recipe And Pyramid Levels
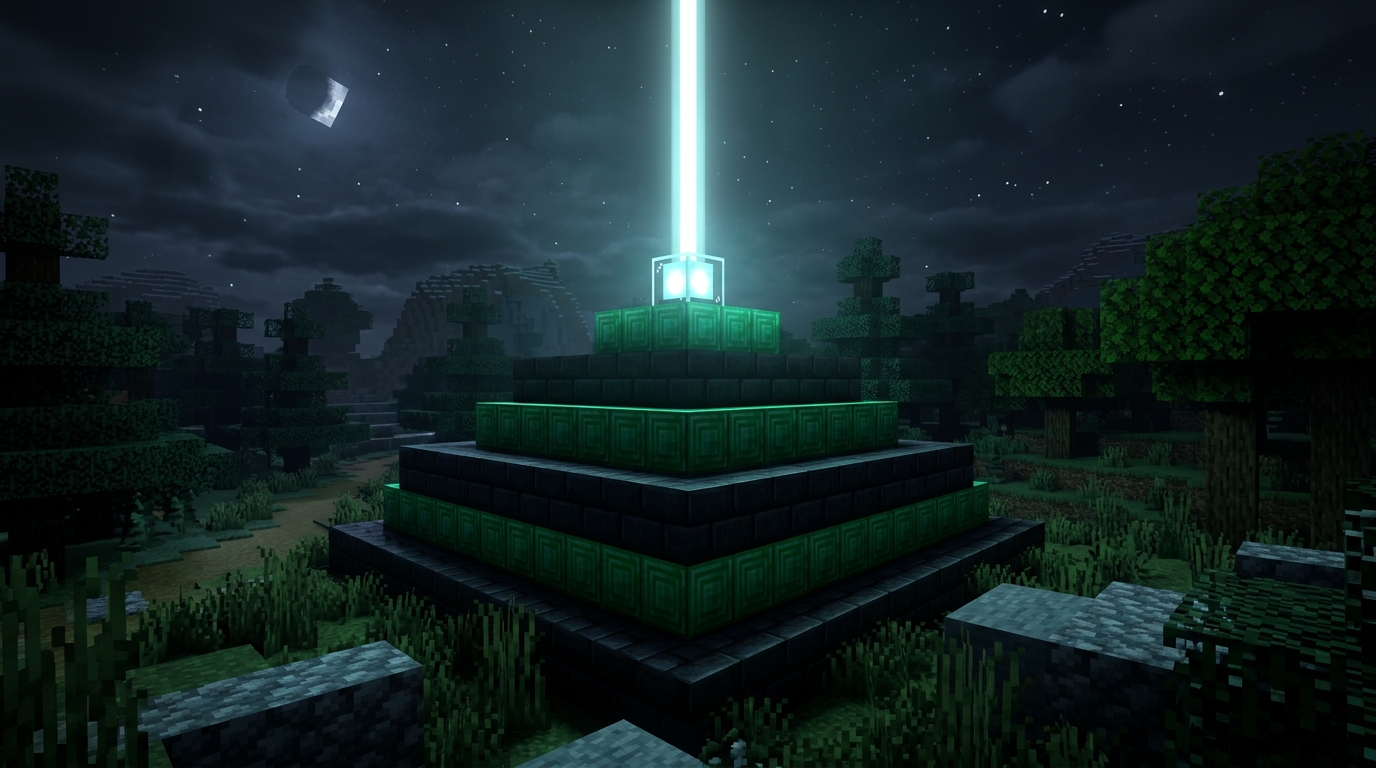
After defeating the Wither, you can craft a beacon with five glass, three obsidian, and one Nether Star. Place three obsidian blocks across the bottom row of the crafting grid. Put the Nether Star in the center, then fill the remaining spaces with glass. The finished beacon must sit on a mineral-block pyramid before it can grant effects. It also needs a clear path to the sky, although glass and water can remain above it.
You can build the pyramid in four sizes, with each level adding a larger base below the beacon. A level-one pyramid uses a 3-by-3 layer of nine blocks and gives an effect range of 20 blocks. A level-two pyramid has 5-by-5 and 3-by-3 layers, uses 34 blocks in total, and reaches 30 blocks. A level-three pyramid adds a 7-by-7 layer for 83 blocks in total and a 40-block range. The full level-four pyramid uses 9-by-9, 7-by-7, 5-by-5, and 3-by-3 layers, totaling 164 blocks and providing a 50-block range.
You can freely mix iron, gold, emerald, diamond, and netherite blocks in any pyramid, so use the materials you have available. The block type does not change the beacon’s effects, range, or strength. A smaller pyramid works well beside an early mining area, while a full pyramid can cover a large building site and unlock the strongest beacon options. Place it somewhere you visit often, then open the beacon menu to choose a primary effect and, at level four, a secondary effect.
Beacon Effects And Power Choices
A beacon’s available effects depend on the number of pyramid layers beneath it. With one layer, you can choose Speed or Haste. Two layers add Resistance and Jump Boost, while three layers unlock Strength. A full four-level pyramid uses 3-by-3, 5-by-5, 7-by-7, and 9-by-9 layers, totaling 164 blocks made from iron, gold, emerald, diamond, or netherite. At this level, you can upgrade a primary effect to level II or choose Regeneration as the secondary effect. Keep the beacon’s path to the sky clear so it can work properly.
Choose Haste for mining stone, clearing caves, or completing a large construction project. Haste II lets you break blocks much faster with the right tool. Speed is useful for traveling between builds, moving through crop rows, and handling daily farming tasks. Jump Boost helps you cross uneven ground or reach raised platforms. Resistance provides extra protection during dangerous mining trips and fights, while Strength increases your damage against mobs and other players. Regeneration is a useful secondary effect for sustained combat or steady healing near a large base.
For a long-term building area, a four-level beacon with Haste II is usually the strongest choice, especially when you are clearing a mountain or shaping a large floor. Use Speed II for roads, farms, and large settlements where you spend more time moving than breaking blocks. Near a mob arena or dangerous cave entrance, Strength II paired with Regeneration can improve both damage and recovery. Resistance is a reliable defensive option when you cannot avoid incoming attacks. Place the pyramid close to your main work zone, and use cheaper iron blocks unless you have a reason to display rarer materials.
Beacon Placement And Beam Mechanics
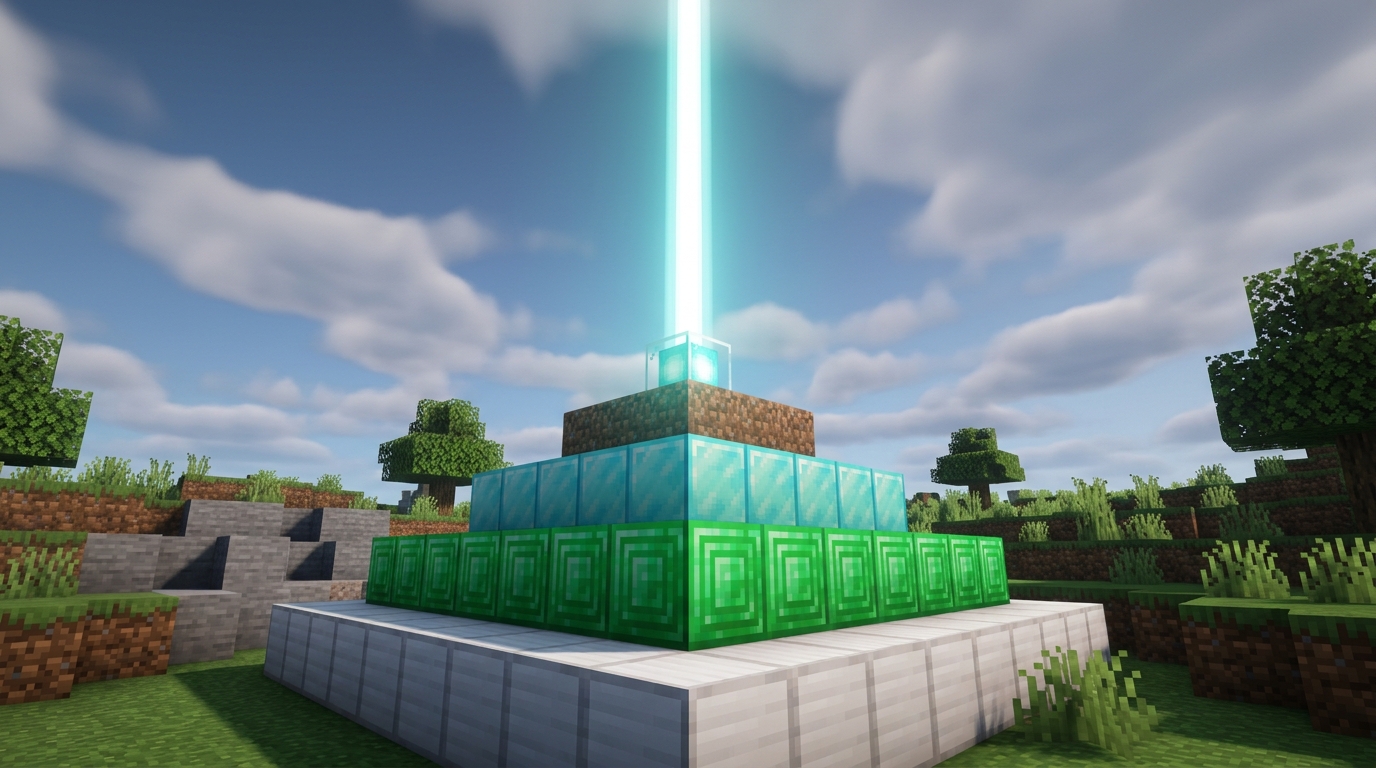
Your beacon needs a clear path to the sky before it can activate, so do not place solid blocks above it. The beam can pass through glass, stained glass, water, and ice, allowing you to build a roof or decorative cover without stopping the beacon. Avoid tinted glass and other blocks that block light, because they can interrupt the beam. In Java Edition 1.21.5, the beam can render beyond 16 chunks and reach up to 2,048 blocks high when your client’s render distance supports it.
Place a beacon beside a main mining shaft, underground base entrance, or central travel route so its effects cover areas you use often. A beacon near a mine can give you Haste for faster stone breaking, while one beside a building site can provide Speed, Jump Boost, or Regeneration as you work. Build the pyramid from iron, gold, emerald, diamond, or netherite blocks. Common materials such as iron make a practical first beacon. Leave enough space around the pyramid for easy access and future upgrades.
For a strong landmark, place the beacon near your main building area and use stained glass above it to give the beam a color that matches your base. If you place it underground, connect the beam to the surface with a vertical glass shaft, and keep the shaft free of solid blocks all the way to the sky. You can also place several beacons near different mining branches, but each one needs its own pyramid and open beam path. Check the beam from a distance after building to make sure nearby towers, hills, or ceilings are not blocking it.
Minecraft Beacon Guide Conclusion
Choose your beacon pyramid based on how much coverage and power you need. Start with a one-level pyramid made from a 3-by-3 platform. It gives you Speed or Haste within 20 blocks and costs only nine mineral blocks. When you add the 5-by-5, 7-by-7, and 9-by-9 layers, the beacon reaches its full range of 50 blocks and unlocks effects such as Resistance, Jump Boost, Strength, and Regeneration. You can build the pyramid from iron, gold, emerald, diamond, or netherite blocks, and you can mix these materials without changing the beacon’s effects. Iron is usually the easiest choice, while rarer blocks can help the beacon match an impressive base.
Place your beacon where you will use its effect most often, such as beside a quarry for Haste or near a construction site for Speed and Jump Boost. Make sure the beacon has a clear path to the sky, although transparent blocks such as glass and water can remain above it. A small Haste or Speed beacon is a practical starting point after defeating the Wither, especially while you gather blocks for a larger pyramid. Expand to the full 164-block pyramid when you need stronger effects, the widest coverage, or several useful powers around your main base.
Build and Use Your Beacon
A beacon is a powerful reward after defeating the Wither, so build it where you will use its effects often. Start with a one-level pyramid for basic effects, then expand to two, three, or four levels for stronger abilities and a larger range. The full pyramid reaches 50 blocks. Choose iron, gold, emerald, diamond, or netherite blocks based on what you have, because each material works the same way. Select Speed or Haste for travel and mining, while Strength, Resistance, or Jump Boost can help with combat and difficult builds.
Place the beacon near your main mine, storage area, or building site, and leave a clear path from the beacon to the sky. Glass and water can stay above it, but solid blocks will stop the beam and prevent the beacon from working. A fully upgraded beacon can provide a level II primary effect or Regeneration, making it especially useful around large projects. With the right pyramid size and placement, your beacon becomes both a clear landmark and a lasting advantage in your world.