
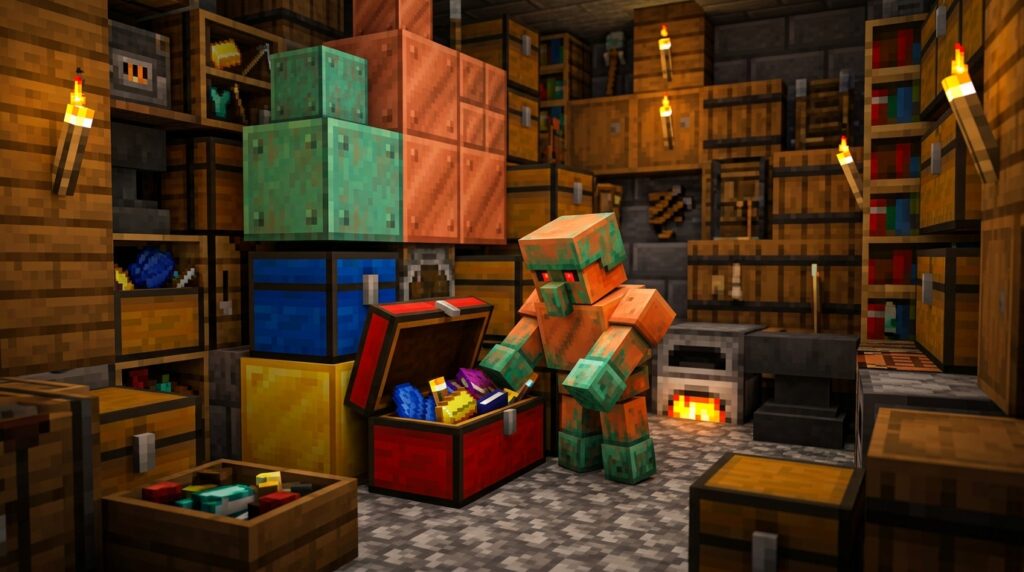
Tired of sorting piles of loot after every mining trip? This copper golem guide shows you how to use Minecraft’s helpful storage assistant to move items from a copper chest into nearby regular or trapped chests. It groups matching items as it works. You build the golem yourself, so you can add one to your base without waiting for it to spawn.
You’ll learn how to build and use a copper golem in both Java and Bedrock Edition, set up an efficient storage area, and avoid common placement mistakes. It cannot replace a fast hopper sorter, but it gives you an easy, redstone-free way to organize early-game supplies while adding a decorative touch to your base.
Key Takeaways
- Build a copper golem by placing a carved pumpkin or jack o’lantern on a copper block. It creates a copper chest and provides a redstone-free way to move items into nearby regular or trapped chests.
- Use the copper chest as the drop-off point and place clearly labeled destination chests within roughly 32 blocks. The golem matches specific item types, works only with chests, and groups items into matching storage rather than sorting broad categories.
- Design a compact storage area with open space, nearby destination chests, and manageable item quantities. Copper golems sort slowly, so they are best for small bases and early-game organization rather than high-volume systems such as hopper sorters.
- Copper golems oxidize through several stages and become inactive statues when fully oxidized. Apply honeycomb to preserve their current appearance and function, or use an axe to remove oxidation and restore an earlier stage.
Building a Copper Golem
Place a copper block on the ground, then put a carved pumpkin or jack o’lantern directly on top. The pumpkin is consumed during construction, and the copper block transforms into the copper golem’s first copper chest. The new golem can move items from that chest into nearby regular or trapped chests, grouping matching items together. This gives you a simple storage helper without requiring redstone.
To add more copper chests to your storage system, surround a regular chest with eight copper ingots in a crafting table. Place these chests near your golem and other storage containers, then drop items into them for the golem to organize by type. Copper chests and golems pass through oxidation stages over time, changing appearance as they age. Apply wax to preserve their current look. Use several copper chests beside labeled destination chests to create an easy early-game sorting area.
Copper Golem Item Sorting
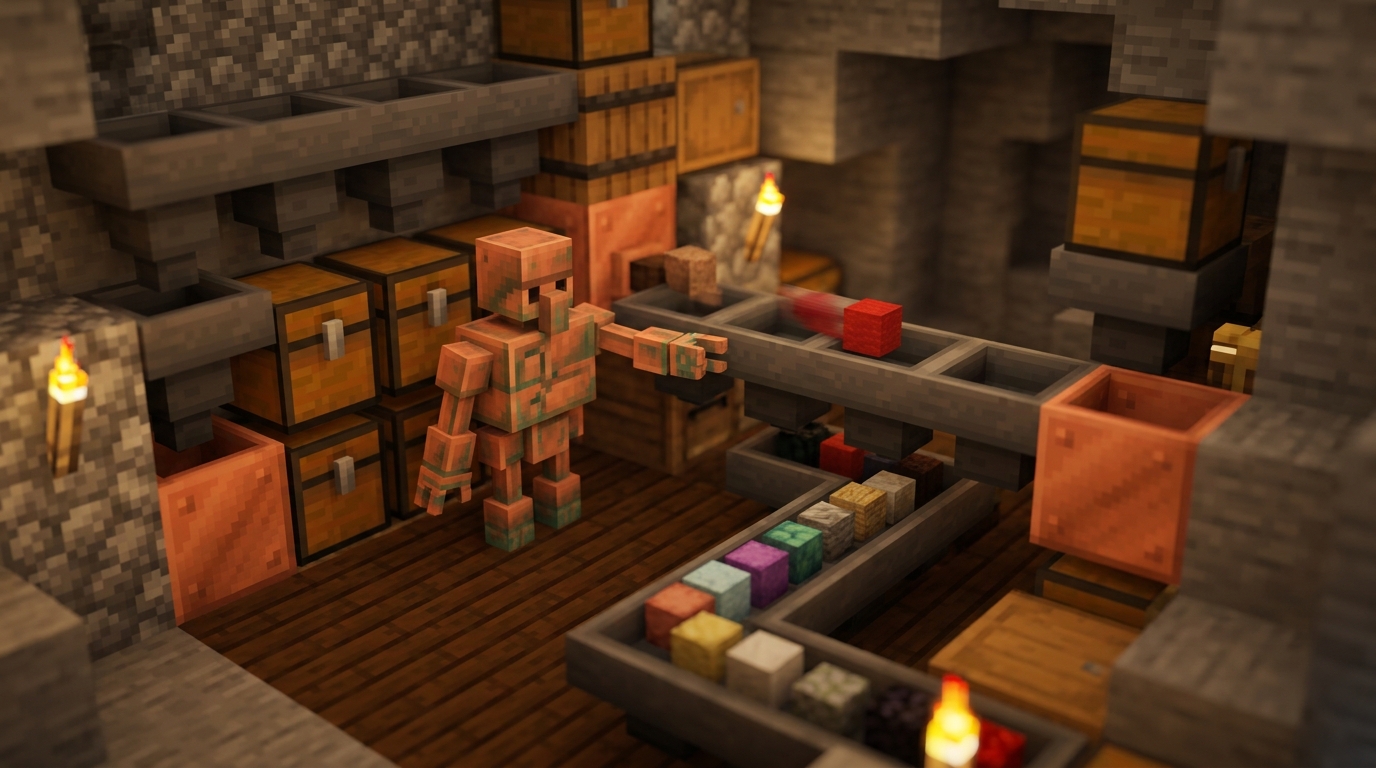
Place a copper chest where you want your item drop-off point, then keep regular or trapped chests nearby for the copper golem to search. The golem takes items from the copper chest and checks nearby destination chests for matching item types. Keep your storage area within its search range, which is roughly 32 blocks. It will not organize chests placed too far away. The golem only works with chests, so barrels and other storage blocks will not be included in its sorting route.
You can use this system to create simple storage groups without building a redstone machine. For example, place cobblestone in the copper chest, and the golem can move it into a chest that already contains cobblestone. This helps you fill a building-material chest over time. Give each chest a clear purpose, such as stone, wood, ores, or farming drops, because the golem matches specific items instead of sorting by broad categories. Leave empty destination chests available when you add a new item group, and avoid placing too many chests in a crowded area if you want predictable results.
Copper golem sorting is convenient, but it is not a fast item transport system. The golem handles storage jobs one at a time and may take a while to check each chest, so it works best in a small base, workshop, or decorative storage room rather than beside a large mob farm. Keep the copper chest and destination chests easy to reach. Remember that oxidation changes the golem’s appearance over time, so protect or maintain it if you want it to keep working. Waxing the golem preserves its current look and prevents full oxidation from turning it into a statue.
Oxidation and Copper Golem Statues
A copper golem gradually changes color as it oxidizes, moving through unaffected, exposed, weathered, and fully oxidized stages. Each stage gives the golem a greener, older appearance, so you can match it to the style of a storage room or workshop. The golem continues moving items from a copper chest into nearby regular or trapped chests while it remains active. Once it becomes fully oxidized, it turns into a copper golem statue and stops sorting items, making it a permanent decoration instead of a storage helper.
You can control this process with simple tools. Place an axe in a dispenser, aim it at the golem, and activate the dispenser to remove one level of oxidation. This restores an earlier appearance and keeps the golem useful. Apply honeycomb directly to the golem when it reaches a stage you like to wax it and prevent further oxidation. Waxing lets you preserve a bright copper golem for item sorting or keep a weathered golem as part of your build. If you leave it unwaxed, it will continue aging naturally into a decorative statue.
Copper Golem Storage Designs
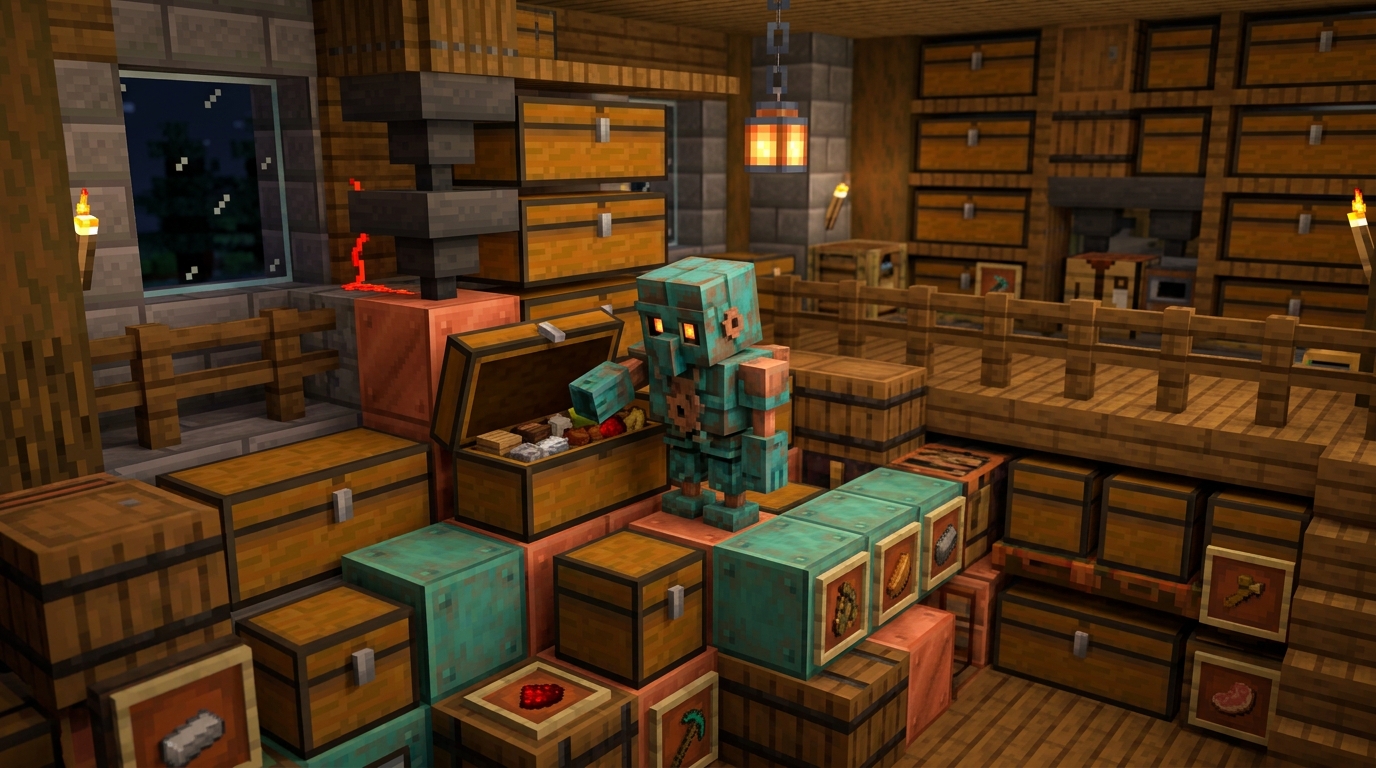
Build the storage room around one copper chest as the golem’s input point, then place several regular or trapped chests nearby in a clear row or U-shape. Leave open floor space around the copper chest so the golem can move between the input and destination chests without feeling cramped. Use signs, item frames, or matching labels to mark separate areas for blocks, food, tools, and rare items. Keep each category together, such as cobblestone and wood in the blocks section, bread and crops in the food section, and pickaxes, armor, and weapons in the tools section.
A copper golem works best as a simple storage helper rather than a fast sorting machine, so avoid giving it a huge pile of items at once. Give each destination chest enough empty space, and place matching chests close together so the golem can group items more easily. You can also make its changing copper color part of the room’s design, since oxidation gradually changes its appearance. Wax the golem to preserve your preferred stage, or use an axe to remove oxidation when you want to restore its brighter look.
Set Up a Copper Golem Storage Helper
Creating a copper golem is simple. Place a copper block, then put a carved pumpkin or jack o’lantern on top. The golem comes to life and can take items from a nearby copper chest, then carry them to regular or trapped chests. It groups items by type, so you can use a copper chest as an easy drop-off point for blocks, food, tools, or mob drops. This basic setup needs no redstone, making it a helpful early-game storage assistant, although it cannot replace a fast hopper sorting system.
Keep an eye on the golem’s oxidation as it moves through copper’s stages over time. If you want it to keep working, apply honeycomb to wax it and stop further oxidation, or use an axe to scrape away oxidation when needed. A fully oxidized golem becomes a statue, so protecting active golems matters in long-term storage areas. With its changing color and compact storage role, the copper golem can organize your supplies while adding character to workshops, warehouses, and other Minecraft bases.