
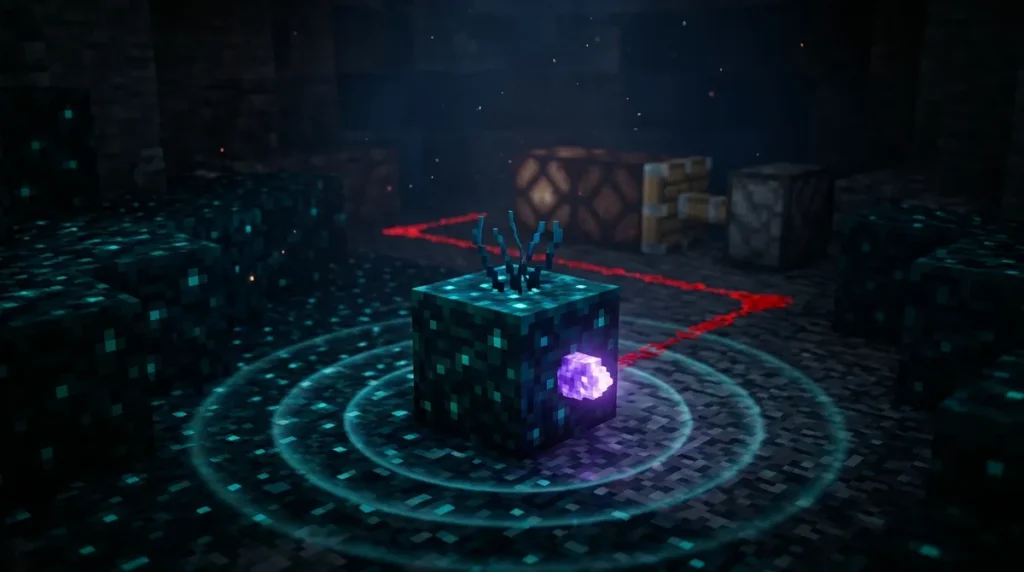
A calibrated sculk sensor is a sculk sensor that reacts to only one vibration frequency. You choose that frequency by feeding a redstone signal into its amethyst-marked input side. Input strength 5 tells it to listen only for frequency 5, so every other vibration gets ignored. The block arrived in Java Edition 1.20. It’s crafted from 1 sculk sensor and 3 amethyst shards, so you’ll need to build it yourself rather than find one in the world.
Once it’s set up, it can detect vibrations up to 16 blocks away and runs a 20-game-tick cycle, with its redstone output on for the first 10 ticks. That makes it a handy filter when you want a circuit to react to one specific event, like a block being activated or an explosion, while ignoring everything else nearby.
Key Takeaways
- Keep a few extra amethyst shards in your inventory, since every frequency you want to watch needs its own calibrated sensor.
- Eating most food sends a frequency 8 vibration, so you should set input strength 8 if you only care about eating.
- The closer a vibration happens to your calibrated sensor, the stronger the redstone signal it sends out to your build.
- You can carry a frequency across a room by placing amethyst next to your calibrated sensor, so the original event never has to repeat.
What Does a Calibrated Sculk Sensor Do in Minecraft?
A calibrated sculk sensor uses a redstone signal on its amethyst-marked input side to listen for just one vibration frequency. That striped side only takes the signal in. The block sends its own redstone out in every direction except that side.
The strength of the redstone signal decides which frequency gets through. A signal of strength 7 tells the sensor to react only to frequency 7, and every vibration on another frequency passes by unnoticed. Feed it a strength 2 signal instead, and the same block listens only to frequency 2. Input strength picks the channel. It’s not the same as output strength, which depends on how far away the vibration came from.
A normal sculk sensor works differently. It reacts to any vibration that reaches it within range, whether that’s a footstep, a block being broken, or a mob moving nearby. If you’re building a circuit that should respond to one event only, that open-ended behavior makes the normal sensor hard to rely on, since it can trigger on things you never intended.
The calibrated version was added in Java Edition 1.20, so you’ll find this behavior in that update and later Java releases. Check the version you’re playing before you plan a build around it. The block won’t behave the way this section describes in older versions.
How Do You Craft a Calibrated Sculk Sensor?
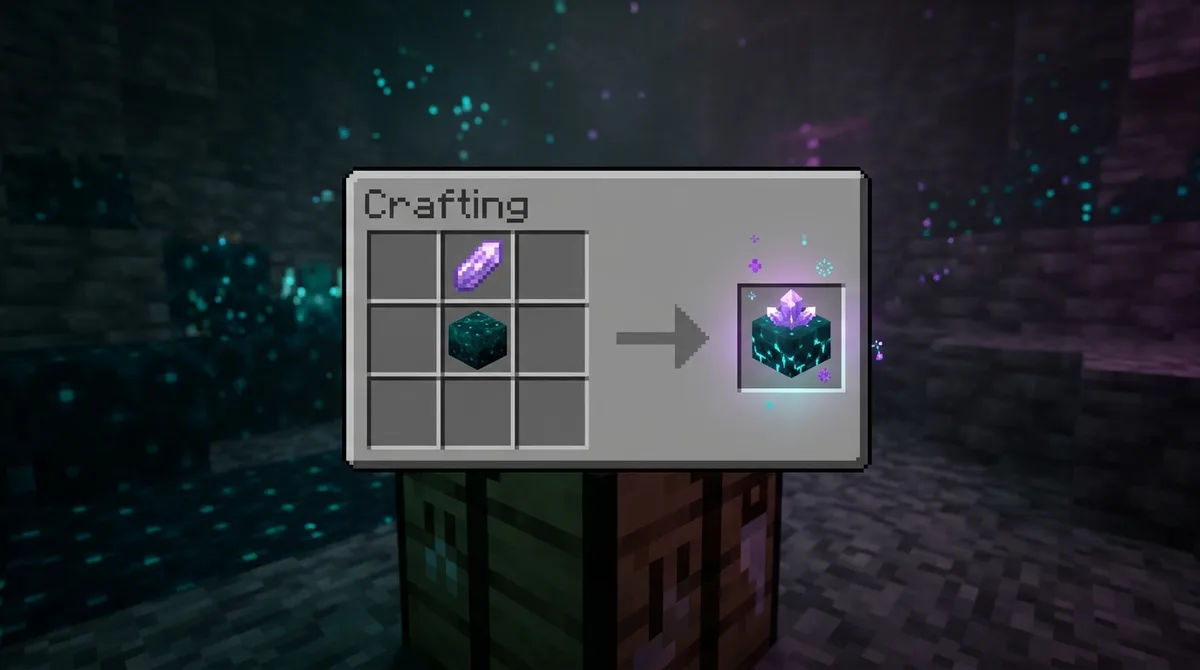
You can’t find a calibrated sculk sensor generated in the world, so you have to craft one from 1 sculk sensor and 3 amethyst shards. Start with the sensor, since sculk sensors come from sculk, which you’ll find in deep dark areas. The amethyst is the easier part to gather.
Once you have your parts, follow these steps at a crafting table:
- Collect 1 sculk sensor. It’s the hardest ingredient to get, so have it on hand first.
- Mine 3 amethyst shards by breaking amethyst clusters with a pickaxe.
- Place a crafting table where you can reach it comfortably, then open its crafting grid.
- Put the sculk sensor and the 3 amethyst shards into the grid.
- Take the calibrated sculk sensor from the output slot and move it into your inventory.
Keep a few extra amethyst shards in your inventory before you start. Circuits that watch several frequencies need more than one calibrated sensor, and gathering shards from clusters again later takes time you may not want to spend.
Which Vibrations Can a Calibrated Sculk Sensor Pick Up?
A calibrated sculk sensor picks up only the one vibration frequency that matches its input strength. Minecraft assigns each frequency to a type of event, so knowing those numbers helps you choose the right filter for your build.
Here are the frequencies covered in this section:
| Frequency | Vibration Type |
|---|---|
| 3 | Item interaction |
| 8 | Consuming items |
| 10 | Blocks activating |
| 15 | Deaths or explosions |
Frequency 8 is for consuming items, so it fires when something eats or drinks. Frequency 10 is for blocks activating, such as a button being pressed or a door being opened. Frequency 15 is for deaths or explosions, which makes it useful if you want a circuit to react when a mob dies or a creeper goes off.
Some actions send more than one frequency, and eating is the best example. Eating most food items can generate both a frequency-3 item-interaction vibration and a frequency-8 eating vibration. That means a single bite of bread gives you two separate signals to build around.
So the setting you choose depends on what you want to catch. Set the input strength to 8 if you only care about eating. Set it to 3 if you want to catch any item interaction, including the start of eating. Either way, the sensor ignores everything else nearby.
Try this with a sensor placed beside a farm or a food storage room. A player eating near the sensor can trigger a light or a piston, while noises from mobs or footsteps stay quiet. Test each setting in your own world first, since the results depend on your layout and distance.
How Far Can a Calibrated Sculk Sensor Detect Vibrations?
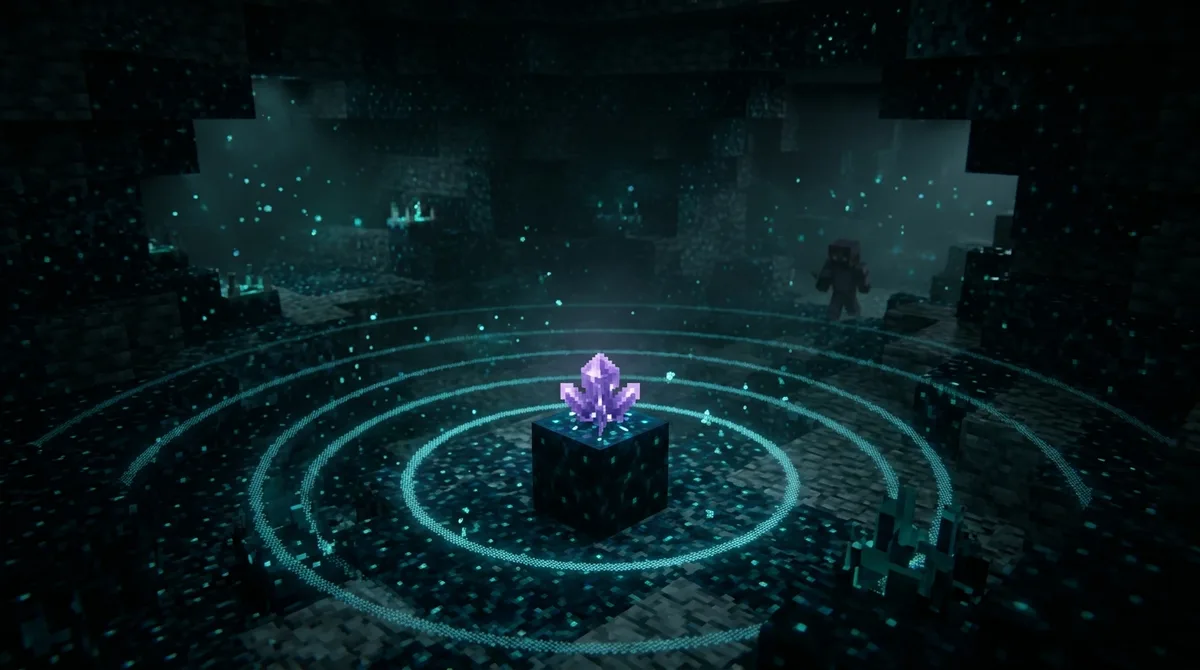
A calibrated sculk sensor can detect vibrations up to 16 blocks away. Earlier test versions had a shorter reach, so a sensor in a large room or along a long farm row can now catch an event from much farther off.
Each time the sensor picks up a matching vibration, it runs a cycle of 20 game ticks. Its redstone output stays on for the first 10 ticks. The last 10 ticks are a cooldown, during which the sensor won’t react again. That short cooldown gives you a steady pulse you can count on, so plan your circuit around that 10-tick window.
Mojang adjusted this timing so a redstone contraption is less likely to keep reactivating its own sensor. If your sensor sits near the wiring it controls, the cooldown helps stop the circuit from feeding back into itself.
The range grew during development. In the Java Edition snapshot 23w14a, calibrated sensors went from detecting up to 8 blocks to up to 16 blocks. The same snapshot also let them receive calibration signals through a block, so the redstone feeding the input side doesn’t have to sit right against the sensor.
You can stretch the reach even further with amethyst. An adjacent amethyst block re-emits a detected vibration’s frequency from its own position. The signal can then travel farther without the original action happening again, so a line of amethyst blocks can carry a frequency across a room.
Why Does a Calibrated Sculk Sensor’s Output Strength Change?
Output strength depends on how far the vibration came from, not on the input setting you chose. The closer the vibration source is to the sensor, the stronger the redstone signal it sends out. Input strength only decides which frequency the sensor listens for, so the two numbers do different jobs.
Imagine a sensor set to input strength 10 to catch block activations. A lever flipped right beside it produces a strong output that can fully power a nearby piston. The same sensor, reacting to a lever at the far end of a hallway, sends out a weaker signal. Moving around inside one block won’t change the measured distance, so you don’t need to fuss over exact placement within a single block.
The sensor sends its redstone out in every direction except the striped input side. It also strongly powers the block directly beneath it, so put the component you want to power right under the sensor for the most reliable result.
Amethyst can change where that distance gets measured from. An adjacent amethyst block re-emits a detected frequency at its own location, a process called vibration resonance. A sensor near that amethyst block reads the signal as coming from there, so the original action doesn’t have to happen again next to the sensor. Check where your amethyst sits before you judge the strength you get.
Building a Simple Calibrated Sensor Circuit Step by Step
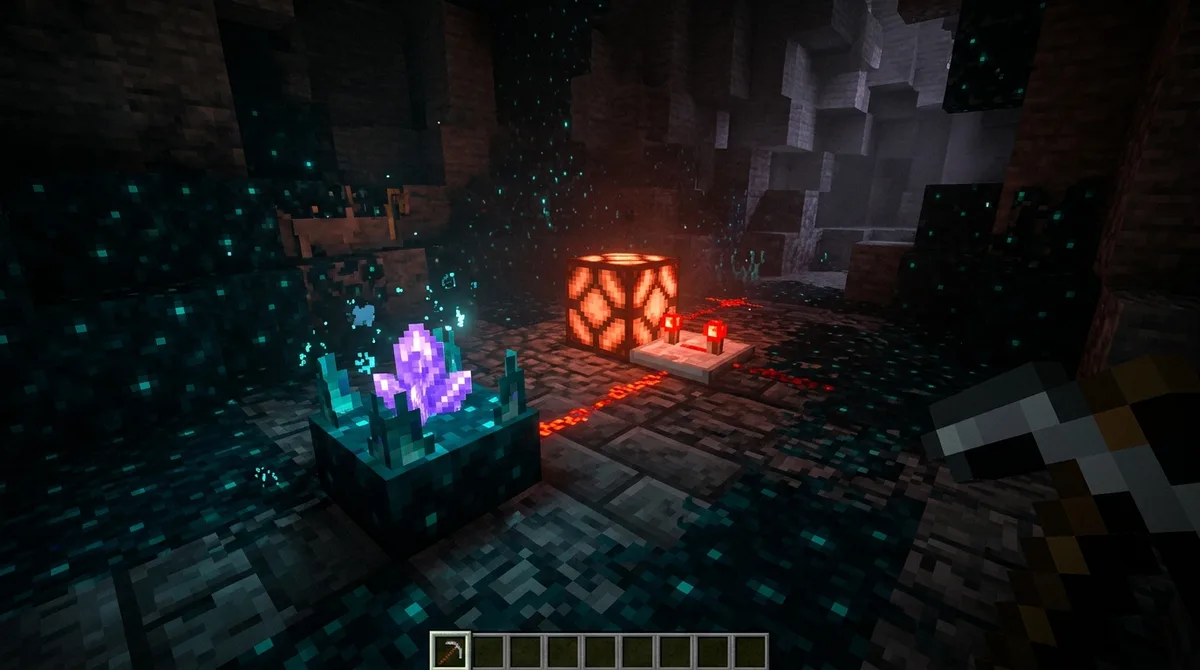
Like the other guides here, this walkthrough uses named blocks and exact Y-levels so you can copy the layout. You’ll build a filter that lights a redstone lamp only when someone eats food nearby. Work on a flat, open floor so every block is easy to check.
- Place a stone block at X 100, Y 64, Z 100, then set your calibrated sculk sensor on top of it at Y-level 65.
- Turn the sensor so its amethyst-striped input side faces west, toward the block at X 99, Y 65.
- Place a stone block at X 99, Y 64, Z 100, then put a lever on its top face so the lever sits at X 99, Y 65, Z 100.
- Run a line of redstone dust from a second lever to the square at X 99, Y 65, Z 100, counting the dust blocks so the signal reaching the sensor reads strength 8.
- Place a stone block at X 101, Y 64, Z 100, then set a repeater on top of it at X 101, Y 65, Z 100 facing east, so the sensor’s east side feeds it.
- Place a stone block at X 102, Y 64, Z 100, then put a redstone lamp on top of it at X 102, Y 65, Z 100, directly in front of the repeater.
- Flip the lever at the start of the dust line to send the strength 8 signal, then confirm the sensor reads it by checking that the lamp stays dark.
Once the circuit is in place, the sensor’s output lasts 10 game ticks in Java Edition, followed by a 10-tick cooldown. The 1.20 timing change makes it less likely that the lamp’s own wiring will set off the sensor again, so the pulse stays clean.
To test the filter, eat a loaf of bread or an apple right beside the sensor. The lamp should flash, because eating sends frequency 8. Next, break or activate a nearby block such as a button. The lamp should stay dark, since frequency 10 is outside the filter you set.
Setting Up Your First Frequency Filter
Start by building the lamp circuit exactly as laid out above, then run both tests before you change anything. Stand beside the sensor and eat an apple. If the lamp at X 102, Y 65, Z 100 flashes, your frequency 8 filter is working.
Once that works, change the input to strength 15 and try a second filter for deaths and explosions. Place the sensor near a spot where a creeper is likely to go off, or near a mob you can fight with a sword, and see whether the lamp reacts to the blast or the death. Write down the input strength, the distance, and what lit the lamp. The same sensor can act very differently when you move it to a new spot.
Then measure the range in your own world. Set a single lever at the end of a long hallway, step back one block at a time, and note the farthest point where the sensor still reacts. Compare that number with your layout’s needs before you plan a bigger build.
Keep the lamp circuit in place as a reference. Every new filter you build can start from its wiring, so you only have to change the input strength and the output block.