
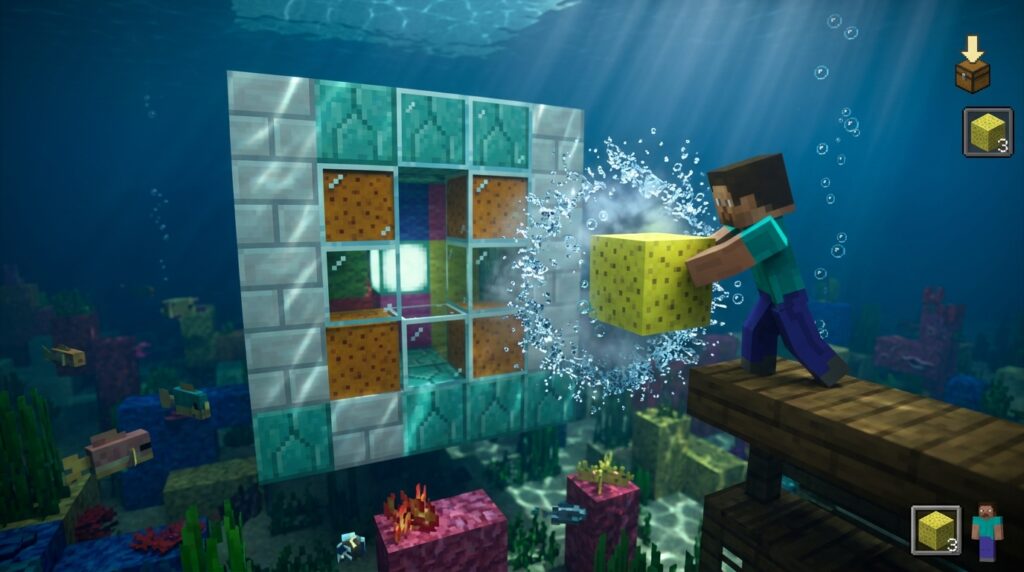
Clearing out an Ocean Monument or building a custom underwater base in Minecraft is super exciting until you realize how much water you have to move. Scooping up thousands of water blocks one bucket at a time takes forever and burns through your patience. That’s where mastering the sponge block draining method comes to your rescue. By dividing large water areas into smaller grid sections with sand or dirt, you allow sponges to instantly soak up surrounding water blocks without it flowing right back in.
A single dry sponge can absorb up to 65 water blocks in an instant, quickly turning into a wet sponge. Cycling your sponges through a nearby furnace or popping them down in the Nether dries them out instantly so you can reuse them over and over. You’ll save countless hours of tedious work and finally get back to building your dream base.
Key Takeaways
- Build temporary 4×4 or 5×5 grid walls with sand or gravel to isolate water sections and prevent ocean source blocks from continuously refilling cleared areas.
- Drain water columns systematically from top to bottom, placing sponges every three to four blocks down to maximize absorption and prevent upper water layers from refilling cleared space.
- Instantly dry wet sponges by placing them on the ground in the Nether, eliminating the need for slow furnace smelting during large drainage projects.
- Accelerate grid cleanup by placing a torch underneath falling sand or gravel pillars to collapse and harvest entire vertical walls in seconds.
Building Sand Grids to Stop Water Refills
Trying to drain a massive ocean in Minecraft without a plan quickly turns into an endless headache. Because water source blocks constantly regenerate when adjacent to two or more other source blocks, open water will immediately refill any space you dry out. To stop this continuous loop, you need to cut off the water flow by dividing the area into isolated compartments. Using gravity blocks like sand or gravel is the absolute best way to build these temporary retaining walls. You can simply stand safely at the surface, target your grid outlines, and let gravity drop the blocks all the way down to the seabed.
For maximum sponge efficiency, map out your wall outlines to create four-by-four or five-by-five block columns. These specific dimensions keep the enclosed water volume small enough that a single dry sponge clear can swallow almost the entire column at once. Plus, keeping the spaces tight guarantees that infinite water rules will not trigger and accidentally refill your freshly dried zone. You can clear out an entire section from top to bottom in seconds rather than wasting precious time placing dozens of useless sponges. This systematic approach saves you countless trips back to a furnace to dry out wet sponges.
- Gather several stacks of sand or gravel, as these blocks fall straight to the ocean floor when placed.
- Outline your working grid along the surface of the water before dropping columns down to the sea floor.
- Place your dry sponges near the top of an enclosed grid cell and work your way downward.
- Break your sand walls from the bottom using a torch or slab to instantly clear all the falling blocks when finished.
After you finish drying out each column, cleaning up your temporary grid is surprisingly quick and satisfying. Instead of digging up every block of sand manually, you can mine the very bottom sand block of a column and quickly drop a torch underneath it. The entire vertical pillar of sand will break into collectible items as it falls onto the torch. You can then collect your sand, move on to the next wet section, and repeat the process until your entire build area is completely dry. This simple method makes clearing out huge ocean monuments or building massive underwater bases much easier to handle.
Top to Bottom Sponge Placement for Maximum Drying
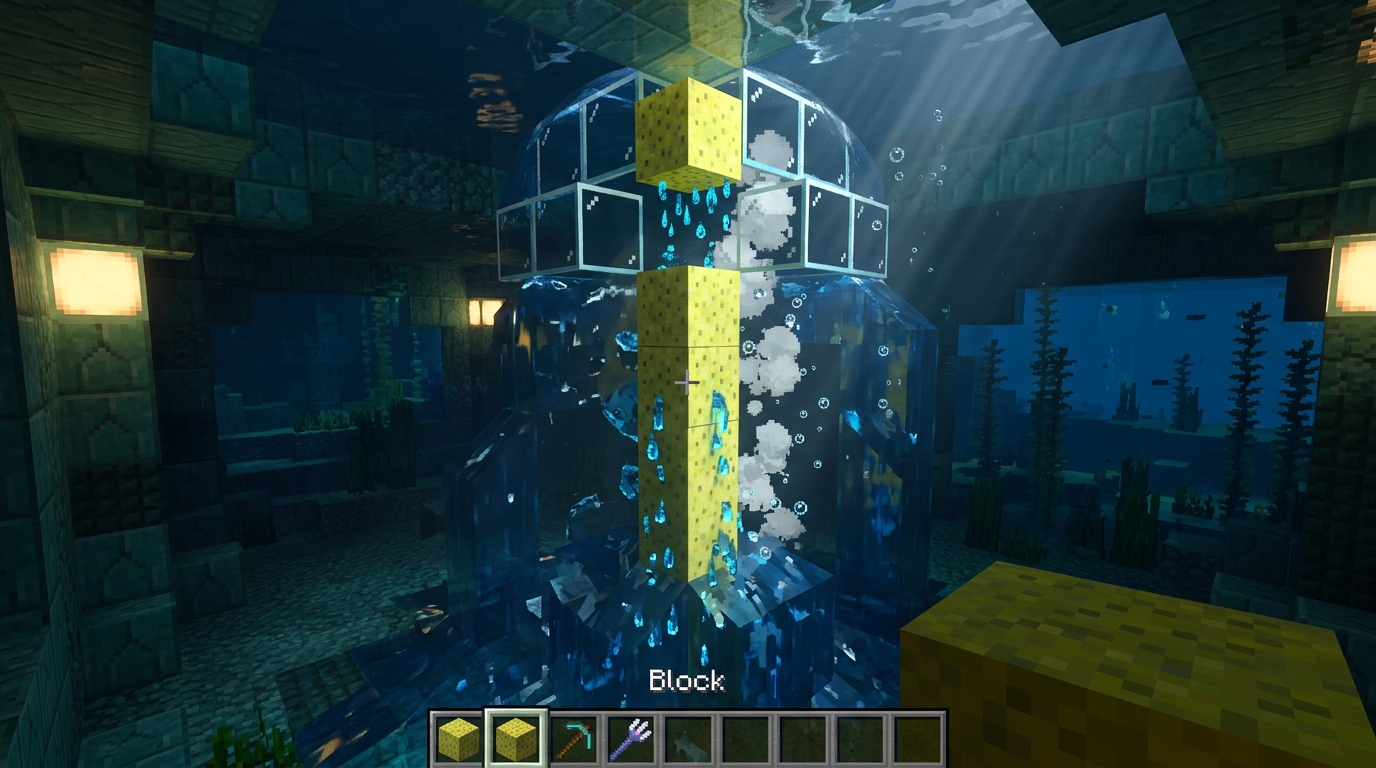
When you’re clearing out a large underwater area in Minecraft, working from the top layer down is the secret to keeping your sponges working at peak efficiency. Placing a dry sponge at the very top of a walled-off section allows it to pull water from the surrounding space instantly. Since water in Minecraft flows downward and updates quickly, starting at the surface prevents higher water blocks from immediately refilling the space you just cleared. Each dry sponge can absorb up to sixty-five water blocks, but only if there is enough connected water within its range. If you start from the bottom, water falling from above will just re-wet your work area and waste your sponge charge.
As you work your way down your sand or gravel grid columns, place another sponge roughly three to four blocks below the previous spot. This step-by-step drop ensures that the sponge reaches maximum capacity without leaving stray water blocks floating in midair. Floating water pockets usually happen when a sponge reaches its sixty-five block limit before clearing the full radius around it. By dropping down systematically, you cut off the water supply from above and isolate each section cleanly. You’ll quickly notice how much faster your underwater base project goes when you do not have to double-back to fix missed spots.
- Divide your space into four-by-four or five-by-five blocks using sand or gravel walls.
- Place your first dry sponge at the top surface level of the enclosed lane.
- Break the wet sponge, dry it, and place it three blocks lower in the shaft.
- Repeat this vertical pattern until you reach the sea floor.
To make this top-to-bottom routine even smoother, keep a handful of dry sponges in your hotbar alongside a hoe for fast mining. Hoes break wet sponges almost instantly, which saves you a ton of time when climbing down your drainage shafts. If you are clearing a huge area like an ocean monument, consider setting up a temporary nether portal nearby to dry wet sponges instantly instead of waiting on furnaces. Keeping a steady rotation of dry sponges allows you to clear deep vertical lanes in seconds. With a clean top-down system, your ocean excavation will be ready for building in no time.
Instant Nether Drying Cycles for Wet Sponges
Clearing an Ocean Monument or a large underwater dome requires dozens of sponge placements, filling your inventory with wet sponges. Smelting them in furnaces using coal or lava buckets takes forever and stalls your momentum. Taking your wet sponges into the Nether completely skips the smelting process because the extreme heat instantly dries them. The moment you place a wet sponge anywhere in the Nether, it turns into a dry sponge with a loud steam sizzle. This simple trick lets you reset your inventory in seconds so you can jump right back into draining water.
Setting up a dedicated nether portal right next to your underwater project area makes this drying cycle practically seamless. You can collect a full inventory of wet sponges, step through your portal, and rapidly place and break them on the netherrack floor. Since dry sponges break easily with any tool or even your bare hands, you can clear a whole stack in just a few seconds. Hopping back through the portal puts you right back at your water removal site with fresh sponges ready for action. This high-speed loop saves you tons of time compared to waiting around a huge wall of burning furnaces.
- Build your nether portal directly above or next to your water clearing zone.
- Place wet sponges along the floor in a long line to dry them all at once.
- Use an enchanted hoe to mine the dry sponges instantly as you walk back.
To keep your draining routine as fast as possible, bring a hoe with the Efficiency enchantment into the Nether with you. Hoes are the ideal tool for harvesting sponges quickly, allowing you to instantly break each block as soon as it dries. You can even place a line of wet sponges down while walking forward and mine them on your way back. If you want to optimize your setup even further, place a chest near both sides of your nether portal to store extra blocks. Keeping a steady supply of dry blocks on hand ensures your massive ocean drainage project never grinds to a halt.
Drain Your Ocean Monument Fast with Sponge Blocks
Mastering the sponge block draining method is easily one of the most satisfying achievements in your Minecraft survival world. By dropping sand pillars to create smaller grid sections, you break down massive ocean monuments into manageable water pockets. From there, placing dry sponges inside each sealed area instantly removes up to sixty-five water source blocks at a time. It completely turns a chaotic, flooded building site into a dry, structured space ready for your next mega build. You’ll save hours of tedious block placing compared to traditional draining techniques like filling every single space with dirt.
Keeping a Nether portal nearby is the real secret to maintaining a fast and smooth draining routine. Whenever your inventory fills up with heavy wet sponges, simply step through your portal and pop them down on netherrack in the Nether. They dry out instantly with a quick puff of steam, letting you grab them right back and jump straight into the action. Alternatively, you can throw them into a furnace powered by dried kelp blocks if you prefer staying in the Overworld. Once you find your rhythm, clearing out giant underwater zones becomes a surprisingly fun and rewarding process.
Now that you know how to conquer the ocean, you can transform these cleared areas into incredible mega bases, prismarine farms, or glass domes. Just make sure to pack plenty of solid blocks, food, and spare pickaxes before starting your next huge draining project. Take your time building out strong perimeter walls so outer water source blocks do not accidentally leak back into your dry zone. With these handy sponge tactics in your toolkit, no underwater monument or ocean floor will ever stand in your way again.