
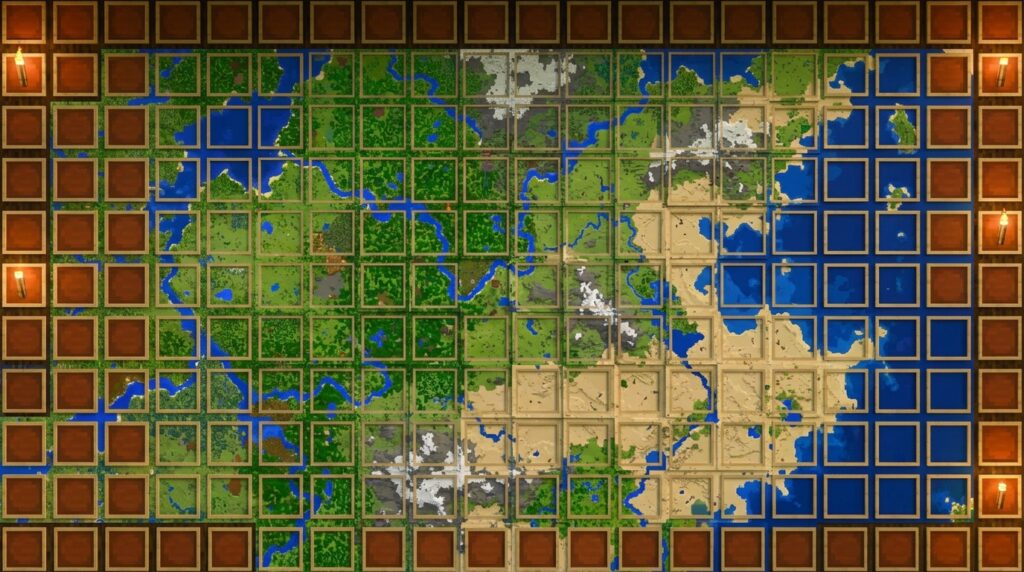
A Minecraft map wall is a tiled display of maps in item frames, with each frame showing an area next to the ones shown by its neighbors. It brings the land around your base together in one larger picture. To make the tiles line up, use maps at the same zoom level and place them according to the map grid. Maps have five zoom levels, covering areas from 128×128 to 2,048×2,048 blocks. Choose how much land you want to show before filling the frames. The Minecraft Wiki’s mapping tutorial explains map sizes and the grid.
Prepare your maps with a Cartography Table, then mount them in Item Frames according to their locations in the world. You can plan a small display around your base or build a wider overview. Check each map’s orientation before placing all the tiles. Duplicated maps stay linked, so updates to the original appear on the copies.
Key Takeaways
- A Minecraft map wall works best when every neighboring map uses the same zoom level and sits in the frame that matches its position on the map grid.
- Minecraft maps have five zoom levels, from level 0 covering 128×128 blocks to level 4 covering 2,048×2,048 blocks, so choose a level based on how much land and detail you want to see.
- A Cartography Table lets you zoom out, clone finished maps, or lock a map; cloned maps stay linked, so updates to the original appear on the copies.
- Before filling a Minecraft map wall, plan the frame rows and columns, place one map to check its orientation against landmarks like a river or coastline, then add the remaining tiles.
What Does a Minecraft Map Wall Show?
A map wall shows connected parts of your Minecraft world in one overhead display. Map adjoining areas, then place each map in an item frame that matches its position in the world. This lets you see a wider region at once without switching between separate maps.
Map size determines how much land each tile covers. Minecraft maps have five zoom levels, from 128×128 blocks at level 0 to 2,048×2,048 blocks at level 4, with each level doubling the width. Before choosing a wall size, picture the coastline around your base. Decide which stretches of shore, nearby land, and parts of your base you want to see together.
To join the tiles without overlap, use maps at the same zoom level and place them according to their positions on the map grid. Start by choosing the region and zoom level. Then map each adjoining area and arrange the finished maps in matching item-frame positions. Check that the tiles cover the region you want before filling the whole display.
How Do You Make Maps for a Wall?
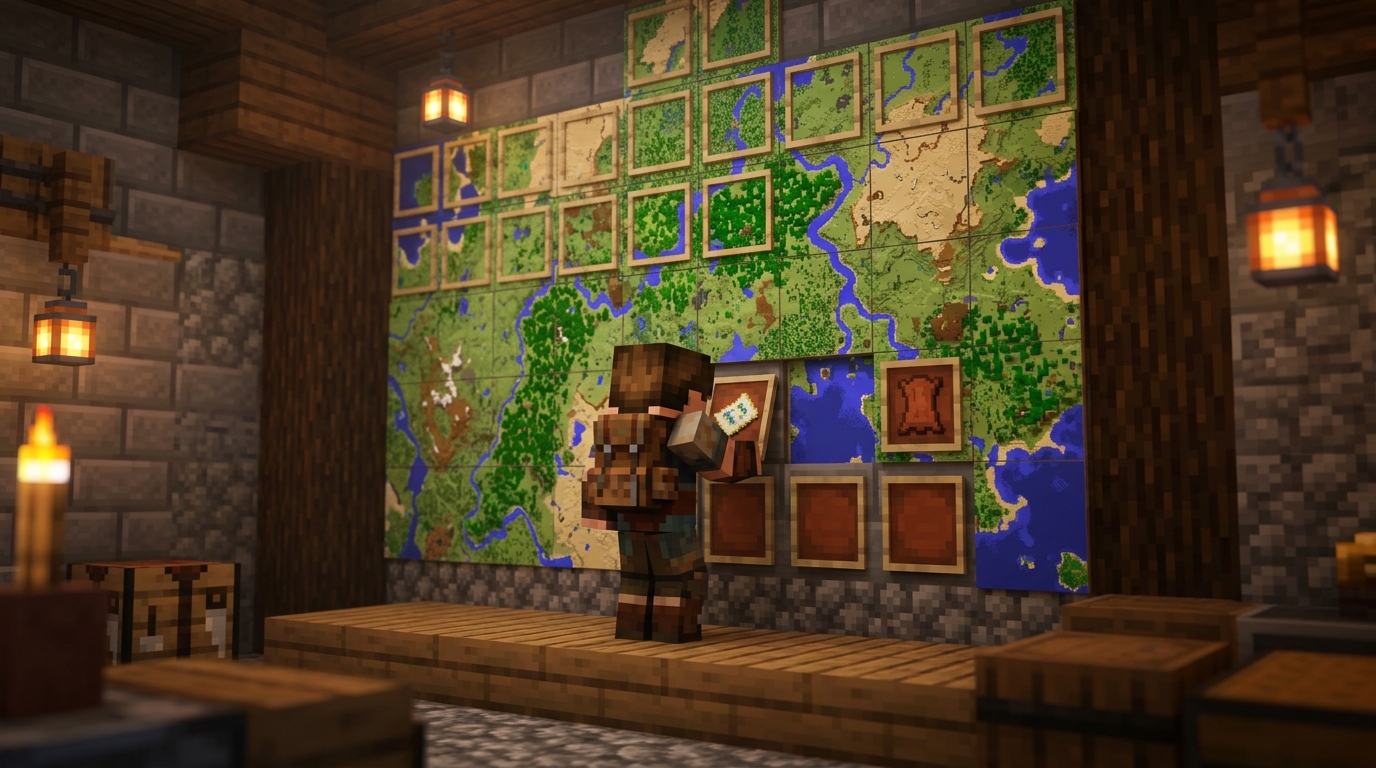
Make maps for your wall by recording adjoining areas at a consistent zoom level. Use a Cartography Table to adjust or copy the maps before mounting them. Decide which territory you want the wall to show before filling the frames. For example, a display focused on your base might include the nearby coastline and villages, while a wider view needs maps that cover more land.
- Make a map. Combine paper and a compass to craft a map, then take it to the part of your world you want to record.
- Activate the map in its territory. Hold the map and explore the area to record the terrain. Write down or mark which territory it covers, such as “north of base” or “village and river.”
- Choose the map’s zoom level. Put the map and paper in a Cartography Table to zoom out. Use the same zoom level for neighboring tiles so their coverage lines up. Choose a level that fits the area you want to display.
- Clone a finished map when you need a copy. Add the finished map and an empty map to a Cartography Table to make a linked copy. Updates to the original appear on its copies, but a separate map of the same area does not share those updates, as the Minecraft Wiki mapping tutorial explains. Cloning is useful when you want one copy on the wall and another to carry or keep elsewhere.
- Lock a map if you want to preserve its current view. Use a Cartography Table to lock the map before displaying it. A locked map will not keep changing as you explore.
How Do You Align Maps Without Gaps?
Maps line up without gaps when you use the same zoom level and place each tile in its neighboring grid area. Since Minecraft 1.8, maps follow a grid whose top-left corner is at (-64, -64) plus integer multiples of the map’s width. Maps at the same zoom level can therefore tile without overlap.
Think of each grid area as a slot on the wall. At zoom level 0, each map is 128 blocks wide, so neighboring map areas begin 128 blocks apart. Use maps at the same zoom level for tiles you want to place side by side. Maps at different zoom levels cover different areas, so their edges will not match as a continuous view.
To plan a row, map one area first and note its position. Then move into the neighboring grid area, such as the one immediately east, and create or prepare the next map there at the same zoom level. Repeat for areas to the north or south if you want more rows. Following the grid is more reliable than guessing from landmarks or lining up coastlines by eye.
Zoom level changes how much of the world each frame shows. A higher zoom level covers more ground per map, which can help you display a large region, but small features appear with less detail. A lower zoom level gives you a closer view of places such as a river bend, village, or stretch of shoreline.
Before placing the maps, sketch the rows and columns you want or temporarily label each map with its grid position. This is especially useful for an irregular coastline or a large region, where similar-looking tiles can be easy to mix up.
How Do You Put Maps On A Wall?
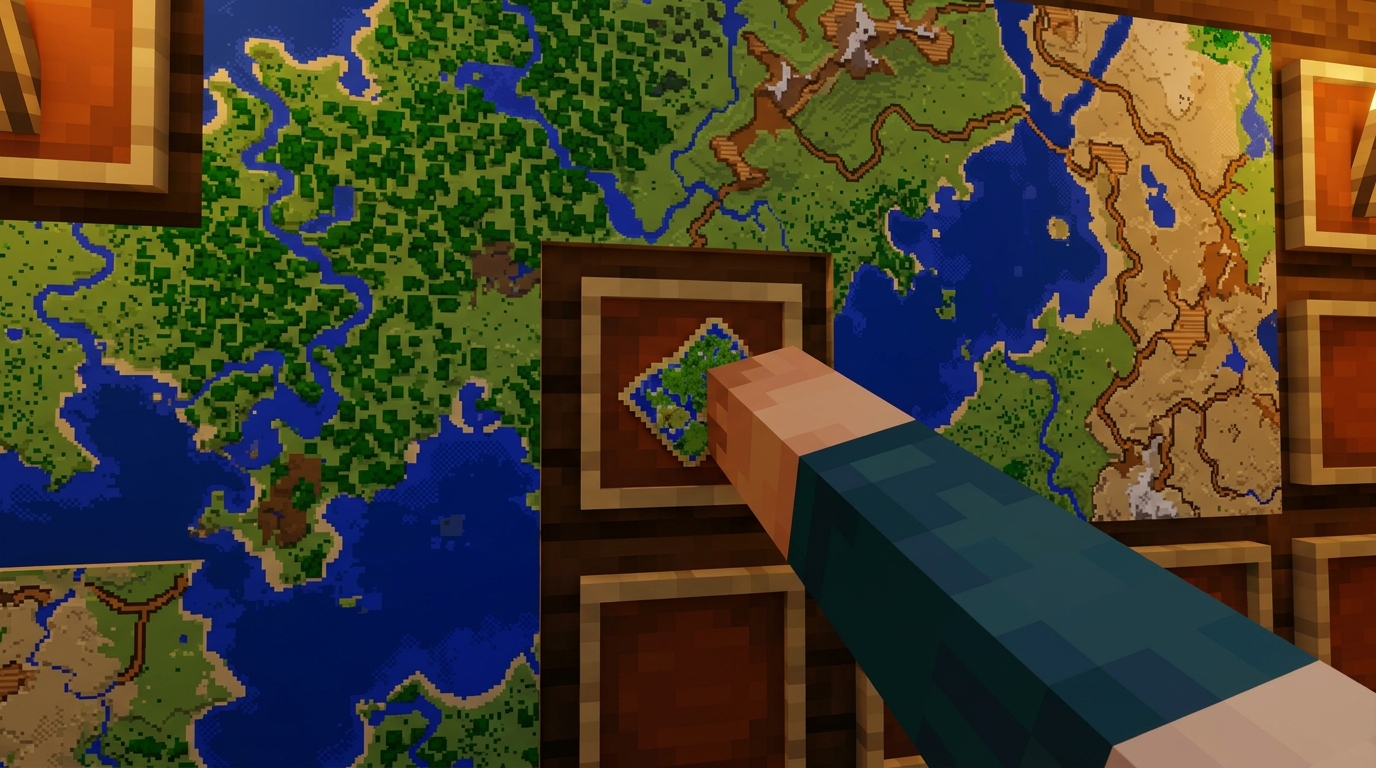
Put each finished map inside an item frame, then mount the frames in rows and columns that match the relative positions of the areas shown. Before filling the wall, plan the frame positions on the ground or in a quick sketch. For a compact example, use ten frames: place nine maps in a 3×3 square, then put a zoom-level-4 overview map in a tenth frame beside or above the square, as shown in the Minecraft Wiki mapping example.
- Mount the empty item frames in the planned rows and columns, matching their positions to the mapped areas.
- Place one map in its item frame to check which way its terrain faces on the wall.
- Compare the displayed map with nearby terrain, such as a river, coastline, or village, before filling the other frames. If a tile is in the wrong position or orientation, correct it while the wall is still mostly empty.
- Place the remaining maps in their matching frames, then add the level-4 overview map beside or above the 3×3 display.
A map in an item frame shows a green pointer for the frame’s location when that location falls within the mapped region, according to the mapping tutorial. The pointer can help you see where the display is mounted in relation to the area shown on the map.
Minecraft Map Wall Designs For Your Base
Choose a display size based on how much of your world you want to see at once. A compact display keeps local landmarks clear, while a larger tiled map connects more of the surrounding region.
- Compact: Show your base and nearby landmarks, such as a village or mine.
- Wide: Add adjoining map tiles to include distant routes, coastline, or outposts.
A 3×3 group of local maps with a larger overview map in a tenth frame is a useful starting design, but it does not have to suit every base. The overview can sit above or beside the tiles. Add or remove tiles to suit the territory you want to display.
Build a flat backing wall so the frames sit in a clear grid, and leave some space around the display for decorations. Use signs or colored blocks to label regions such as a village, mine, or portal route. Keep labels outside the map tiles so the terrain stays easy to see.
Choose a zoom level that suits your needs. A closer view shows detailed landmarks, while a more zoomed-out map gives you a broader view of the region. Whatever design you choose, place each frame to match the relative position of the area shown on its map. Maps at the same zoom level follow a grid, so adjoining tiles fit together without overlap.
What Changes Between Java And Bedrock?
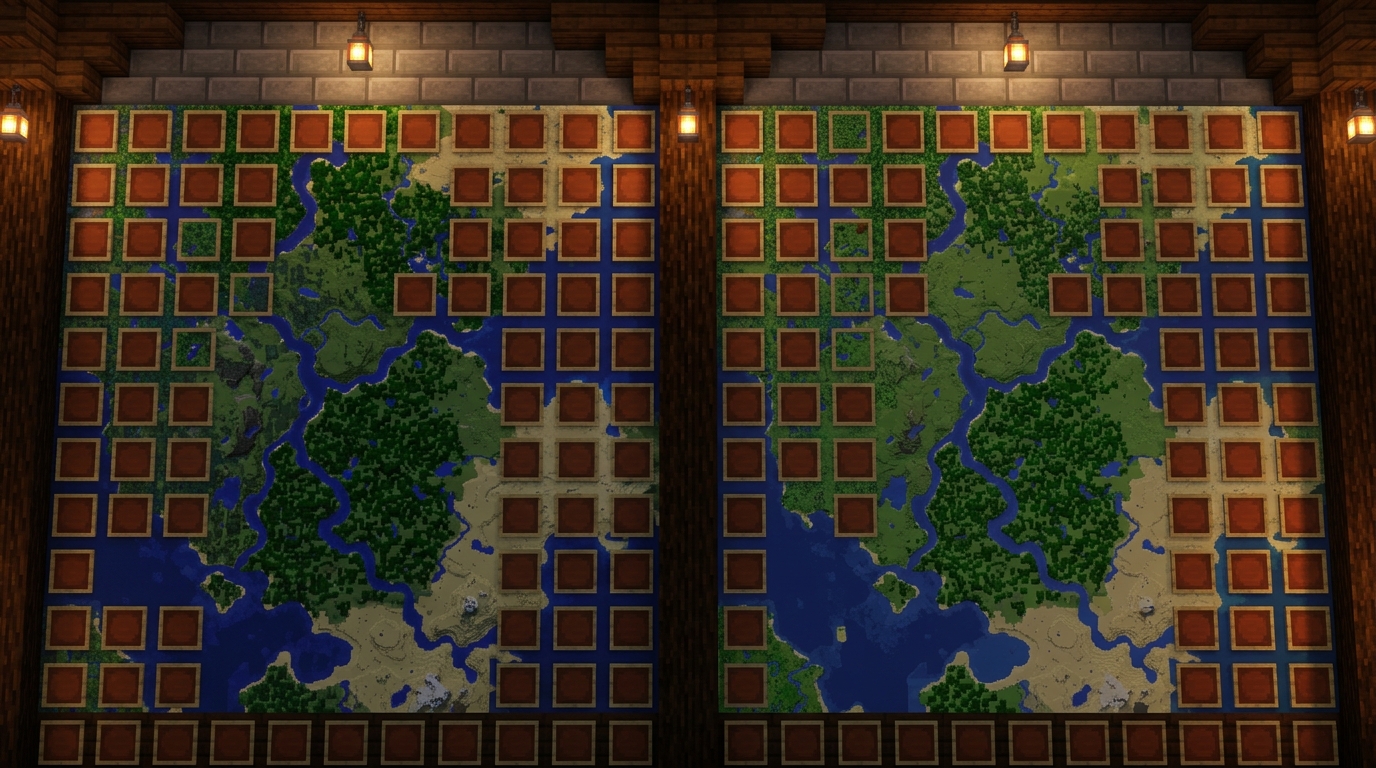
Minecraft Java Edition and Minecraft Bedrock Edition differ in how Locator Maps behave. Java Edition also has a map-type change that affects which maps you can zoom out. Before planning a large display around markers, check how your edition shows player or location markers on a Locator Map. A marker can help you see where you are in relation to the mapped area, but its display may vary by edition.
In Java Edition 26.3, published September 15, 2026, explorer maps became distinct items, and zooming out was restricted to maps in the #minecraft:extendable_maps tag. Explorer maps and buried-treasure maps can no longer be zoomed out, according to the Java Edition 26.3 release notes. This change applies to Java Edition, so do not assume the same map-type rule applies to Bedrock.
If you plan to expand your tiled display, use regular maps rather than assuming every map item can be zoomed out. Check the map type before preparing a full set of matching tiles, especially if you are starting with an explorer or buried-treasure map.
Start With The Area Around Your Base
Start with the places you travel to from your base. Write down the route to your nearest village, mine entrance, farm, portal, or shoreline. Then note which destinations you want to find quickly from the wall. Map the area around your base first instead of trying to chart the whole world at once.
Next, choose a wall spot you can check when leaving or returning to your base. Make sure there is room to expand the display along your regular routes. A wall beside a storage room or main entrance can work well if you pass it often. Keep the frames clear of doors and other blocks that could cover the display.
Use your destination list to decide whether the first display should focus on local detail or cover a broader region. If you mainly need to find a nearby mine or village, prioritize the maps that include those places. If your regular trips reach distant outposts, plan for more adjoining areas instead of squeezing every destination into a small view.
Take your destination list into the world and check which places fall within the maps you have prepared. Add the most useful routes first, then expand the wall when you have a new destination to track. Your Minecraft map wall can help you navigate the places around your base.