
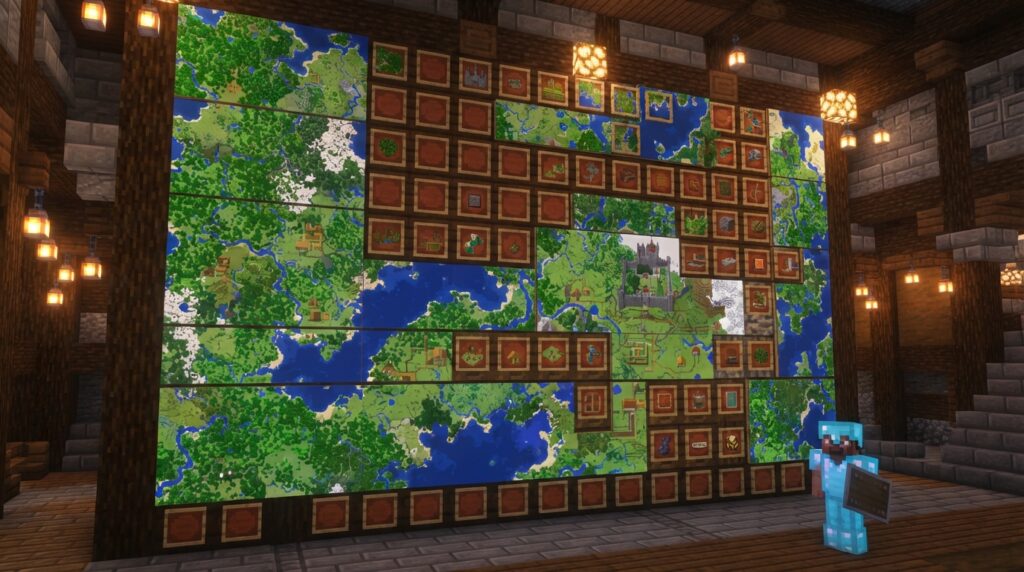
Your map wall will look clear when neighboring maps use the same zoom level and sit side by side in item frames. Maps align to a grid, so plan which regions you want to explore before you build the display. This helps you create one connected landscape instead of mismatched tiles, as the Minecraft Wiki explains.
At a starter base, begin with one useful map near the entrance or storage area. If you have a larger room, you can expand the display into a 3×3 grid and add a separate overview map, as the Minecraft Wiki mapping tutorial suggests.
Key Takeaways
- You should choose maps at the same zoom level and explore neighboring regions so the maps line up; maps range from 128×128 blocks at zoom level 0 to 2,048×2,048 blocks at zoom level 4.
- You can start your map wall with one map near your base entrance or storage area, leave space for neighboring maps, and make its Item Frame with eight sticks and one leather.
- You can build a 3×3 wall with nine adjacent maps at the same zoom level, then add a separate zoom-level-4 overview map beside or above the grid, as the Minecraft Wiki mapping tutorial suggests.
- You should label each map with signs naming its region and origin or corner coordinates, and keep notes on the order of neighboring maps so you can place each tile correctly, as the Minecraft Wiki mapping tutorial recommends.
How Do Minecraft Maps Line Up?
To line up a Minecraft map wall, choose maps at the same zoom level that cover neighboring regions, then place them side by side in item frames. Each zoom level has its own grid, so decide which area you want the wall to show before you explore. Maps cover 128×128 blocks at zoom level 0 and 2,048×2,048 blocks at zoom level 4, according to the Minecraft Wiki map guide.
Choose a scale that suits the area you want to record. A close-up map shows a smaller area in more detail, while a zoomed-out map covers more ground. At a Cartography Table, add one piece of paper for each zoom-out step. You can zoom out a map up to four times, according to the Minecraft Wiki map guide. As you travel, keep track of which map covers each region so you can collect neighboring sections instead of unrelated areas. Maps gradually record terrain as you explore.
When you place a map in an Item Frame, it fills the block face, so adjacent framed maps can form one display. The frame’s position also appears as a green pointer on the map, which can help you see where the display is located in the mapped world. See the Minecraft Wiki item frame guide for details.
What Fits Near A Starter Base?
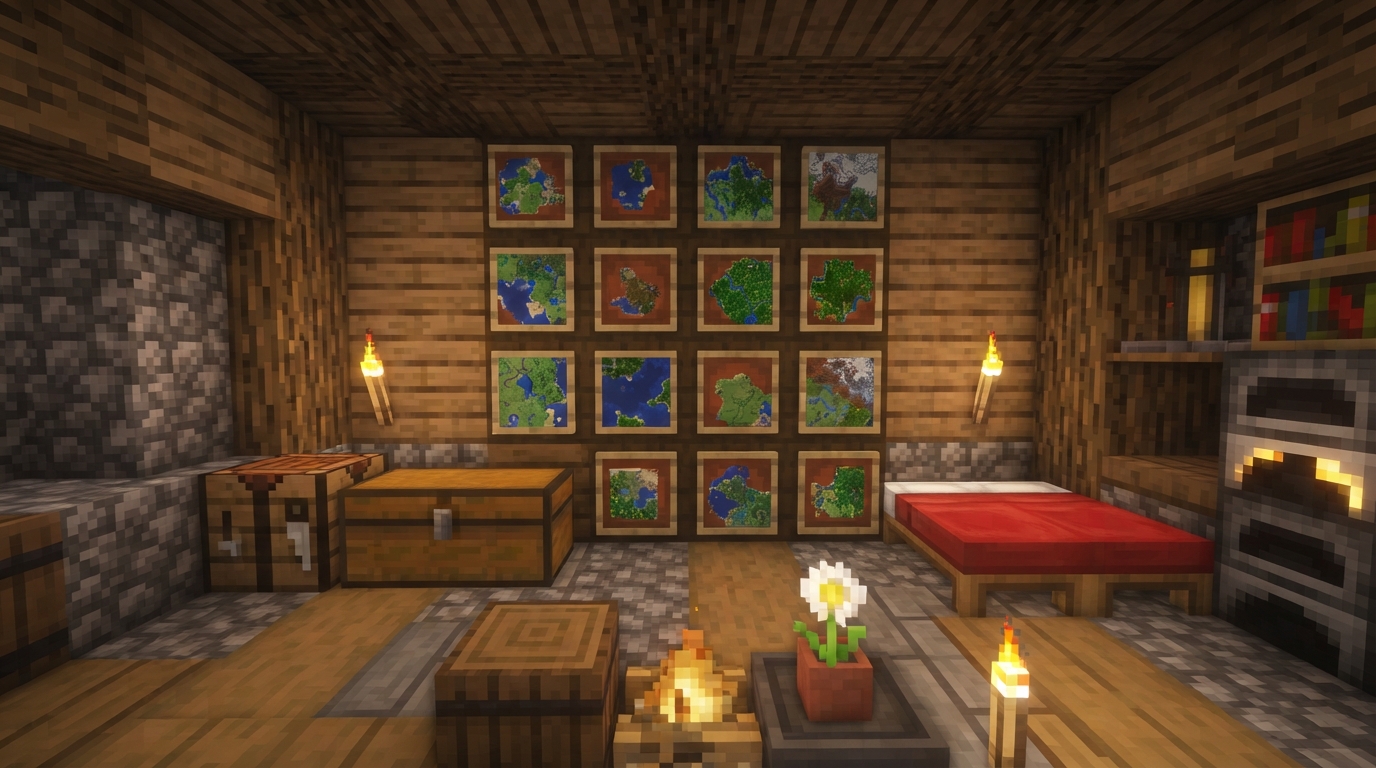
A framed map beside your base entrance or storage area gives you a quick look at nearby explored terrain. Choose a map centered on places you visit, such as the route between your base and a nearby village or mine. Hang the frame at eye level so you can check the map as you pass.
Use one zoom level for every map in your starter display. Choose a close scale to see more detail around your base, or zoom out to cover more of the surrounding region. Maps at the same zoom level align to a grid, so you can add neighboring sections later without creating a mismatched display. The Minecraft Wiki map guide explains map coverage by zoom level.
Leave space beside the first frame for maps of nearby regions, and keep track of where each map belongs. Each Item Frame needs eight sticks and one leather. Add frames in a row as you explore new areas and collect more maps.
Build A 3×3 Map Wall For Storage
Turn one wall of a larger storage room into a landscape display, with chests or barrels nearby so you can check the maps while sorting supplies. A 3×3 square of fully explored, adjacent maps in item frames matches the Map Room achievement, described in Minecraft Wiki’s map information.
- Choose nine maps that cover neighboring grid areas. Keep all nine at the same zoom level so their edges line up, as the Minecraft Wiki map guide explains.
- Mount the item frames as a 3×3 square. Place the maps in neighboring-area order, starting at one corner and continuing across each row. Keep the frames together without gaps.
- Reserve a separate strip of wall beside or above the grid for labels, such as signs naming the regions in each row. Keep labels outside the frames so they do not break up the map tiles.
- Place a separate zoom-level-4 overview map beside or above the grid to show how the detailed regions fit into the larger area. The Minecraft Wiki mapping tutorial describes this 3×3 display with a tenth overview map.
Keep chests or barrels close to the map wall, but leave a clear walkway in front so you can reach your storage. If you want to expand the display, leave an open section of wall beside the overview map and keep the route clear. Your main 3×3 grid can stay intact while you add more map panels later.
How Can You Label A Map Wall?
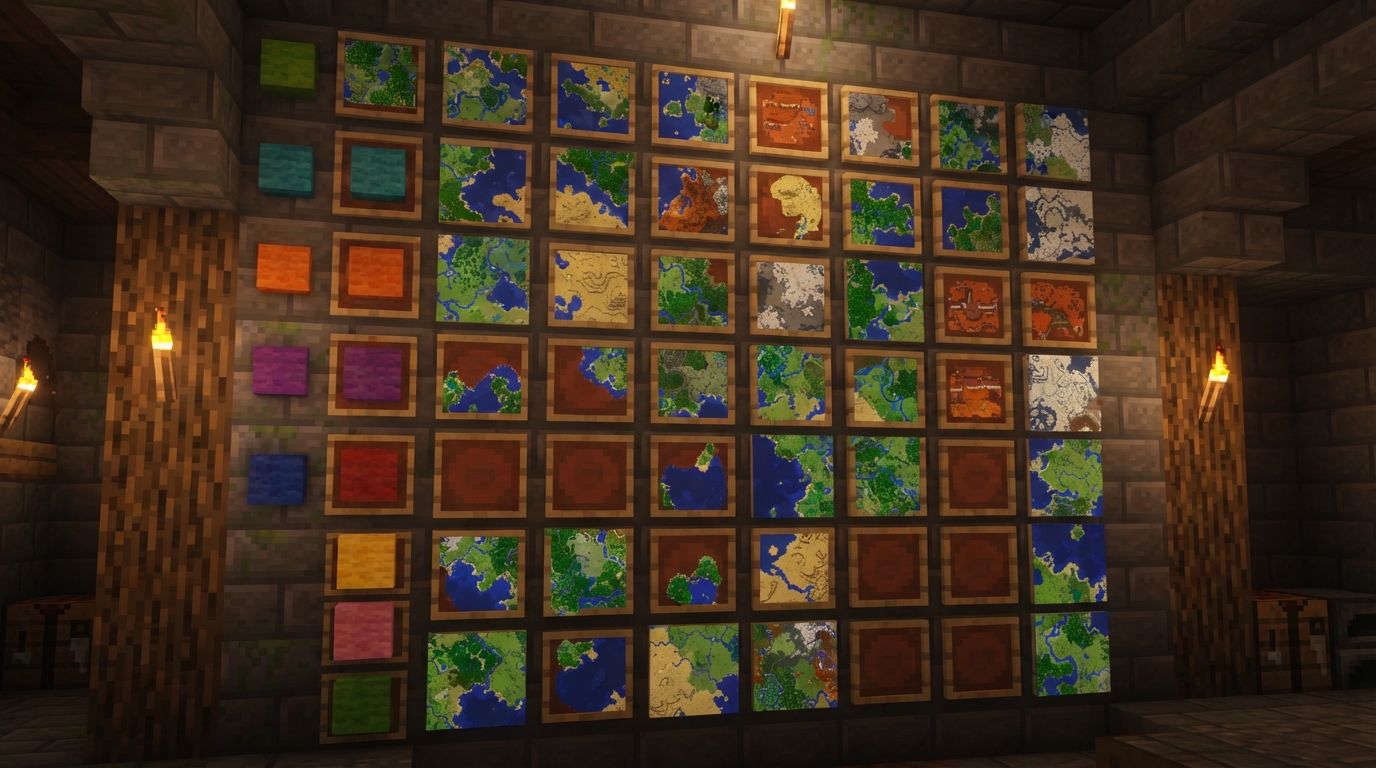
Label your map wall with signs that name each region and record the map’s origin or corner coordinates. Put signs beside the matching row or column, using a format such as “Oak Village, X/Z corner” to connect each label to the world. Minecraft Wiki’s mapping tutorial recommends noting the map origin or corner coordinates. While exploring, keep a written list of map positions and the order of neighboring regions. Add a region name or landmark to each note as you collect maps, such as “river crossing” or “desert temple,” then use your notes to place the tiles correctly on the wall. Minecraft does not automatically add descriptive names to maps, so use signs and notes to label them. You can also use a framed duplicate to mark that map’s location on the display, as the mapping tutorial explains. Make the overview easy to distinguish from the detailed tiles. Put a sign marked “Overview” beside its frame and note its zoom level. Label the tiled maps “Details” and add the region names beneath them. For example, a separate zoom-level-4 overview can show where the smaller map regions sit, while signs identify the places shown in each tile. This keeps the wall readable when you use it to plan a route or find a known landmark.
Add Custom Art And New Map Ideas
Add a small custom-art panel beside your terrain maps to make the wall more personal. A custom map image can use 128×128 pixel art built on a horizontal surface, centered on a map, and displayed in an Item Frame, according to Minecraft Wiki’s map guide.
Try a simple creeper-face motif, base emblem, or color pattern. Keep the art in a separate decorative panel or sign-like feature, not among the explored-terrain tiles. Add a label such as “Base Crest” so you can tell it apart from a mapped region.
Mojang’s February 2025 Java Snapshot 25w07a proposed seven new cartographer maps. Treat this as a snapshot proposal, not a confirmed current-release feature. The proposal alone does not confirm that the maps are available in a current release.
Start With One Mapped Region
Choose your next step based on the wall space you have. At a starter base, pick one map and place it in a frame near your chosen entrance or storage area. Carry the map while exploring the area you want it to record, then return and check whether it shows the landmarks you use. If you need a broader view, zoom the map out at a Cartography Table before adding neighboring tiles.
For a storage room, plan the wall before you fill it. Mark where the main grid and separate overview map will go, then gather the maps for those spaces. Lay the nine detailed maps in their intended order on the floor and compare their regions before mounting them. Keep a note of each map’s position so you can fix a misplaced tile without rearranging the whole display. The Minecraft Wiki mapping tutorial also describes using a framed duplicate to mark a map’s location.
Once your first display is in place, explore one neighboring region at a time and add its map where it belongs.