
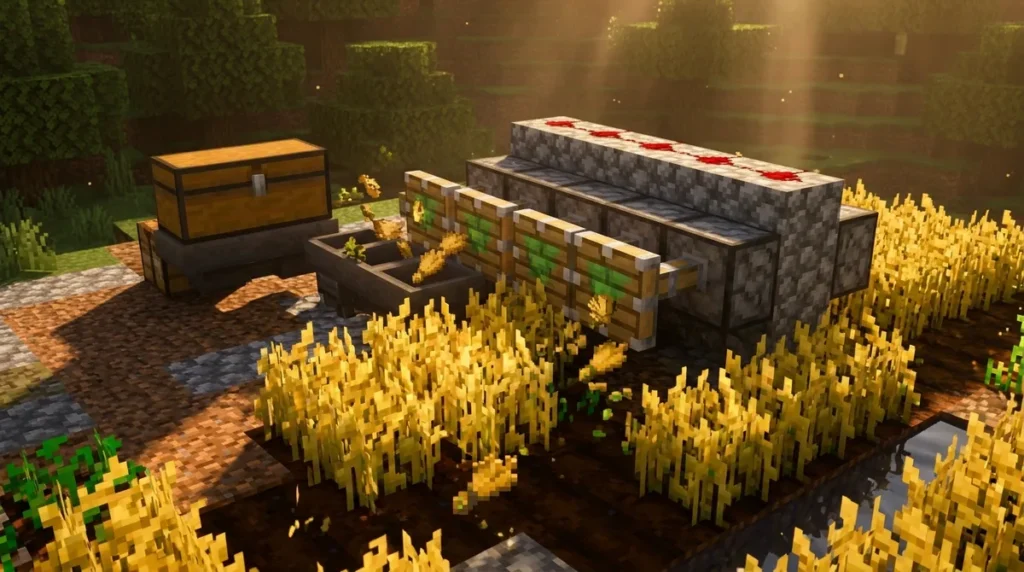
Observers have plenty of uses in Minecraft, from spotting block changes to triggering farms and doors. An observer has a face that watches the block in front of it, and a red dot on its back that sends a one-tick pulse when that block changes. Think of it as a tiny sensor for your builds. In Java Edition, an observer can even notice when a crop grows, because crop age is part of the crop’s block state.
One popular build is a crop harvester. An observer behind the farm triggers a dispenser that applies bone meal, while hoppers gather the food. Remember that this design was built for Java 1.14.4 and does not work in Bedrock Edition, so always name your edition and version when you share instructions.
Key Takeaways
- An observer watches the single block in front of its observing face and sends a one-tick pulse out of its red dot whenever that block changes.
- The observer-triggered crop harvester in this guide was built for Java Edition 1.14.4 and does not work in Bedrock Edition, so you should always name your edition and version when you share it.
- Your Bedrock observer build may stop working because Bedrock does not support Java’s quasi-connectivity mechanic, so you should confirm the edition and version before you copy any observer design.
- Your observer will only fire when it faces the right block, so you should test one observer, one crop, and one dispenser before you build a full farm.
- Your observer will not detect players or mobs walking past, so you should use a pressure plate or tripwire hook when you need to sense people.
What Does an Observer Actually Do in Minecraft?
An observer is a redstone block that watches the block directly in front of it and sends out a signal when that block changes. Its observing face is the side with the sensor-like front, and it looks straight ahead at one block. The opposite side has a red dot, and that is where the signal leaves the observer.
When the observer spots a change, the red dot sends a pulse that lasts one tick, the shortest unit of game time. That pulse can power redstone dust, repeaters, comparators, or a mechanism connected to the red dot. In other words, the observer turns a change in the world into an action your build can use.
Try this quick test. Place an observer on flat ground with its observing face toward a stone block. Mine the stone, and the observer sees the update and flashes its red dot. If you put a redstone lamp next to the red dot, the lamp lights up for a moment and then goes dark again.
Here’s a detail many builders find useful. An observer also emits a pulse when a piston moves it. Microsoft’s Redstone Guide describes this behavior, and it matters when you design moving parts. If a piston slides an observer, the observer can fire even though nothing in front of it changed on its own. Plan for that, or your door or farm might trigger at the wrong moment.
For a full list of what each block does, the Minecraft Wiki’s block reference is a good next stop once you have built a simple test.
How Can an Observer Build an Automatic Crop Harvester?
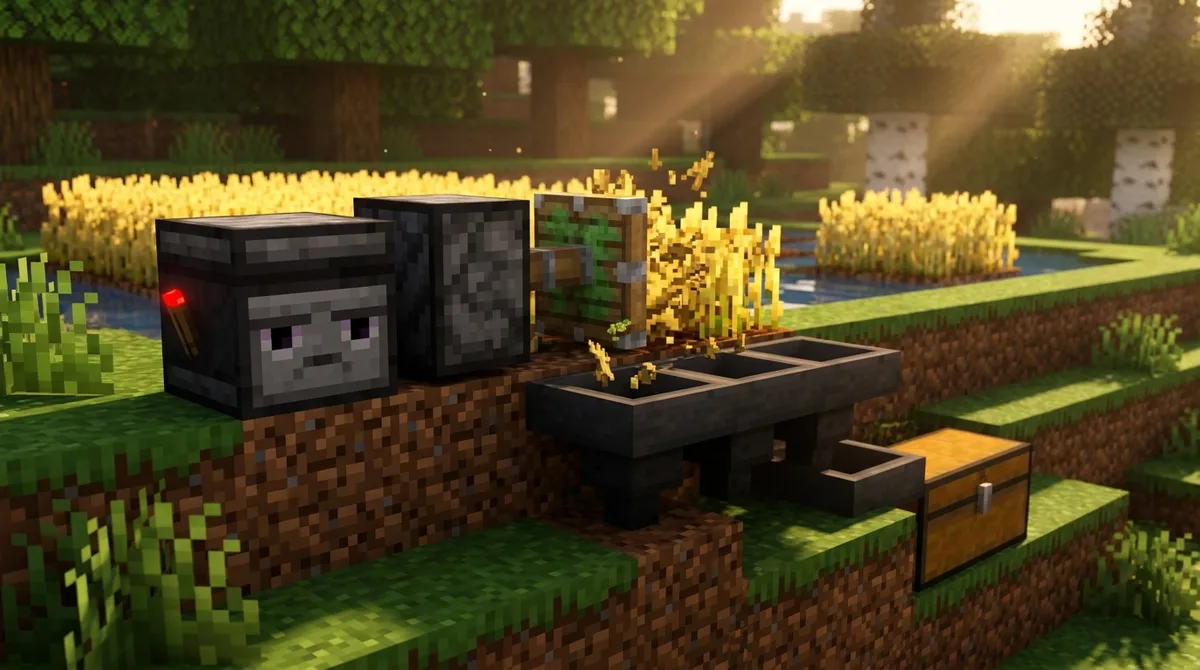
An observer can run a crop harvester by watching the plant itself and triggering a dispenser each time the crop grows. You place the observer behind the crop, and its pulse tells a dispenser full of bone meal to fertilize the plant, while hoppers gather the food into one spot.
The observer works here because it reads the crop as it changes. Each time the plant moves to a new growth stage, the observer notices and fires its red dot without any help from you. That pulse reaches the dispenser, which applies bone meal to the crop, so the plant keeps growing and the farm keeps running.
Here is how to build the setup, in order. Work in Java Edition 1.14.4 as you go.
- Plant a row of crops on farmland, and leave one open block behind the row for your observer.
- Place the observer directly behind the crop, with its observing face pointing at the plant.
- Place a dispenser beside the crop, facing the plant, and fill it with bone meal.
- Set the observer’s red dot against the dispenser so the pulse reaches it.
- Run a line of hoppers along the edge of the farm to collect the food the crops produce.
- End the hopper line at a chest so the harvest stacks in one place.
Test the build with a single crop before you fill the whole field. Watch the observer’s red dot flash as the plant grows, then check that the dispenser fires and the hoppers move items toward the chest. If something stalls, look first at the observer’s facing direction, since a sideways observer watches the wrong block.
Keep the edition in mind. The Minecraft Wiki’s crop farming tutorial states that this observer-triggered design works only in Java 1.14.4 and not in Bedrock Edition. If you play Bedrock, you will need a different farm layout, so name your edition and version whenever you share your build.
Can You Build a Hidden Door With Observers?
Yes, you can build a hidden door with one observer, one piston, and one wall block. The wall block matches the rest of your wall, so visitors see solid stone until the trigger goes off. Everything that makes the door work sits in the hollow space behind the wall.
The observer does the watching, and the piston does the moving. The piston sits in the wall cavity, facing the wall block that forms the door. The observer sits directly behind the piston, with its red dot touching the piston’s back. A hidden trigger block sits behind the observer, so the observer’s observing face looks straight at it.
When you mine that trigger block, the observer sees the update and sends a one-tick pulse from its red dot. The pulse powers the piston, which extends and slides the wall block out of the doorway. The opening appears, and the visitor walks right through.
Here is how to build it in Java Edition, in order.
- Build a two-block-deep hollow inside the wall, just wide enough for the piston, the observer, and the door block.
- Place the wall block in the doorway, flush with the rest of the wall.
- Place a piston behind the wall block, facing forward so its head touches the door.
- Place an observer directly behind the piston, with its red dot touching the piston’s back.
- Place a stone block behind the observer, where its observing face can see it.
- Mine the stone block to test the door, and watch the wall block slide out.
Keep the observer away from the piston’s moving parts. A piston also pushes an observer, and an observer that is moved will emit a pulse on its own, so place the observer where the piston cannot shift it.
Pistons can also create the changes that observers watch. When the wall block slides out, that movement is a change, so you can chain effects. A second observer that watches the empty slot can light a lamp or start a timer that closes the door again. Test each link on its own before you connect them.
Does It Matter Which Way an Observer Is Facing?
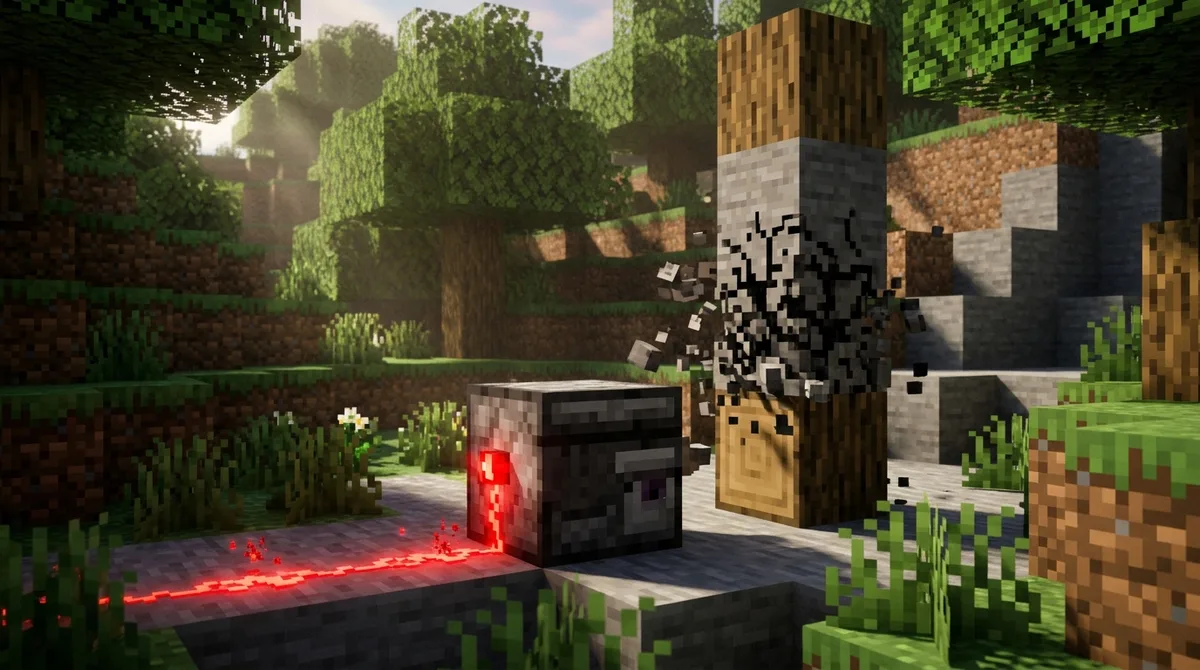
Yes, facing direction decides whether an observer build works at all. The observing face has to point straight at the block you want it to watch, and the red dot has to point at the redstone dust, repeater, or mechanism it should power. Get either side wrong, and the pulse never reaches the part of your build that needs it.
Here is a quick example with a crop farm. Suppose you place the observer beside the plant, with its observing face aimed at the bare farmland next to the crop. The crop grows, but the observer only sees dirt, so its red dot stays dark. The dispenser never fires, no bone meal arrives, and the hoppers sit empty.
The fix is simple. Rotate the observer so its observing face looks at the crop, then point its red dot at the dispenser. The observer does not care what you intended, only what it faces, so check the direction before you place the next block.
Test with a single block before you build a full row. Place one observer, one crop, and one dispenser or redstone lamp. Wait for the crop to change and watch the red dot. If the lamp stays dark, the facing is off, and you have lost a few blocks instead of an entire field.
Facing rules also depend on your edition. Microsoft’s Java–Bedrock comparison notes that redstone behavior and update handling differ between the two editions, so a layout that works in one may act differently in the other. Test in the edition you actually play.
Which Blocks and Mobs Can an Observer Detect?
Observers detect changes to the single block in front of them, not to the creatures or players around them. The observing face reacts when that block changes shape, state, or position, such as a crop growing to its next stage or a piston sliding a block out of the way. When the change happens right in front of the observer, the red dot fires.
Players are a different job. An observer does not sense a player’s footsteps or body, so nothing happens when someone walks past it. For that, use a tool built to notice presence, such as a pressure plate under a floor tile or a tripwire hook strung across a hallway.
Mobs are the trickiest case. A zombie wandering past may or may not set off an observer, so a build that depends on it can fail at random moments. Keep observers for block changes you can predict.
Before you choose an observer, look at how the watched block changes:
- A crop growing or being harvested: an observer is a strong fit.
- A piston moving a block, or a block being mined: an observer works well.
- A player or mob walking nearby: pick a pressure plate, tripwire, or another trigger instead.
Test the change yourself before you commit. Grow the crop, mine the block, or push it with a piston, and watch whether the change happens in the same spot every time. If it does, an observer is a solid choice. If the change depends on someone walking by, switch to a different trigger.
Why Does My Observer Build Stop Working on Bedrock?
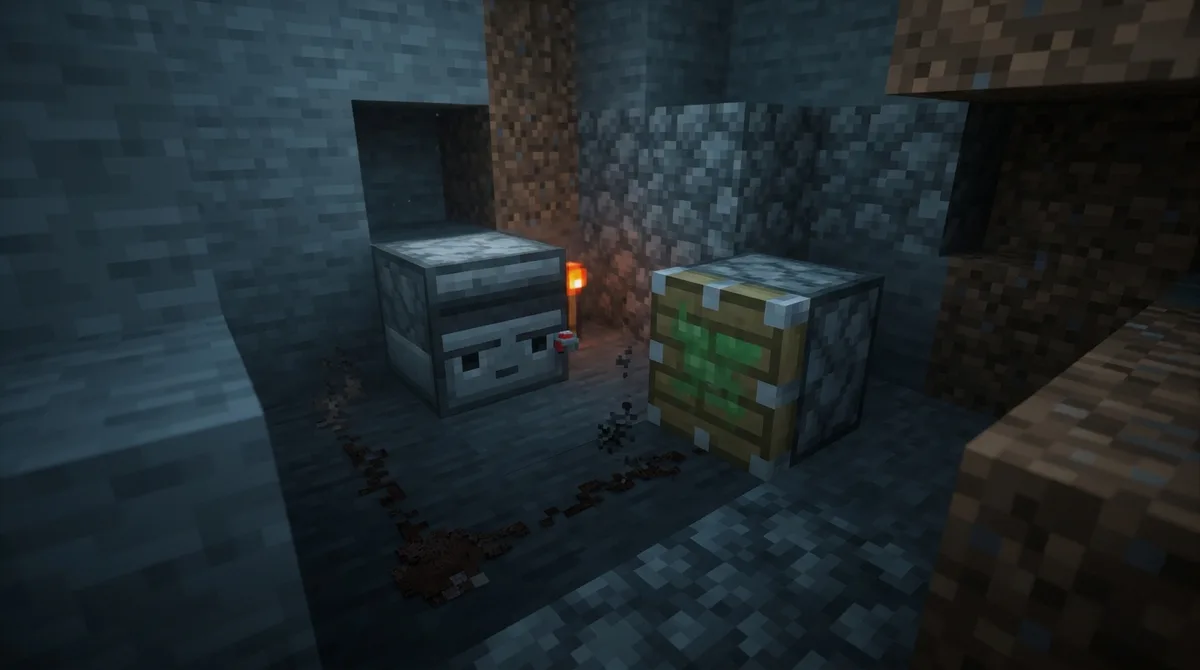
Observer builds often stop working on Bedrock because the two editions handle redstone differently. Redstone behavior and update handling differ between Java Edition and Bedrock Edition, so a block that reacts on time in one edition may react late, or not at all, in the other. Bedrock also does not support Java’s quasi-connectivity mechanic.
Quasi-connectivity is a Java rule that lets a redstone component receive power from a nearby block that does not directly touch it. Many Java builds rely on this without the builder ever noticing. On Bedrock, the same layout gets no power, so the observer or piston sits there doing nothing, even though every block is in the right place.
A design can also fail in a plainer way. A farm built for Java 1.14.4 can leave a Bedrock player with empty hoppers and a dispenser that never fires, because the layout was never meant for that edition.
Before you copy any observer build, confirm the edition and version it was made for. Look for that information in the post, video description, or world notes. If the creator does not say, ask before you place a single block.
Then test a small version in your own world. Place one observer, one trigger, and one output, and watch the red dot. If it stays dark, the edition or version is the likely cause, so compare it against the build’s original notes before you change anything else.
Planning Your First Observer Build Step by Step
Before you build a full farm or door, start with one small test. These steps show you how each part works on its own.
- Confirm your edition and game version, such as Java 1.14.4, and write them down before you copy any design.
- Place a single observer on flat ground, with its observing face aimed at a stone block.
- Place a piston directly against the observer’s red dot, so the pulse can push it.
- Mine the stone block and watch whether the piston extends.
- Swap the piston for a dispenser to check that the signal can release items too.
- Repeat the test until the signal fires every time, then expand the build one block at a time.
Keep each test in a small, separate area, away from any farm you care about. That way, a mistake costs you a few blocks instead of a whole field.
Planning Your First Observer Build
Your next step is to open a fresh world in the edition and version you actually play, then build the lamp test. Place an observer facing a stone block, set a redstone lamp against its red dot, and mine the stone. If the lamp flashes and goes dark, your observer faces the right way and you’re ready for a bigger project.
Once the test works, choose the build that fits your goal. If you want automatic crops, start with one crop on farmland and one dispenser loaded with bone meal, then watch the observer’s red dot flash as the crop grows. If you want a secret entrance, start with a piston and observer behind a single wall block, and mine the trigger stone to see the door slide open.
Write down the edition, the version, and the observer’s direction for every test you run. A short note in a chest or on a sign near your test area makes it easy to rebuild the version that worked. Fix one problem at a time, and don’t add more blocks until the current test passes every time.
When your small build is reliable, expand it one row or one wall section at a time. Keep the original test area nearby so you can check the first row whenever something stops working.