
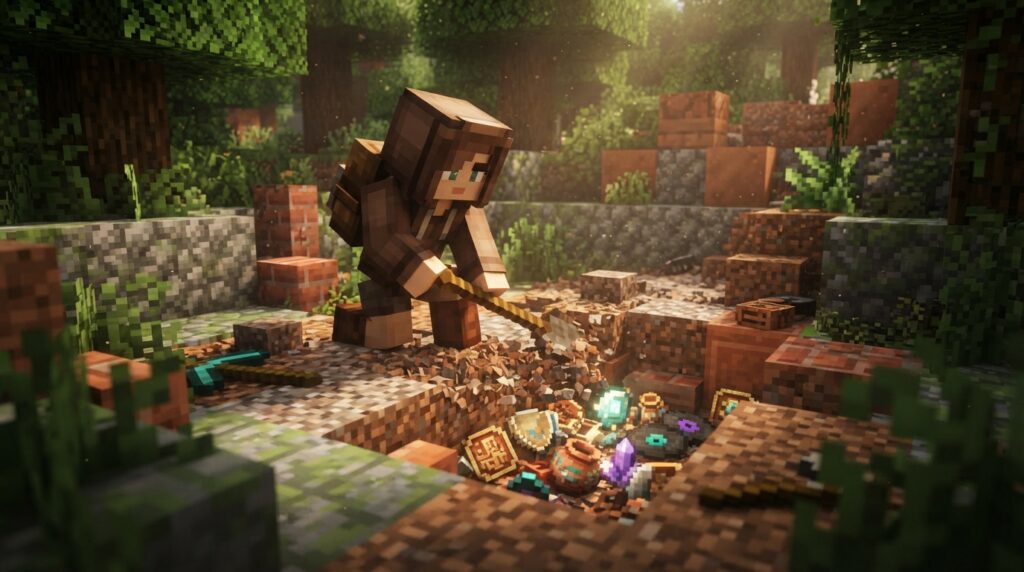
Trail ruins loot comes from suspicious gravel, not chests. Brush these fragile blocks to uncover ordinary items, pottery sherds, armor-trim templates, or the Relic music disc. The rare loot table has 12 equally weighted outcomes, so each named rare reward has a 1-in-12 chance per rare-table roll, not per block.
A brush crafted from one feather, one copper ingot, and one stick has 64 durability. Each naturally generated suspicious block takes about 4.8 seconds of continuous brushing to reveal its item. Trail ruins are mostly buried, so look for exposed clues such as a tower, shacks, or a cobblestone-and-brick road in taigas, snowy taigas, old-growth forests, and jungles. Handle suspicious gravel carefully: breaking it, letting it fall, or moving it with a piston destroys the block without dropping its contents.
Key Takeaways
- You find Trail Ruins loot by brushing Suspicious Gravel, not by opening chests, and the blocks can reveal ordinary items or rare rewards.
- The rare loot table has 12 equally weighted rewards: the Burn, Danger, Friend, Heart, Heartbreak, Howl, and Sheaf pottery sherds; the Wayfinder, Raiser, Shaper, and Host armor trims; and the Relic music disc, with each reward having a 1-in-12 chance per rare-table roll, not per block.
- You can spot Trail Ruins in taigas, snowy taigas, old-growth forests, and jungles by looking for exposed towers, shacks, or cobblestone-and-brick roads, since much of each ruin is buried.
- You can craft a Brush with one feather, one copper ingot, and one stick; each Brush has 64 durability, and each naturally generated Suspicious Gravel block takes about 4.8 seconds of continuous brushing, so keep the block supported and never break it or move it with a piston.
What Loot Can Trail Ruins Have?
Trail ruins have no chests. You find their archaeology loot by brushing suspicious gravel. The blocks can reveal ordinary items from the common loot table or special rewards from the rare loot table. A rare reward is not guaranteed from every block, so brushing one block does not guarantee a pottery sherd, armor trim, or music disc.
The two tables keep ordinary finds separate from the named rare rewards. The common table contains ordinary items, while the rare table has exactly 12 equally weighted outcomes. That means each rare reward has a 1-in-12 chance per rare-table roll, not a 1-in-12 chance per suspicious-gravel block. No item in the rare pool is weighted more heavily than another.
Seven of the rare outcomes are pottery sherds: Burn, Danger, Friend, Heart, Heartbreak, Howl, and Sheaf. Each sherd is its own outcome, so the seven sherds account for seven of the rare table’s 12 possibilities. If the rare table is selected, each sherd has the same chance as any other named rare reward.
Four more outcomes are armor-trim templates: Wayfinder, Raiser, Shaper, and Host. The Relic music disc is the remaining rare outcome. Together, the four trims and the disc make up five of the 12 rare outcomes, alongside the seven pottery sherds.
Keep the difference between a rare-table roll and a block’s overall drop in mind when judging your finds. The 1-in-12 odds describe the chance of a particular reward only after the rare table is selected. They do not mean every twelfth suspicious-gravel block will produce that reward, or that brushing a set number of blocks guarantees a specific item. The common table remains a separate source of ordinary items, while all seven named sherds, all four named trims, and Relic belong to the rare pool.
Where Can You Find Trail Ruins?
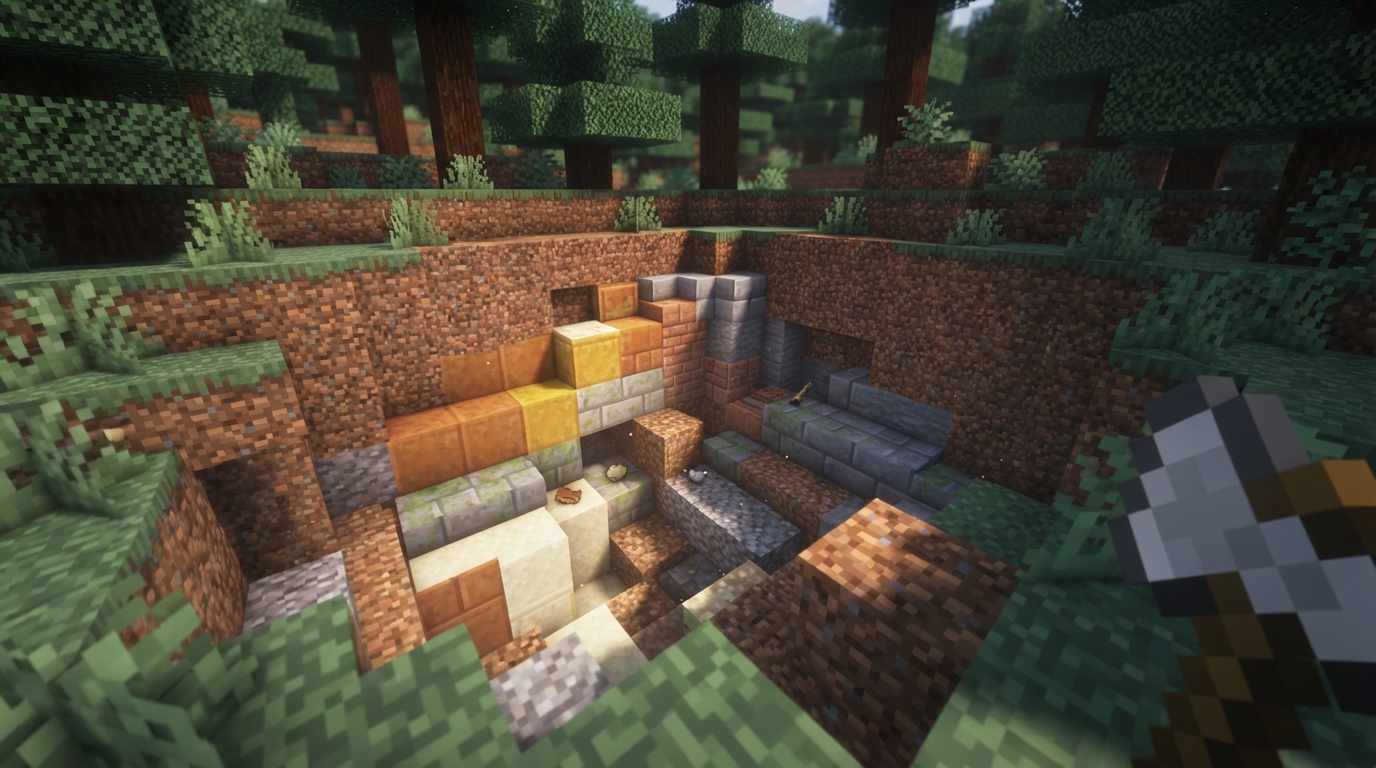
You can find Trail Ruins in taigas, snowy taigas, all old-growth forest biomes, and jungles. Their aboveground remains may be small, so you might see only a few parts of a settlement rather than a complete village. Look for a tower, shacks, or a road made from cobblestone and bricks. A visible tower or stretch of road can mark the edge of a much larger buried site. The structures do not need to appear together for the area to be a Trail Ruin. Much of each settlement is hidden under layers of dirt, gravel, and suspicious gravel. These layers can cover most of the buildings and road, leaving only a few blocks or structures exposed. A small cluster of visible ruins can signal that more of the settlement lies underground, even when the surface does not look like a complete settlement.
Spot Trail Ruins Before Digging
Use the biome and the settlement remains above ground to narrow your search before inspecting the buried layers. Trail ruins can appear in taigas, snowy taigas, old-growth forest biomes, and jungles.
- Search these forested biomes for signs of a Trail Ruin instead of expecting a complete settlement above ground.
- Look for an exposed tower, one or more shacks, or a road made from cobblestone and bricks. Any of these features can mark a ruin.
- Follow visible building or road blocks to check where the settlement may continue underground, since dirt and gravel can hide much of the structure.
- Inspect exposed gravel carefully without breaking blocks, because Suspicious Gravel is fragile and easy to destroy.
Ordinary gravel and Suspicious Gravel are not interchangeable. Suspicious Gravel is the archaeology block that can reveal buried objects when brushed. Ordinary gravel is not a substitute and should not be counted as a loot block. A patch of gravel near a ruin does not mean every block in the patch contains an item.
Check gravel in the context of the buried settlement instead of treating all gravel as a reason to dig. The tower, shacks, and cobblestone-and-brick road can help you judge whether a gravel layer belongs to the ruin, but they do not make every nearby block suspicious. Preserve blocks as you inspect the site: breaking Suspicious Gravel destroys it without dropping its contents.
How Do You Brush Suspicious Gravel Safely?
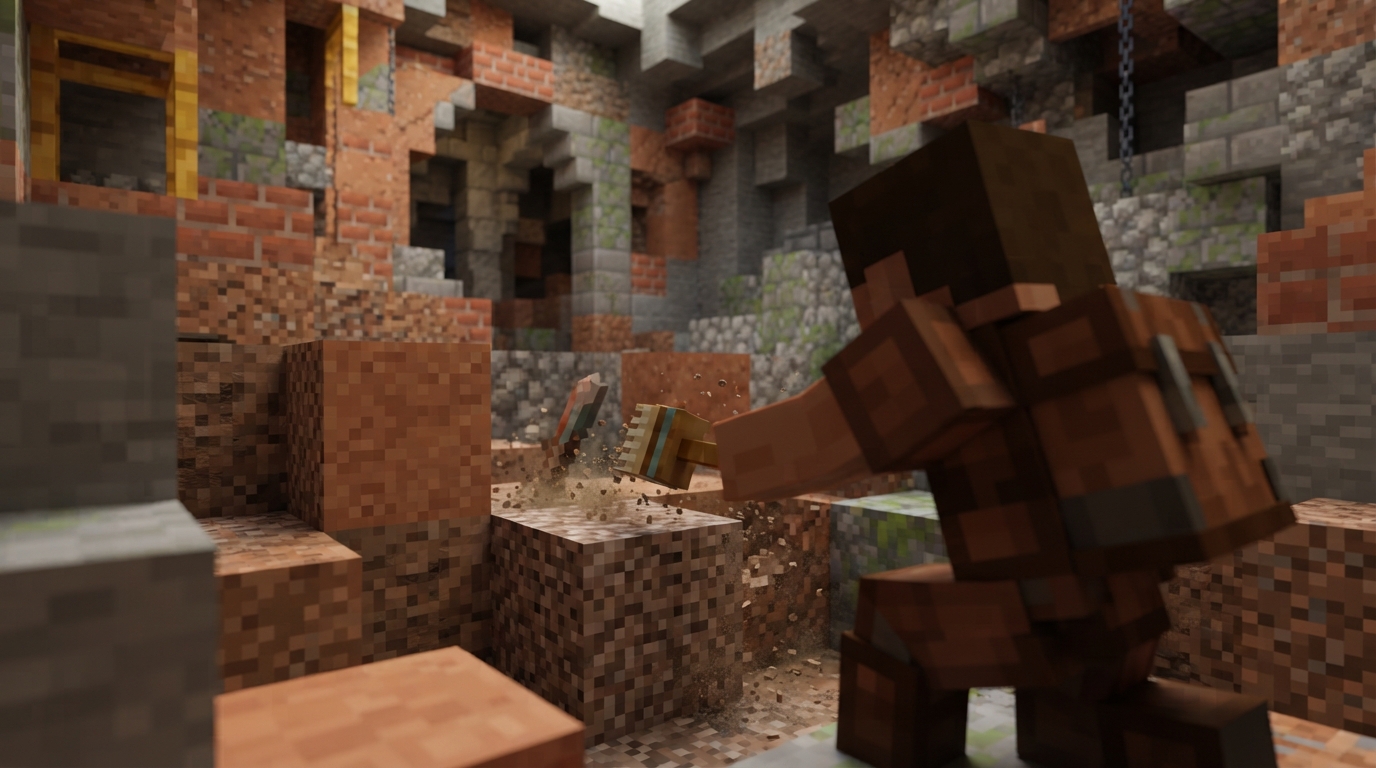
To brush suspicious gravel safely, use a brush on each block and keep it in place, away from anything that could make it fall or move.
A brush is made with one feather, one copper ingot, and one stick, and it has 64 durability. A naturally generated suspicious gravel block needs 96 game ticks, or 4.8 seconds, of continuous brushing to reveal its item, so try not to interrupt the process.
- Craft a brush with one feather, one copper ingot, and one stick.
- Hold the brush before targeting the suspicious gravel block.
- Check that the block is supported and will not be disturbed by a piston.
- Stay beside the block so you can brush it without making it fall or move.
- Use the brush on the suspicious gravel and keep brushing the same block continuously.
- Wait the full 96 game ticks, or 4.8 seconds, for a naturally generated block to reveal its item.
- Look for the revealed item when the suspicious gravel changes into ordinary gravel.
- Pick up the revealed item before moving on to another block.
Treat the block as fragile throughout the process. Breaking suspicious gravel yields no drops, so mining it with a tool or breaking it by hand destroys the chance to collect its contents. A block that falls from any height also breaks, and piston movement breaks it too. Avoid breaking nearby support blocks if doing so could make suspicious gravel fall, and do not use a piston to move it into a more convenient position.
Use the same careful method when brushing suspicious sand at an archaeology site: brush the block instead of breaking it. Once brushing finishes, the suspicious block is gone and ordinary gravel or sand remains in its place. Check that you have collected the revealed item before leaving.
Pack For A Careful Excavation
Before heading into a Trail Ruin, make sure you can brush Suspicious Gravel as soon as you find it. Pack a Brush or bring the ingredients to craft one:
- One feather
- One copper ingot
- One stick
A Brush has 64 durability, so its uses are limited. Brush Suspicious Gravel carefully, and avoid spending time on ordinary gravel that cannot reveal archaeology loot. Remember that the 1-in-12 chance applies to each rare-table roll. It is not the chance that every Suspicious Gravel block will reveal a particular rare item.
When you find exposed ruins, inspect the structure and surrounding layers before excavating. Identify Suspicious Gravel, then brush each block in place. Do not break the block or move it with a piston: breaking it destroys its contents, and piston movement breaks it too. A Brush and a careful inspection can help you preserve blocks that may hold loot.
Start With The Exposed Ruins
At the first exposed tower, shack, or cobblestone-and-brick road, pause before digging straight down. Choose one edge of the structure as your starting point and clear the nearby dirt in short passes. Keep the exposed building or road in view as you uncover the layers around it.
Follow the visible road a little at a time and check the gravel beside it for Suspicious Gravel. A patch of ordinary gravel alone is not a reason to mine deeper, and breaking a suspicious block destroys its contents. If you uncover a suspicious block, stop clearing around it and brush it where it is.
For a buried shack, work from the outside toward the walls instead of cutting through the middle. If a suspicious block is beside ordinary gravel, take care not to remove support that could make it fall. Keep the Brush ready before clearing the next layer.
When the exposed structure disappears beneath dirt or gravel, continue along the same line instead of widening the hole at random. If the layer no longer follows the road or building, pause and inspect the ground before removing more blocks. A small, careful excavation around the visible remains gives you a clear next place to check without treating every gravel block as loot.