
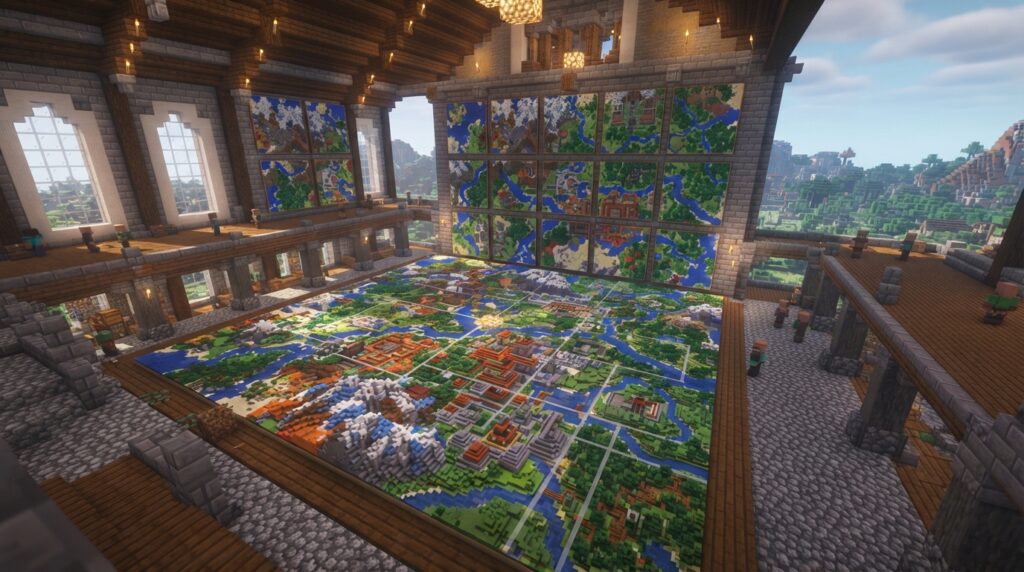
Minecraft map art is an image you build from blocks and view through an in-game map. At the default scale, the canvas is 128 × 128 pixels. At this 1:1 scale, each pixel represents one block, giving you 16,384 positions for your design. The map renderer uses each block’s map color, so a block that looks right in your build may not match the image as expected. Learn more about how map colors become pixels.
Zooming out keeps the image 128 × 128 pixels but makes each pixel cover more ground. At the farthest zoom level, one pixel represents 16 × 16 blocks. That scale works better for broad landscapes than crisp icons. Before gathering materials, plan your colors, footprint, and map boundaries. See the map zoom details for the full range.
Key Takeaways
- A level-0 Minecraft map gives you a 128 × 128-block canvas with one block per pixel, while a level-4 map covers 2,048 × 2,048 blocks with each pixel representing 16 × 16 blocks, so choose your scale based on how much detail your design needs. See the map size and zoom details.
- MapartCraft can help you crop an image, preview map colors for your Minecraft version, estimate materials, and download a schematic before you build. See MapartCraft’s planning features.
- Minecraft map colors depend on each block’s rendered map color, so check your palette in a preview and keep the planner set to the same Minecraft version you will use. Learn more about how map colors become pixels.
- A multi-map display needs correctly aligned map areas and frames in the planned rows and columns, so test the layout before building a large wall. See the map alignment guide.
What Is Minecraft Map Art?
The map renderer turns block colors into pixels, so your block choices determine the image. At the default 1:1 scale, one map represents a 128 × 128-block area, with one block per pixel and 16,384 pixel positions. The map item format explains how map data stores those colors.
Minecraft maps have five zoom levels, from level 0 to level 4. Level 0 covers 128 × 128 blocks at one block per pixel, while level 4 covers 2,048 × 2,048 blocks at 16 × 16 blocks per pixel. Each map still displays a 128 × 128-pixel image, but zooming out increases the area represented by each pixel. See the map size and zoom details for the full range.
At higher zoom levels, each pixel samples a larger area instead of showing individual blocks. For example, each level-3 pixel samples an 8 × 8-block area. Small design changes can blend together at that scale, while larger shapes can still read clearly across the map. See the map zoom details.
Choose a scale that suits your design. A detailed Creeper face or other small icon benefits from level 0, where individual blocks can create sharp edges. A broad landscape design can use a higher zoom level to cover more ground, with less detail in each pixel.
How Big Should Map Art Be?
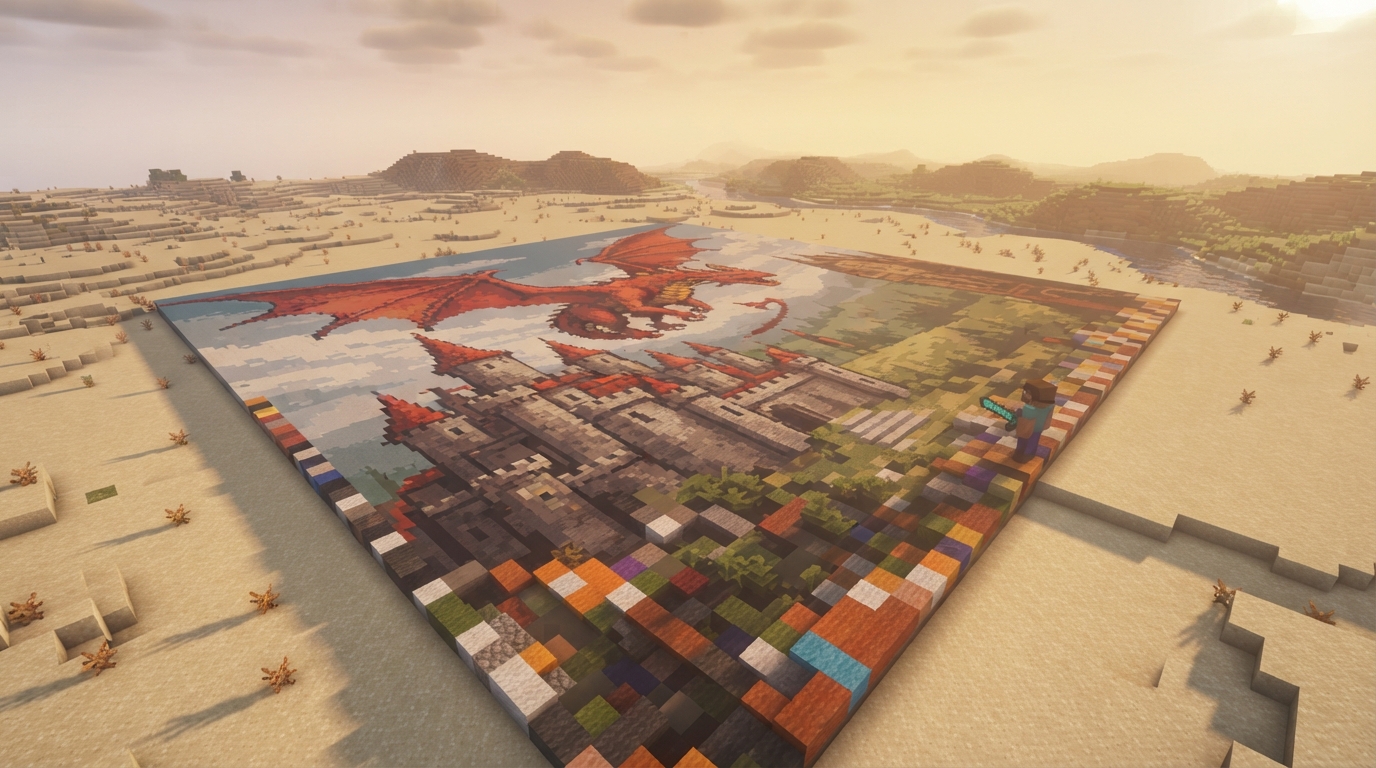
Choose a map art size based on how much detail your image needs and how much wall space you want it to fill. Use one level-0 map for a compact, detailed design, or combine maps into a larger wall for an image with a broader footprint.
Every map displays 128 × 128 pixel positions. Across the five zoom levels, level 0 covers 128 × 128 blocks at one block per pixel; level 1 covers 256 × 256 blocks at 2 × 2 blocks per pixel; level 2 covers 512 × 512 blocks at 4 × 4 blocks per pixel; level 3 covers 1,024 × 1,024 blocks at 8 × 8 blocks per pixel; and level 4 covers 2,048 × 2,048 blocks at 16 × 16 blocks per pixel. Zooming out increases the build area represented by each pixel, not the image’s detail. See the map size and zoom details.
At level 0, one map gives you 128 × 128 positions for a crisp image. A multi-map design can extend that canvas across a wall, but each map adds another area to plan and build. At higher zoom levels, more blocks contribute to each pixel, making small shapes and edges less distinct. See the map size and zoom details.
Map boundaries matter because each map records a specific part of the world. Maps at different zoom levels align to a shared grid, so correctly aligned maps can tile together. Use the map alignment guide when planning a tiled display.
Decide how many maps your artwork needs, then sketch the final wall layout before placing blocks. Mark where each map begins and ends in your build so the image lands in the right place and neighboring maps line up.
How Do You Turn an Image Into Map Art?
Turn an image into map art by cropping it to your planned map layout, previewing how Minecraft renders its colors, and using a planning tool to create a block layout. A preview can show color mismatches and details that disappear at your chosen size before you start a large build. Use MapartCraft to choose a map size and Minecraft version, crop an image, and preview the result. Its planning features include a 16 × 16-chunk grid overlay, dithering, material estimates, and schematic downloads. MapartCraft’s planning features can help you turn an image into a practical build plan.
- Choose an image that reads clearly. Pick a design with distinct shapes and strong contrast, such as a simple pickaxe silhouette. Fine text and tiny details may blur when the image is reduced to map pixels.
- Set the map size and crop. In MapartCraft, choose the map layout you plan to build, then crop the image so its main subject fills the available area without cutting off important edges.
- Match the version and inspect the preview. Set MapartCraft to the Minecraft version you plan to use. Map colors can change between versions, so a version mismatch may make the preview differ from your finished map.
- Adjust the image and preview again. Look for muddy color areas, jagged edges, or shapes that are hard to recognize. Try a tighter crop or dithering, then check whether the updated preview is clearer.
- Use the grid and estimate to plan the build. The grid overlay divides the layout into manageable sections, while the material estimate helps you work out what to gather. Download a schematic if you want a block layout to follow as you build.
Use the preview to check your design before construction. If a small symbol is unclear in the preview, adjust the crop or image before building to save time and materials.
Which Blocks Make the Best Palette?
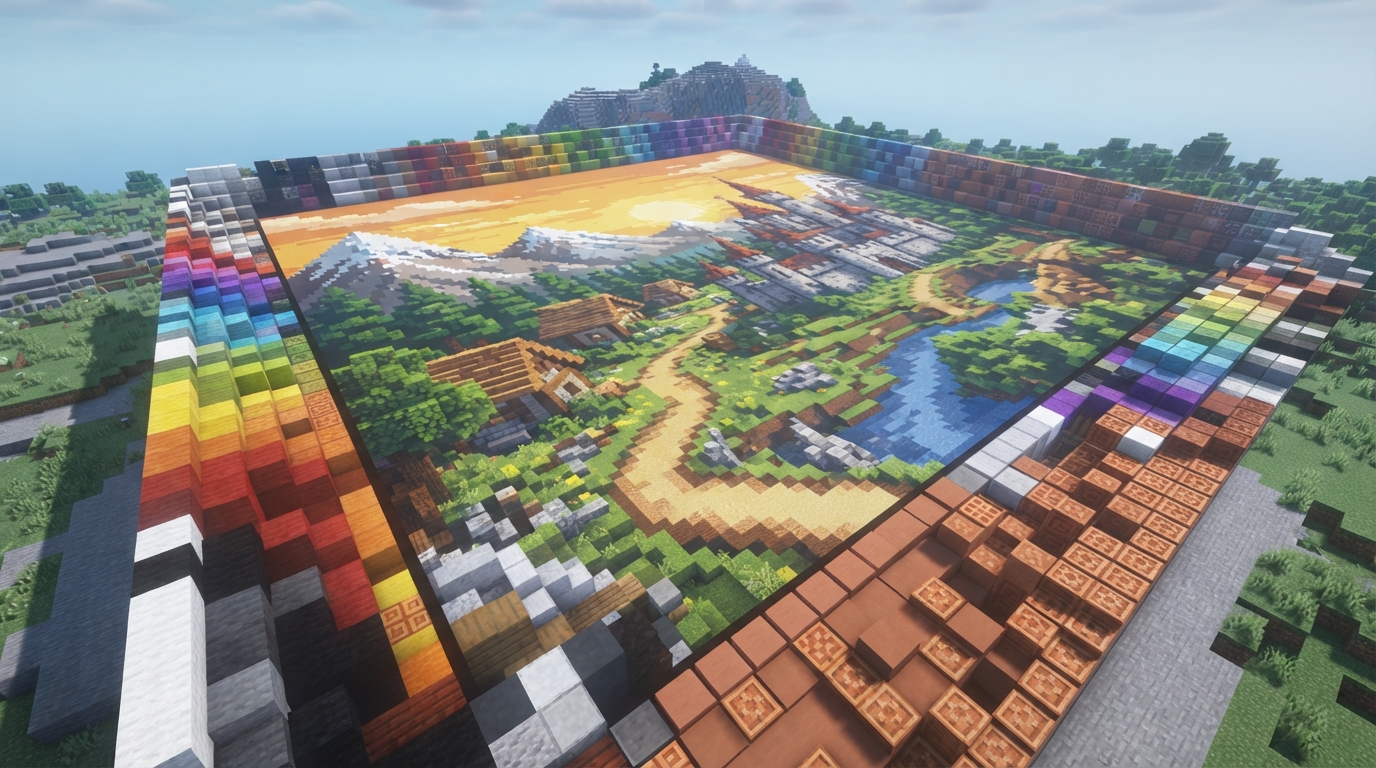
Choose blocks whose map colors match your image in the Minecraft version you plan to use. The map renderer uses each block’s map color, not just its appearance in the world. Each base color can have four brightness variants, giving you more options than a list of base colors alone. See the map color information. Compare blocks by their rendered colors in a preview instead of judging how they look side by side in the world. Version matters: Java Edition 1.21.5, released March 25, 2025, changed the map color of Pale Oak Leaves and Pale Oak Saplings. Set the planner to your game version before choosing a palette. Simplify images that need more colors than Minecraft’s palette can provide. Turn a smooth gradient into a few clear color regions, and keep important shapes distinct so they remain easy to recognize with the available block colors.
Build Your Map Art Step By Step
Start building after your map area, image crop, and block choices match your finished plan. Build in small sections so you can spot map-color differences before they spread across a larger design.
- Prepare the map area. Mark the planned boundaries in the world and make sure the map you use to check your work covers that exact area. For a tiled build, align neighboring map areas to Minecraft’s shared map grid so their edges meet correctly. See the map alignment guide.
- Lock in the plan. Use the scale, image crop, and block palette from your preview. Keep the Minecraft version consistent with your plan, since version changes can affect the colors shown on maps.
- Set up a placement guide. Use the grid or a schematic to locate each planned color in your build. Divide the design into clear sections, such as the background, a main shape, and its details, so you can check each part without losing your place.
- Place blocks for one section. Follow the planned pixels in order, using the selected block for each position. Finish a distinct area, such as the background around a Creeper face, before moving on to the next section.
- Check the live map. Compare the in-game map with the preview as the image updates. Look closely at edges and color transitions, where a block’s rendered map color may differ from what you expected.
- Correct mismatches before expanding. Replace blocks wherever the live map shows an unintended shade or unclear shape, then check the updated image again. Confirm that a test section matches the preview before repeating the same placement pattern across a larger design.
- Plan for survival materials. Collect the blocks in your palette before placing them. The range of materials and the number of planned map positions affect the workload. A larger design or a palette with many block types requires more gathering and tracking.
How Do You Display Map Art?
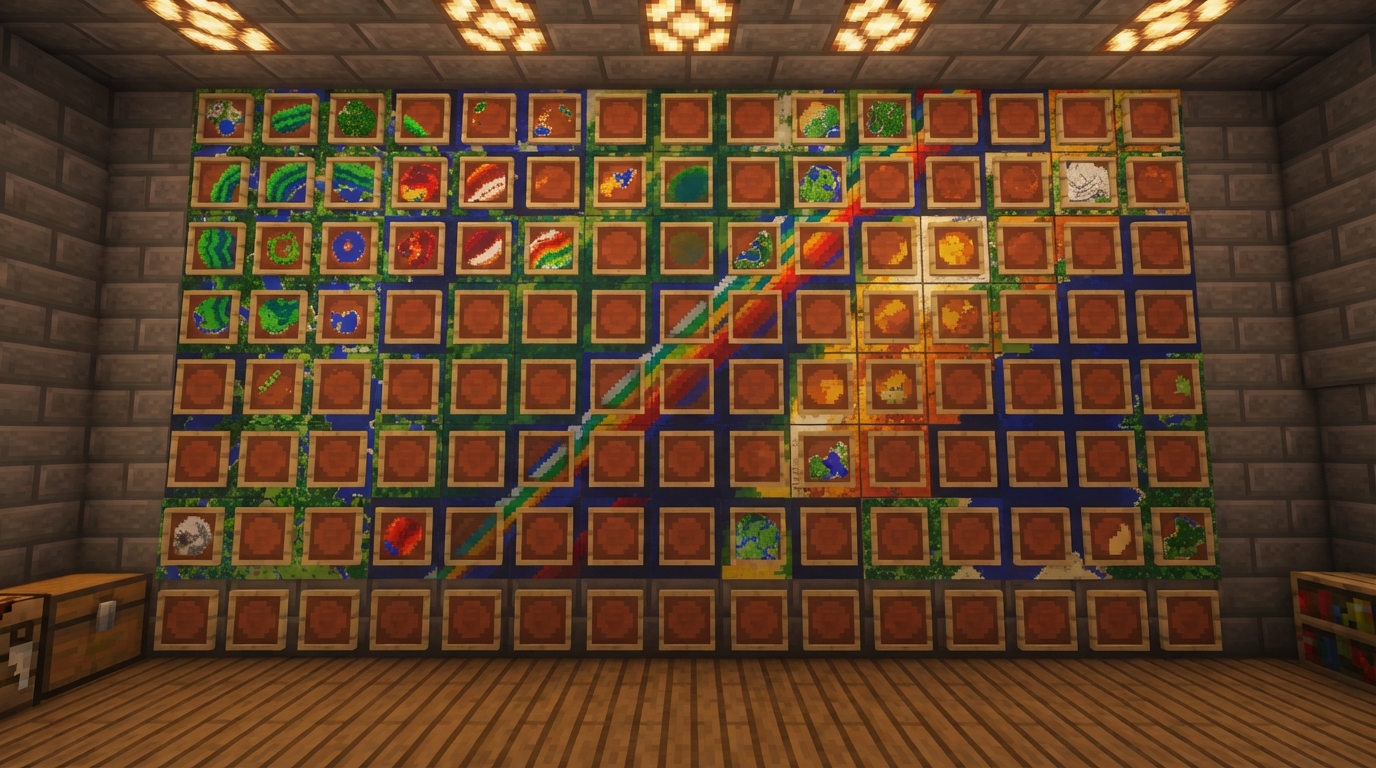
Display finished map art by placing each map in an item frame on a flat wall, with every frame in its planned position. A map in an item frame expands to fill the block face, and the frame’s position appears on the map as a green pointer. See the item frame details. Keep the frames facing the same way so the artwork lines up across the wall.
For artwork that spans multiple maps, place correctly aligned maps in their intended rows and columns on a shared grid. The map alignment guide explains how maps line up, helping you avoid gaps or overlaps that break the larger image.
Before building a large display wall, test the arrangement with the exact map layout you plan to show. Put the maps in frames in a temporary setup, then check whether the edges, colors, and shapes connect across panel borders. A line that stops at one map’s edge should continue in the neighboring panel. If it does not, check the map order and alignment before setting up more frames. A well-arranged frame wall can show map art in a base, a gallery, or a build showcase.
Start With a Small Map Art Design
Make your first project a small shield emblem on a single level-0 map. Sketch a bold outline, a simple shape in the center, and a plain background. Keep the edges clean and skip tiny details so the emblem stays easy to recognize on the map.
Open MapartCraft and set the planner to your Minecraft version. Crop a square image of the shield, then use the preview to choose blocks for the outline, center, and background. If the center blends into the outline, change the image or palette before building.
Write down the blocks for each color region and keep the sketch beside your plan as you place them. Start with the outline, fill the center, then add the background. Check the map after each section. If the shield’s shape is hard to read, adjust the blocks before continuing.
When the small design looks clear, save the plan and gather only the listed materials. You can frame the finished map as a standalone emblem or use the same process to make a larger, more detailed piece.