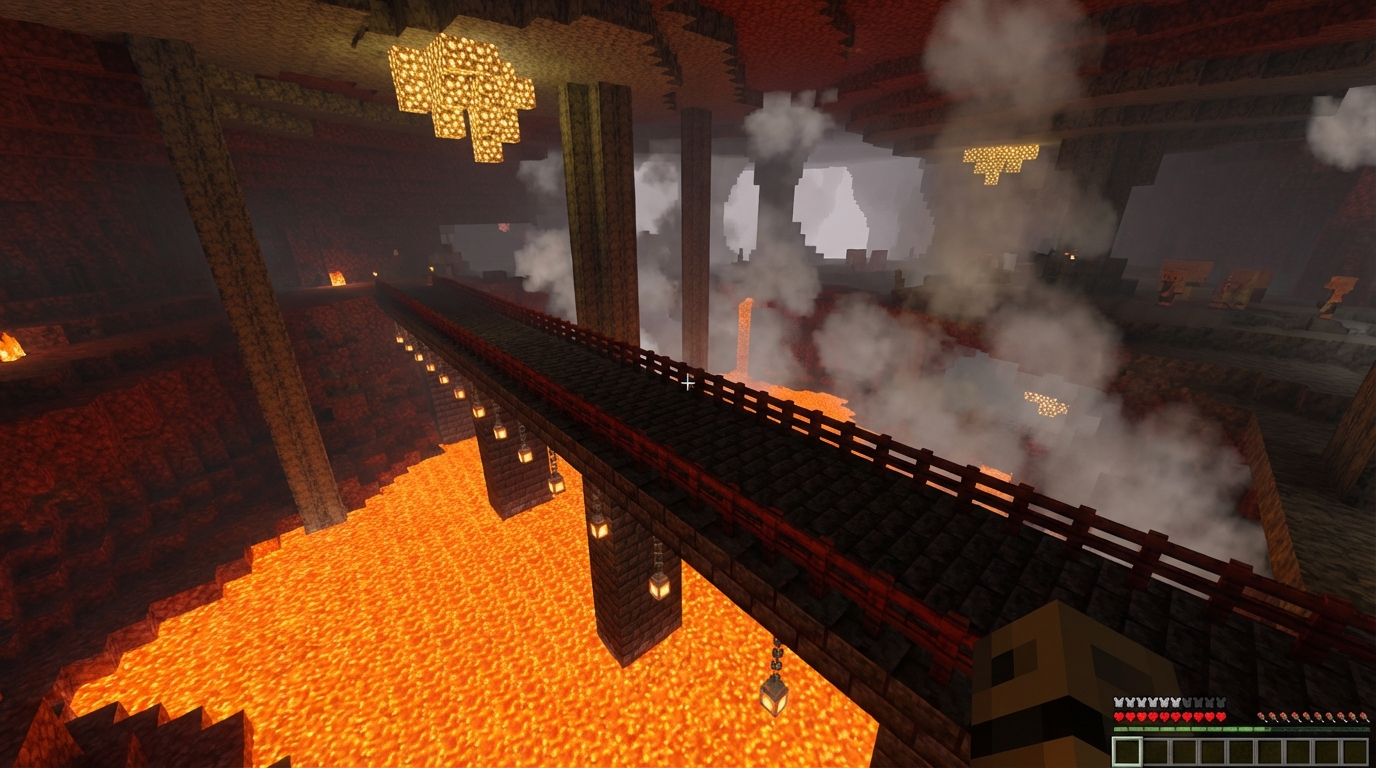
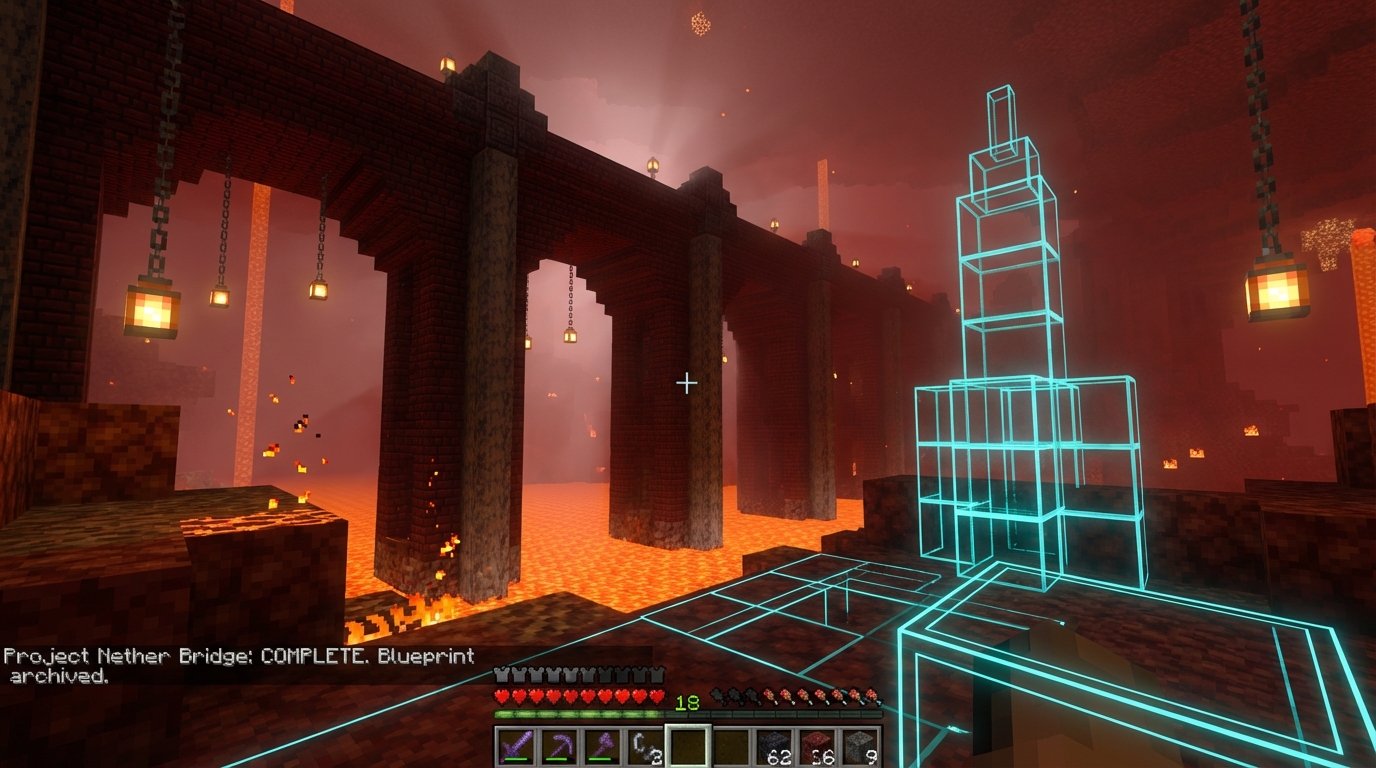
Surviving the Nether is hard enough without having to leap across massive lakes of fire just to find a Blaze spawner. Using professional nether bridge blueprints allows you to recreate those iconic, sturdy walkways that connect the different wings of a Nether fortress. You can stop burning through your cobblestone stacks and start building authentic structures that look like they belong in the game’s most dangerous dimension.
A standard bridge segment requires exactly 505 Nether bricks and 24 Nether brick fences to capture that classic, imposing look. These blueprints help you align your paths perfectly so your fortress feels organized rather than a messy pile of random blocks. Whether you are building a safe path to a Wither Skeleton farm or just want a cool-looking base, following a specific layout keeps you safe from Ghast fireballs.
Key Takeaways
- Constructing bridges with Nether bricks and fences provides essential blast resistance and fireproofing against Ghasts and lava.
- A standard, professional-grade bridge segment requires exactly 505 Nether bricks and 24 fences to maintain structural integrity and a five-block width for safe movement.
- Utilizing bottom-half slabs for walking surfaces and fences for guardrails creates a completely spawn-proof and fall-safe environment for navigating dangerous terrain.
- Strategic infrastructure, such as arched intersections and specialized spawner platforms, transforms hazardous fortress layouts into efficient, organized resource hubs.
Essential Materials For Nether Bridge Blueprints
Building a classic Nether bridge requires a specific inventory list to ensure you do not run out of resources over a lake of lava. For a standard fortress-style segment, you should prepare exactly 505 Nether bricks and 24 Nether brick fences to match the authentic look. These materials are perfect for survival mode because they are blast-resistant and will not catch fire from wandering Ghasts or nearby lava flows. You can easily craft these blocks by smelting netherrack into bricks or by mining out existing structures if you have a silk touch pickaxe. Keeping these counts in mind helps you plan your inventory space before you head out on a dangerous building mission.
Safety is just as important as aesthetics when you are following these blueprints in the dangerous mid-game stage. The fences act as a vital guardrail to prevent you from falling into the depths while you are fighting off Blazes or Wither Skeletons. You should place your fence posts every few blocks along the edges to maintain that iconic fortress silhouette while providing maximum protection. Using Nether brick materials also ensures that a stray fireball will not leave a gaping hole in your walkway. This functional design allows you to move quickly between spawners and your main portal hub without constant repairs.
When you start laying down your first layer, remember that consistency is the key to a professional-looking interior design. These nether bridge blueprints rely on a repeating pattern of solid blocks for the floor and decorative pillars for support underneath. You can expand the width of your bridge by adding extra rows of bricks, but sticking to the standard five-block width keeps the proportions looking natural. If you are building a long-distance connection, try to keep a few stacks of spare bricks in an Ender Chest just in case you encounter a larger gap than expected. Following these simple steps will help you master the art of Nether architecture while staying safe from the elements.
Step By Step Blueprint For Safe Walkways

Building a reliable three-block wide walkway starts with a solid foundation that anchors your structure directly into the lake of lava below. You should begin by dropping gravity-affected blocks like gravel or sand into the depths to create a temporary pillar for your permanent supports. Once you have a base, replace these blocks with sturdy Nether bricks to form a thick central column that can withstand any Ghast fireballs. A three-block width ensures you have plenty of space to sprint and jump without the constant fear of slipping into the fire. This extra space also allows you to place torches or soul lanterns along the edges to keep the path well-lit and safe from spawns.
The next layer of your blueprint focuses on structural integrity and safety by adding protective barriers to the sides of your bridge. You can use Nether brick fences to create a railing that prevents you from being knocked off by a stray arrow or a sudden skeleton attack. These fences are particularly useful because they allow you to see your surroundings while still providing a physical wall for protection. If you want a more fortified look, you can alternate between full blocks and stairs to create a decorative but functional trim. This design not only looks professional but also mimics the natural architecture found in generated fortresses.
Finishing your bridge requires a focus on the walking surface to ensure it is completely spawn-proof and easy to navigate. You should use slabs for the top layer of your path to prevent Blazes or Wither Skeletons from appearing directly in your way. Placing bottom-half slabs is a smart trick that stops all hostile mobs from spawning on your bridge regardless of the light level. For added utility, you can incorporate a few blocks of soul sand or magma blocks into the design if you want to create specialized speed lanes or traps. By following this layer-by-layer approach, you turn a dangerous trek across the Nether into a safe and efficient highway for your survival base.
Designing Arched Intersections And Blaze Spawner Connections
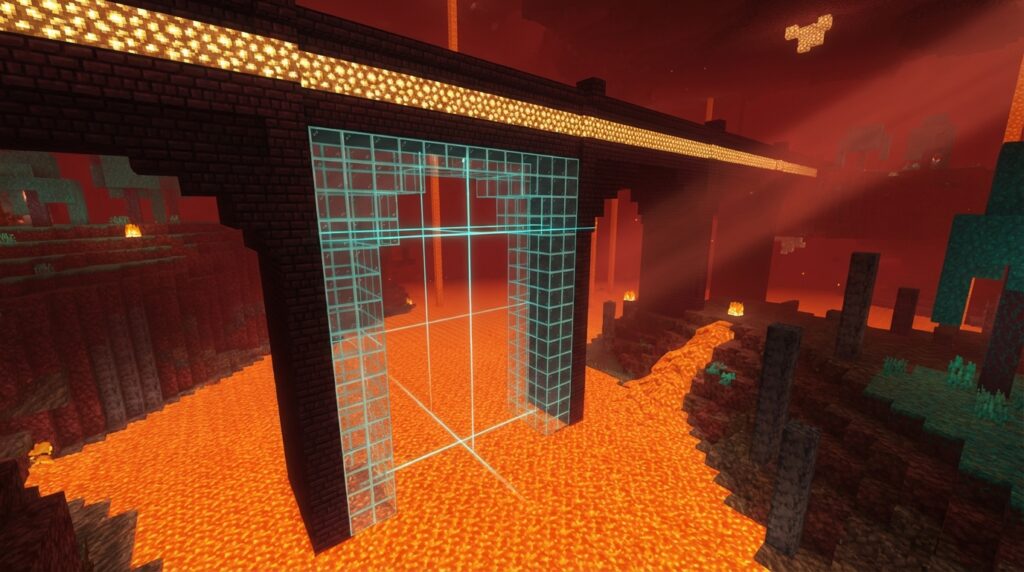
Building a functional four-way junction is the first step toward mastering your fortress layout and making travel much safer. You should focus on creating a central arched intersection that uses nether brick fences to provide visibility while keeping ghast fireballs at bay. By widening the standard three-block wide bridge to a five-block platform at the center, you give yourself plenty of room to sprint and turn without falling into the lava below. These blueprints should include recessed lighting using glowstone or shroomlights tucked into the floor corners to prevent blazes from spawning right in your path. Adding small stone brick accents or polished basalt pillars can also help you distinguish different directions when you are in a hurry.
Connecting your main bridge system to a blaze spawner requires a specialized elevated platform designed for both safety and efficiency. You can build a circular or square landing around the spawner using nether brick slabs to ensure you have a clear line of sight for gathering rods. It is helpful to incorporate a raised perimeter wall that is at least two blocks high to stop stray blazes from wandering off the edge during a fight. Make sure your stairs leading up to the platform are tucked under an archway to provide quick cover if things get too chaotic. These structural additions turn a dangerous hazard into a reliable resource hub that integrates perfectly with your existing bridge network.
Final section: Conclusion

Mastering these nether bridge blueprints marks a huge turning point in your survival journey. You are no longer just running from Ghasts or hiding in small tunnels to avoid the lava below. By following these schematic-style guides, you have turned a dangerous environment into a connected and functional base. These builds allow you to move between blaze spawners and fortress corridors with total confidence and safety. You have successfully upgraded your world from basic survival to a professional mid-game layout.
Using specific materials like nether bricks and fences ensures that your walkways are both fireproof and blast-resistant. These structural designs provide the perfect balance between aesthetic appeal and the rugged durability needed for the Nether. You can now expand your fortress complex to include automated farms or safe potion-brewing stations. Your ability to travel through these areas is now a sign of a true master builder. Take pride in your new infrastructure as you continue to explore every corner of this fiery dimension.
Build Safe Paths With Nether Bridge Blueprints
Mastering the art of nether bridge blueprints is a significant upgrade for your mid-game survival world. These schematic-style guides help you transform dangerous treks across lava lakes into safe, functional pathways using sturdy Nether bricks. By following specific layouts, you can recreate the iconic look of a fortress while ensuring your bridges are wide enough to evade Ghast fireballs. You will find that having a clear plan for your walkways makes connecting different spawners and loot rooms much faster. It is the best way to move from basic survival to building a professional, high-functioning base in the Nether.
Building a standard segment typically requires around 500 Nether bricks and a handful of brick fences to keep you from falling into the depths. Using these blueprints allows you to calculate exactly how many materials you need to farm before you start your construction project. You can easily customize these designs by adding stone slabs or lanterns to prevent mobs from spawning on your path. These functional structures serve as the backbone of any efficient Nether hub, making travel between portals much safer for you and your friends. Your fortress will look cohesive and intentional once you apply these professional design principles to every walkway.
Taking the time to map out your bridges ensures that your entire base feels connected and organized. You can use these blueprints to bridge the gap between hazardous terrain and your most important resource farms. Whether you are playing on Java or Bedrock Edition, these structural guides provide the consistency you need for a successful build. Remember that a well-built bridge is more than just a path. It is a vital piece of infrastructure for your survival journey. Now that you have the right plans, you are ready to conquer the Nether with confidence and style.

